Six-star melt isn't made by a timer. It starts in the garden, survives harvest and freezing, and gets either protected or lost at every step from hydration through freeze drying.
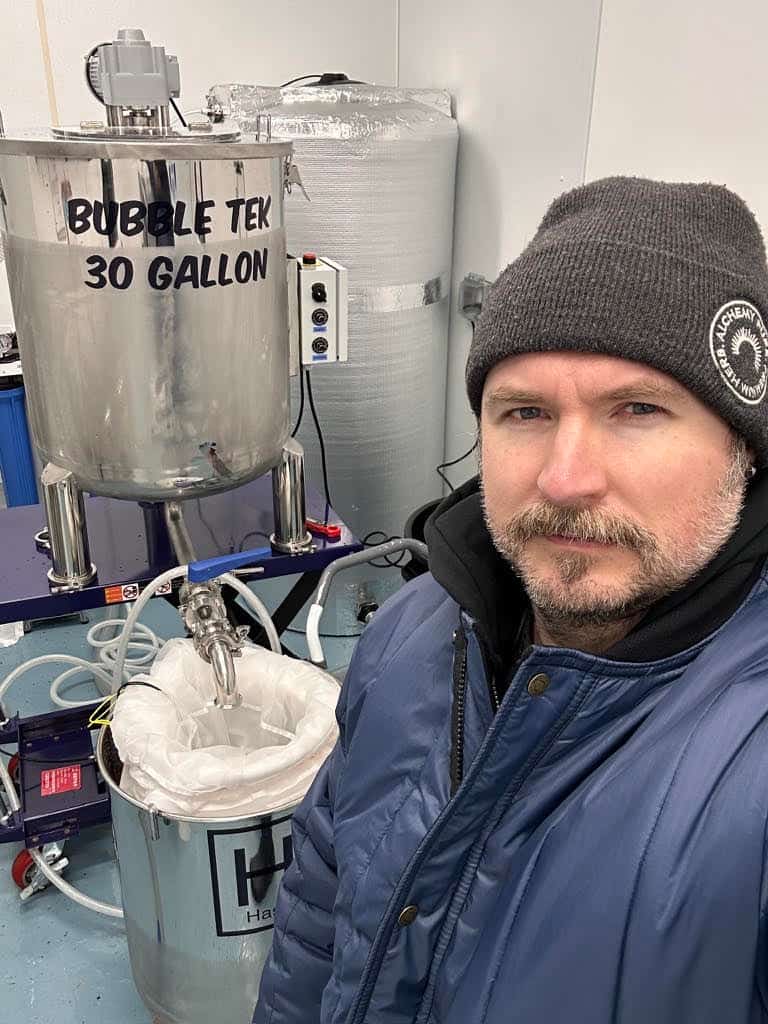
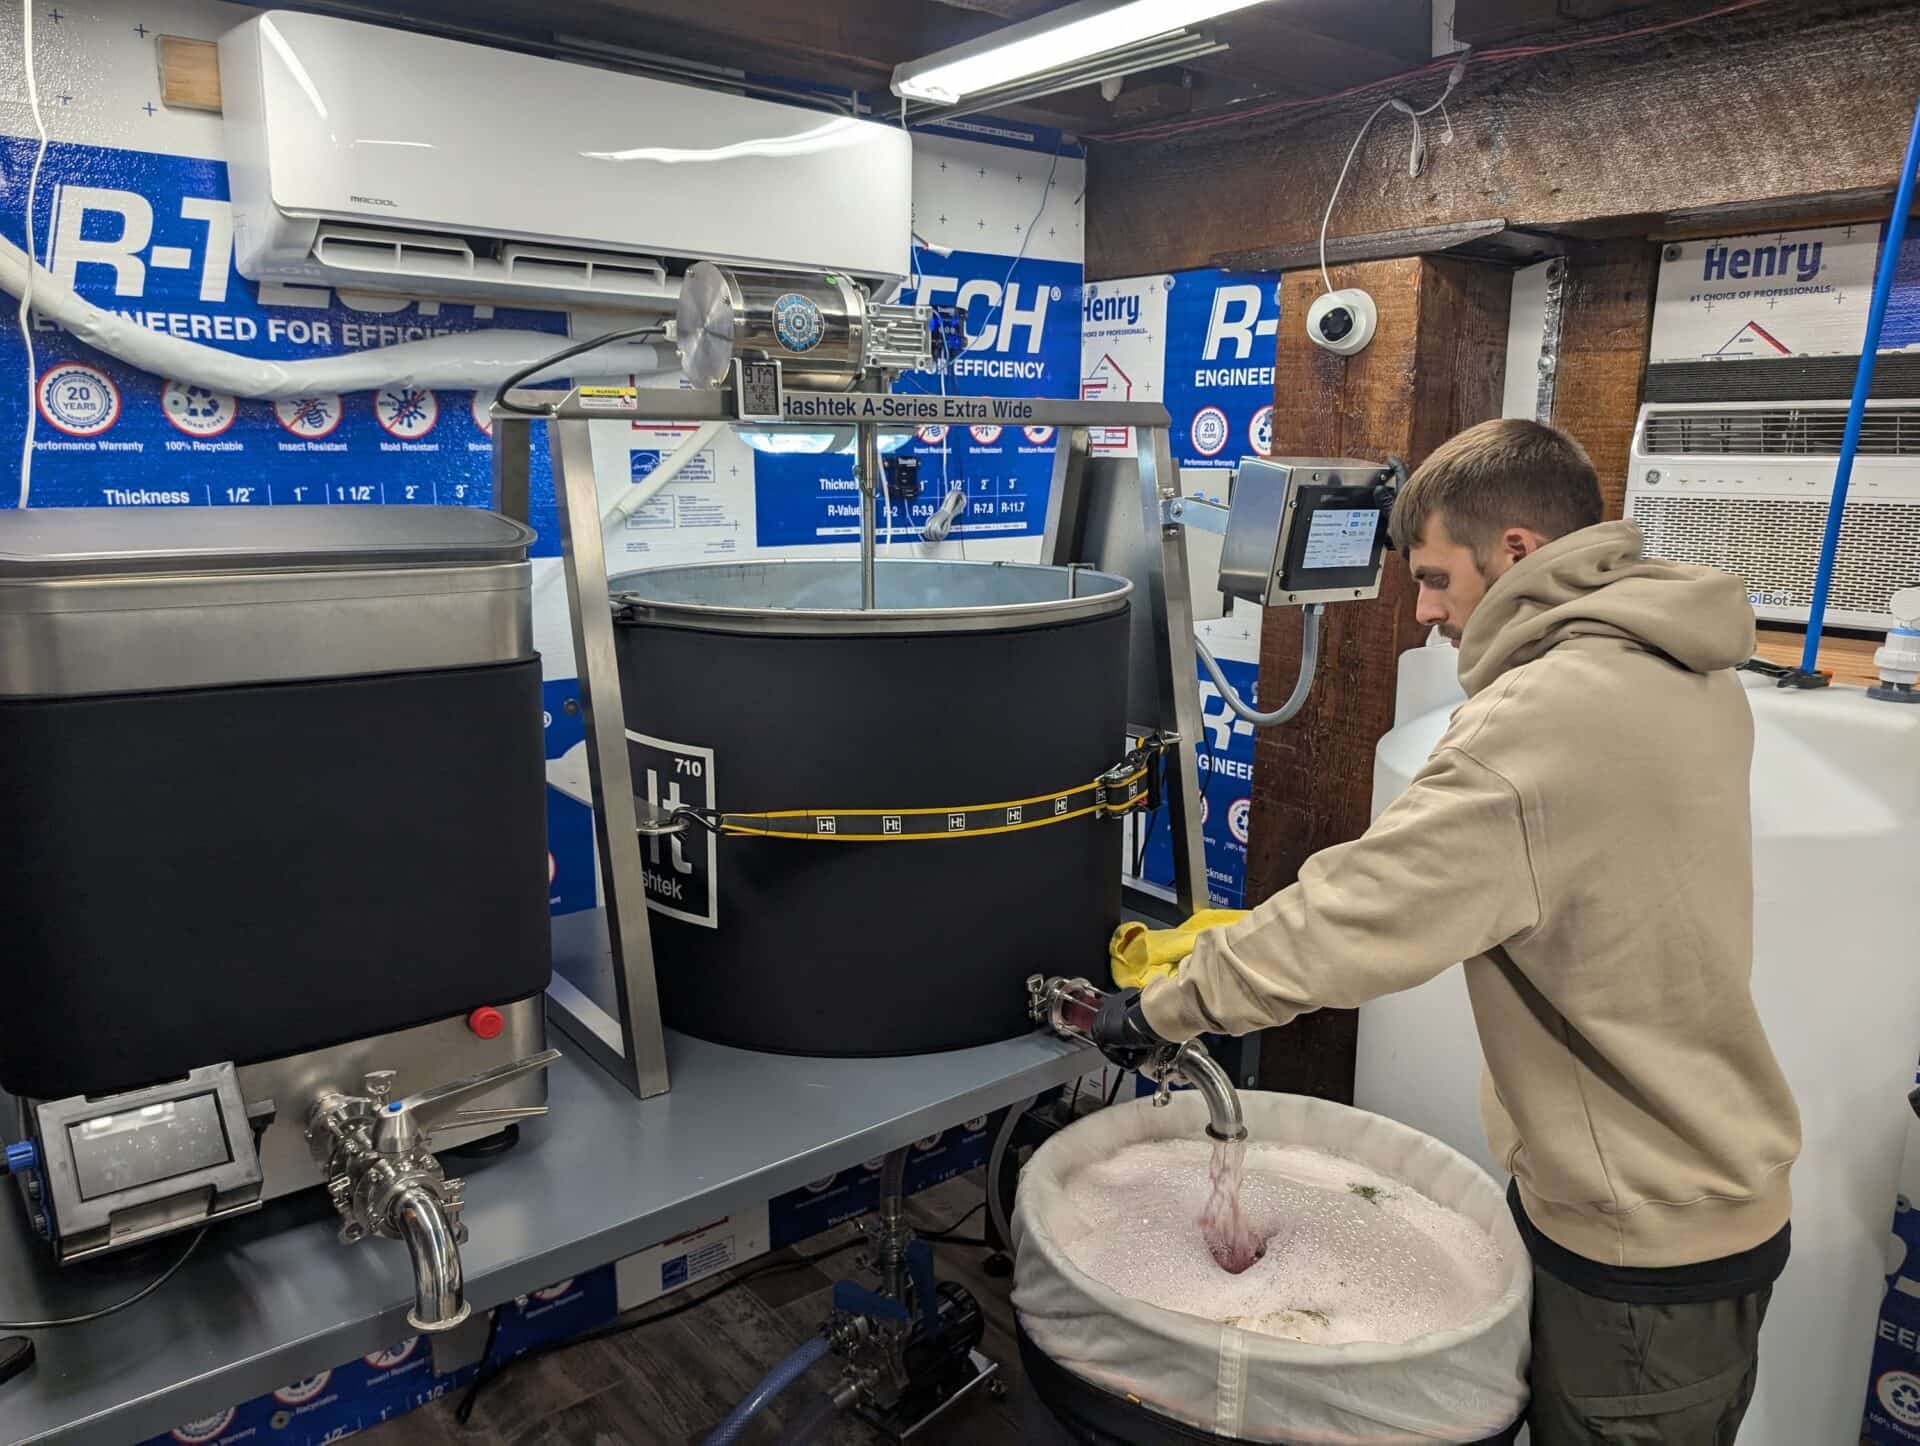
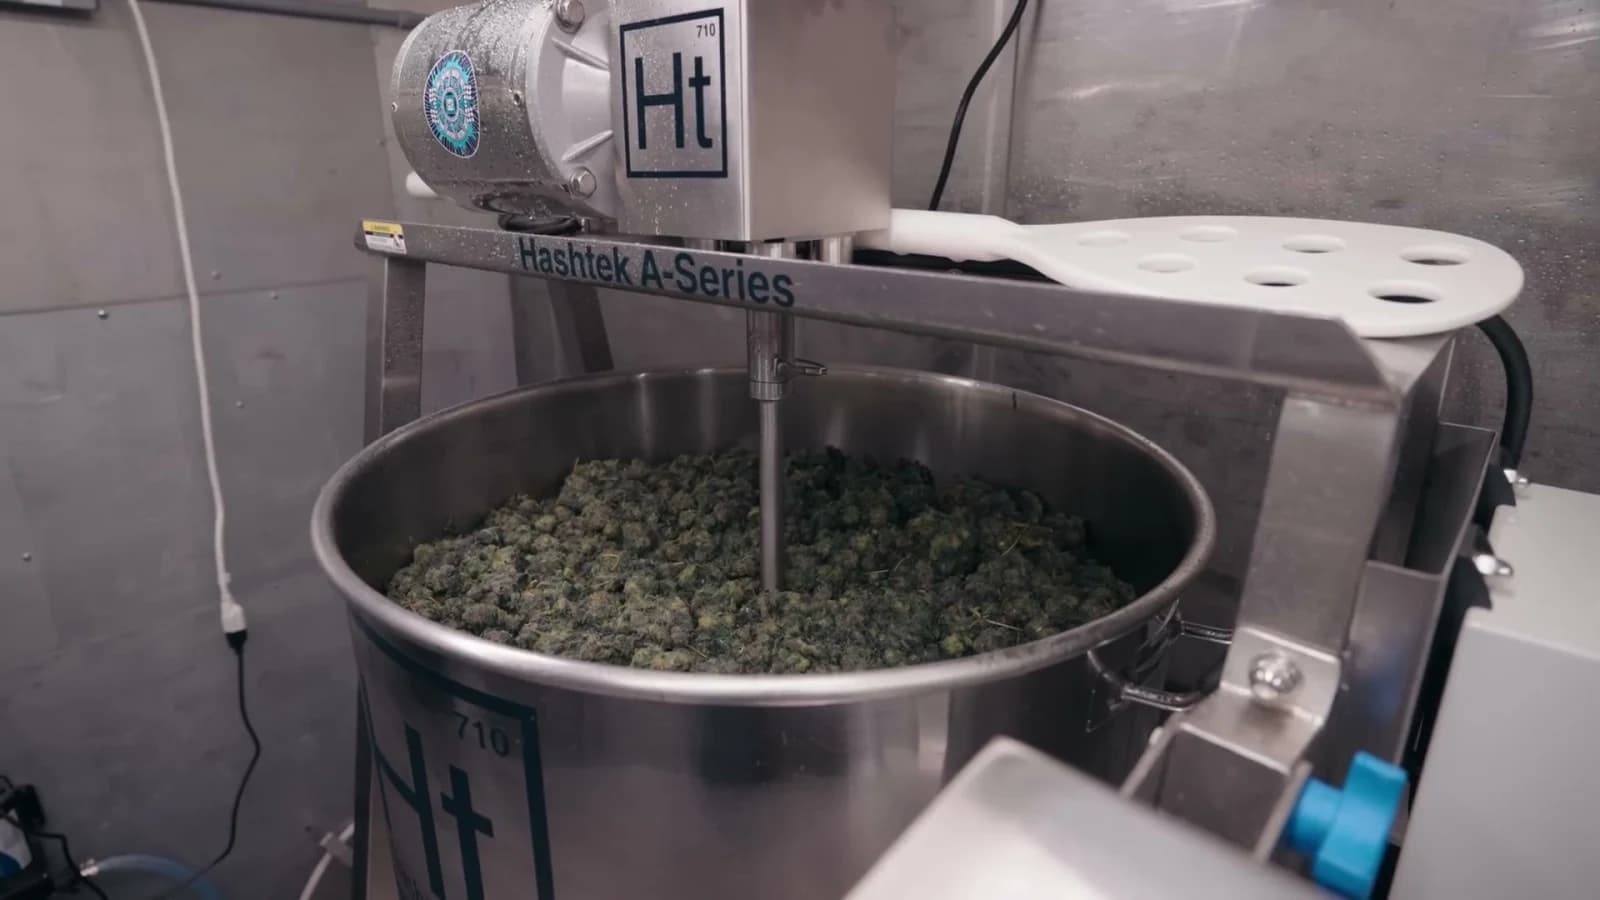
At LBR Labs on Vancouver Island, LBR pulled all of those decisions together around one cultivar he's been working with for three years. The featured Hive batch got soaked until fully hydrated, then washed in two three-minute melt pulls at 15 RPM — and for the full six minutes, the machine was agitating and recirculating at the same time.
That's the whole trick. The paddle knocks ripe heads loose, and the continuous recirculation pulls them straight out of the biomass and into collection while the wash is still running — instead of leaving them tumbling around in the flower for another ten minutes getting beat up. Get the heads out fast, and suddenly three-minute pulls make sense.
One caveat before we get into it: this is LBR's SOP for his cut, his garden, and his water. Cultivar, resin maturity, flower density and temperature all change how a batch behaves.
LBR's 6-star SOP at a glance
- Farm for resin. Build the crop around mature, clean, washable heads — not bag appeal.
- Soak longer than you think. 20–30 minutes depending on flower density. Don't touch the paddle until the material is fully, evenly hydrated.
- Melt pull one: three minutes at 15 RPM, recirculating continuously and capturing heads as they release.
- Collect and reset fast. Get the first catch to the rinse station — don't leave resin sitting in the biomass.
- Melt pull two: another three minutes, same way. Six total minutes of melt agitation.
- Everything after that is rosin material. Longer, harder pulls serve a different product.
- Collect broad (45–189u), grade at a separate station.
- Dry completely and protect the cold chain. Sandy texture, no sizzle in the banger, and the second it gets sticky on you — stop.
The garden is the first stage of the wash
LBR runs a 72-plant mixed-light crop mostly by himself, with predator mites in a carrier substrate and rove beetles he breeds himself as part of the IPM program.
But the real point is that LBR is farming for resin. That's a different game than growing flower. A flower crop gets judged on structure, density and how the dried buds smoke. A resin crop gets judged on one thing: does it build abundant, mature heads that stay clean through harvest and freezing, come off easily in cold water, and deliver the melt and flavour the finished hash needs?
The wash room can't manufacture those heads. It can only protect them, separate them and grade them. Which means your wash data isn't a final score — it's feedback for the next crop.
The Hive is the proof. Three years on the same cut, and it had always been a 2% washer. This run — organic, grown under real sun — it gave him about 5%. Same genetics, more than double the return. That's one batch from one garden, so take it for what it is. But it's a strong argument for keeping a cut you believe in and changing one variable at a time.
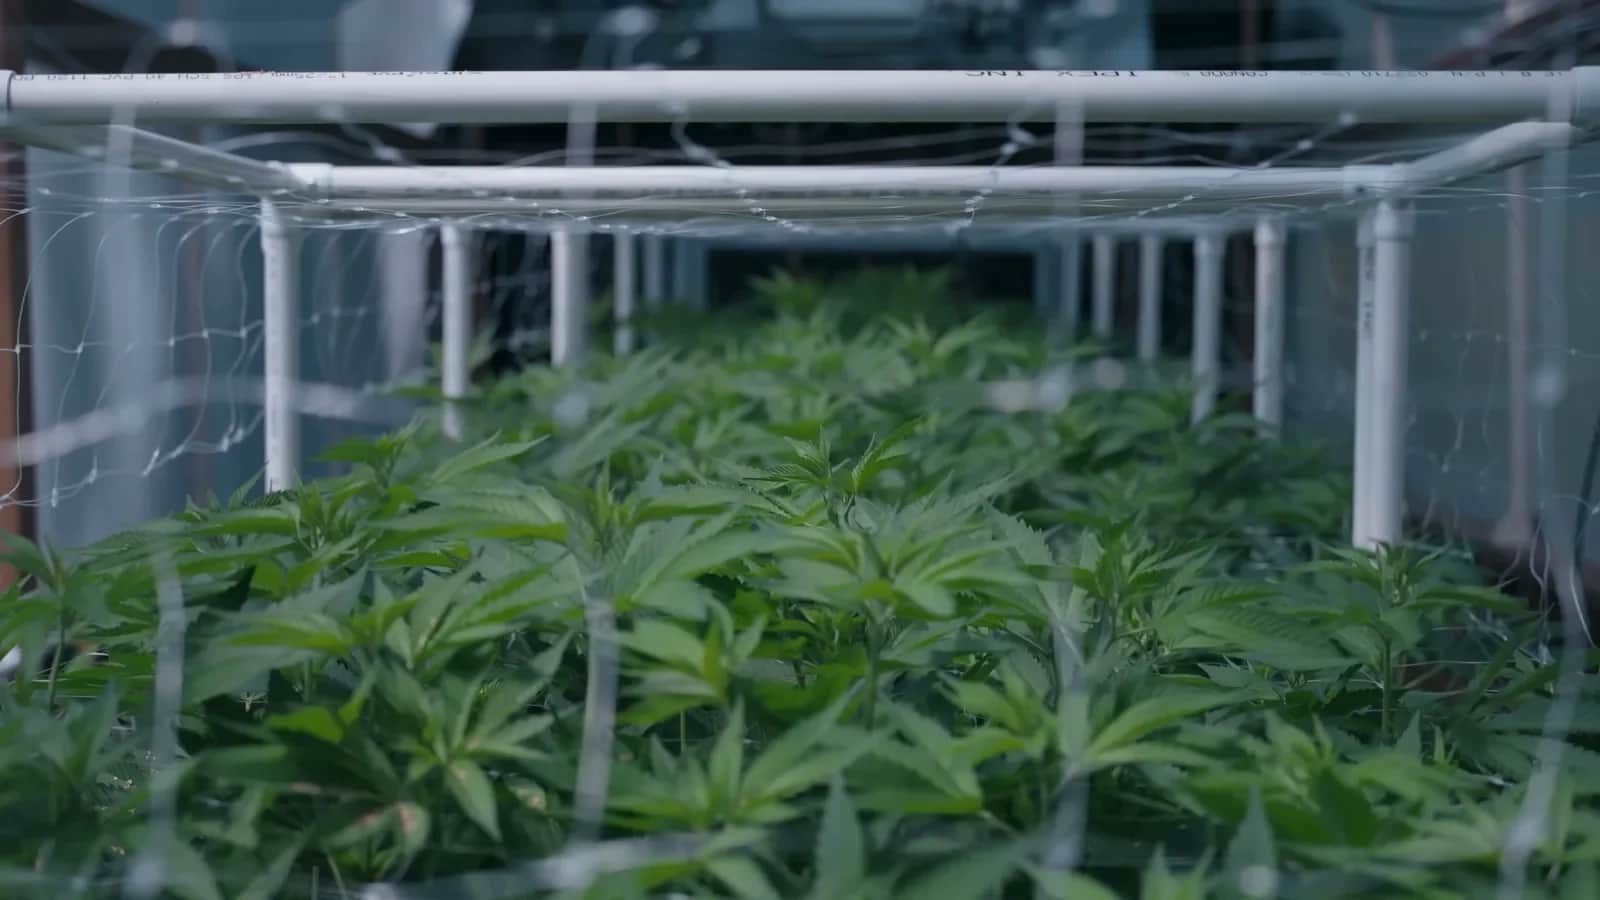
The Hive
Bloom Seed Co. bred The Hive from Honey Banana × Papaya. It's a perfect example of why LBR runs the program he does. It's not a cut he kept for the numbers — for three years it washed around 2%, and plenty of commercial washers would have culled it after the first run. He kept it for the nose. It's a true terp cut, and the flavour carries all the way through to the finished hash: the 70–89u fraction has a spicy, almost incense-like note that completely drops out above 90u. You can smell the difference between fractions before you can see it.
It's not an easy washer, either. The flower is dense — that's why this batch got the full 30-minute soak instead of his usual 20. But once it's properly hydrated, it gives everything up fast: big, uniform, fully mature heads, and under the scope this run showed hundreds of intact heads with barely any contamination to speak of. On the banger, the flag greased out completely. LBR called it the best melt of his career — and this is a guy who washes for a living.
The broader cold-water system
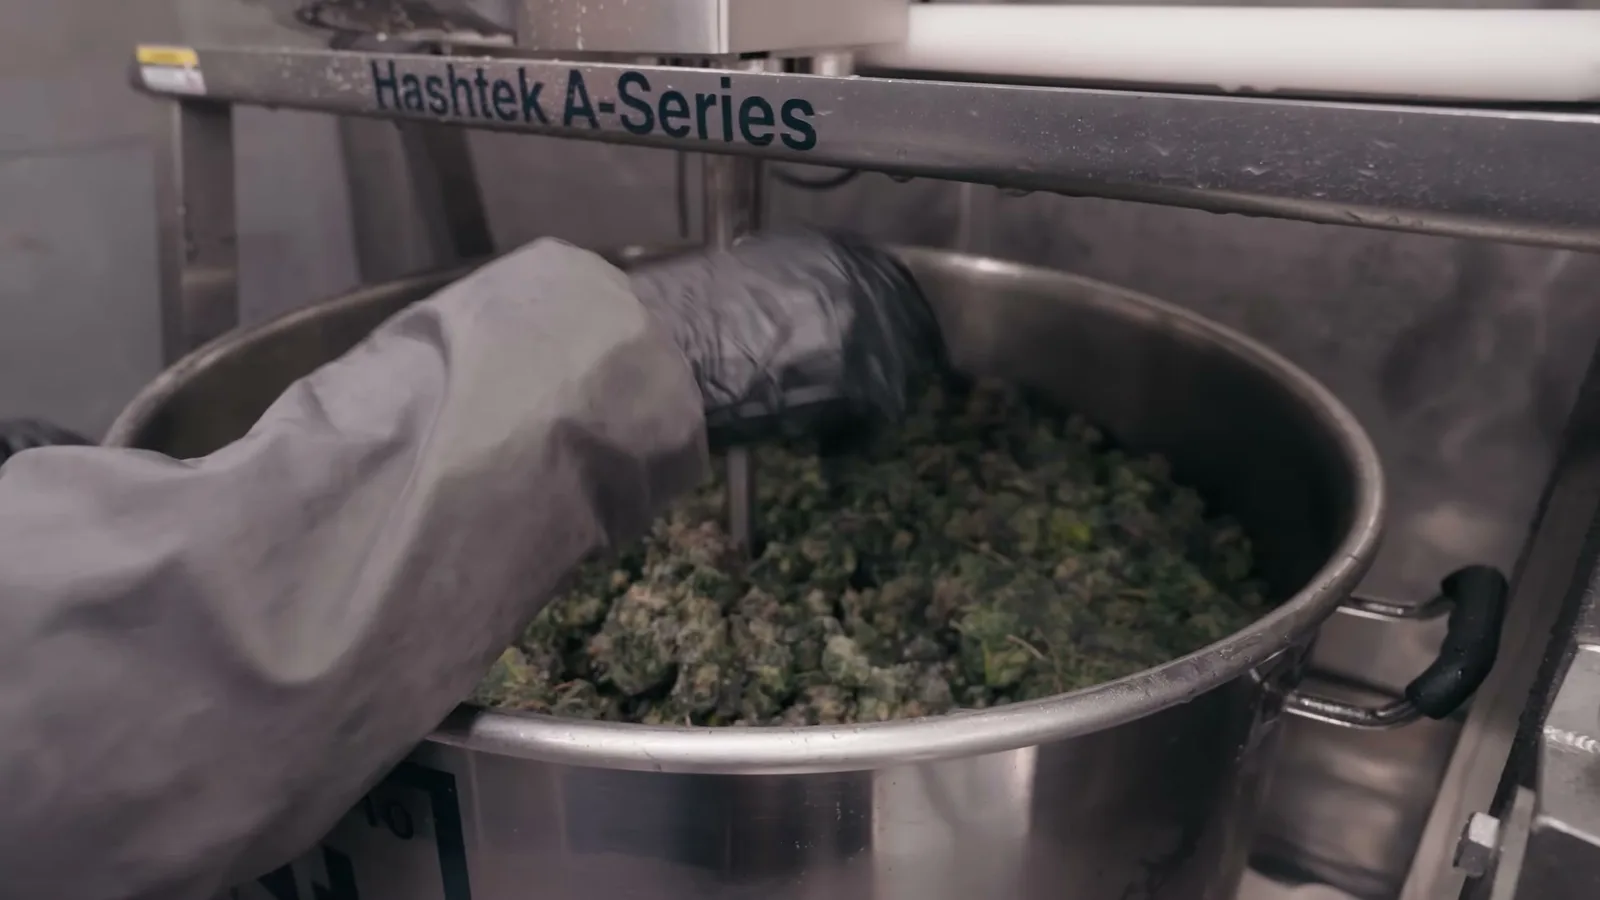
LBR walked through the rest of his one-person production setup in our earlier Hash Maker Q&A.
Depending on supply, he starts with well water or collected rainwater, runs it through RO, and makes his own RO ice. He pre-chills 50 gallons in a food-grade vessel and another 50 in the catch vessel — 100 gallons of cold water staged before the wash starts.
Loading order matters. He puts water in the agitation vessel first, then adds biomass while continuing to fill, so the frozen material never sits against bare cold stainless where it can freeze to the vessel. A pre-soak screen keeps the load submerged through hydration.
And because he's solo, he leans on the machine's overlap: it agitates and recirculates on its own while he handles collection and grading. Saves time and saves his back — as long as nothing gets left sitting dirty.
Step 1: soak longer, and wait for full hydration
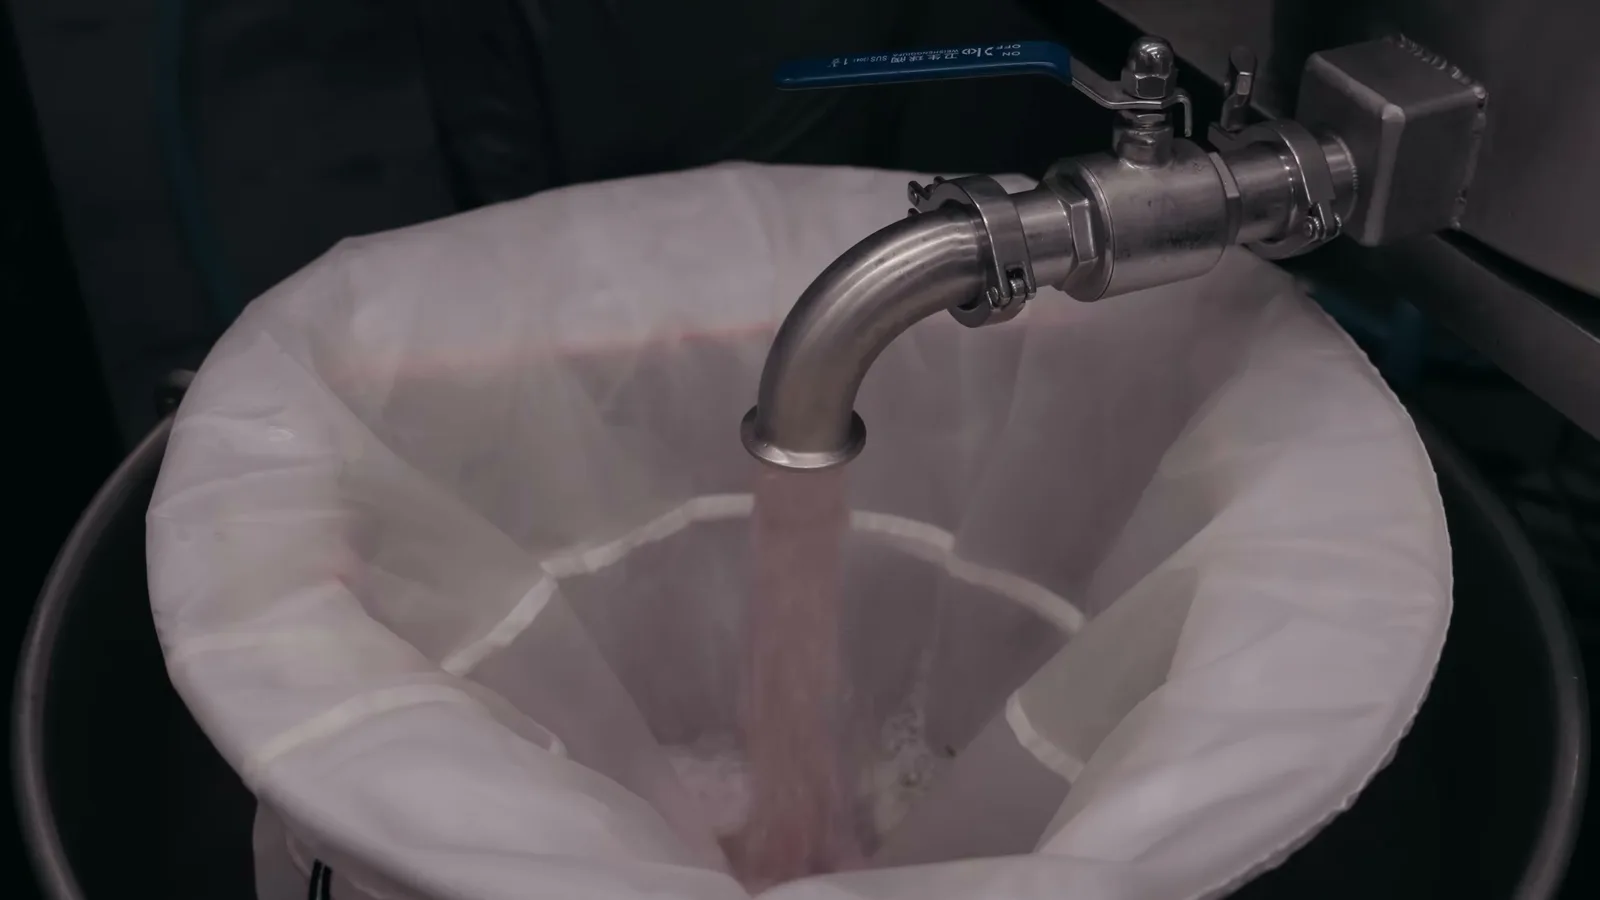
LBR doesn't run a fixed soak time. His range is 20–30 minutes depending on flower density, and the Hive got the full half hour — longer than most people pre-soak.
The 30 minutes isn't the point. The point is that agitation doesn't start until the frozen material is fully and evenly hydrated. Dense flower needs time for cold water to get all the way in, and starting while the middle of the load is still rigid works directly against the gentle, short cycle. The long soak is what lets him pull resin fast once the paddle moves — he never has to use the first agitation cycle just to force water through the flowers.
Log the time, but log the physical hydration check too. That's the number you're actually repeating.
Step 2: move the whole mass at 15 RPM
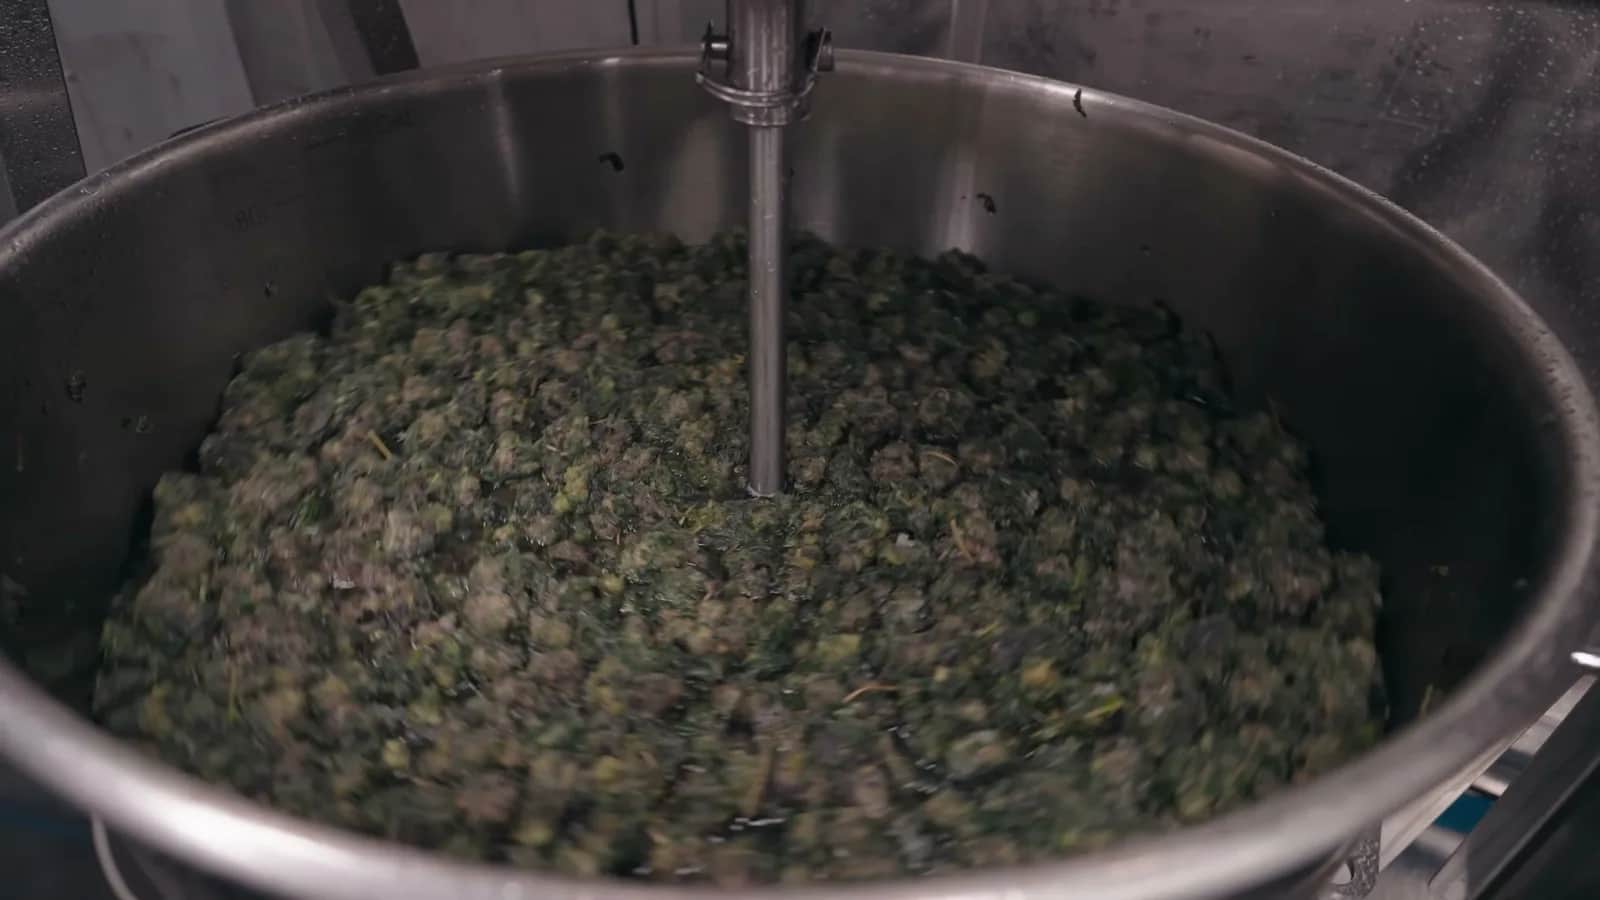
Both melt pulls ran at 15 RPM on the A-Series 65A. At that speed the paddle turns the entire load through the water — no drill mixer, no vortex beating the material apart.
Three minutes is a tight window. The machine still has to move the whole load, expose the flower to cold water and release the mature heads without shredding anything. After the wash, LBR's biomass was still visibly intact, just opened up enough for water to move through it. That post-wash inspection tells you as much as the timer does.
Step 3: agitate and recirculate together, all six minutes
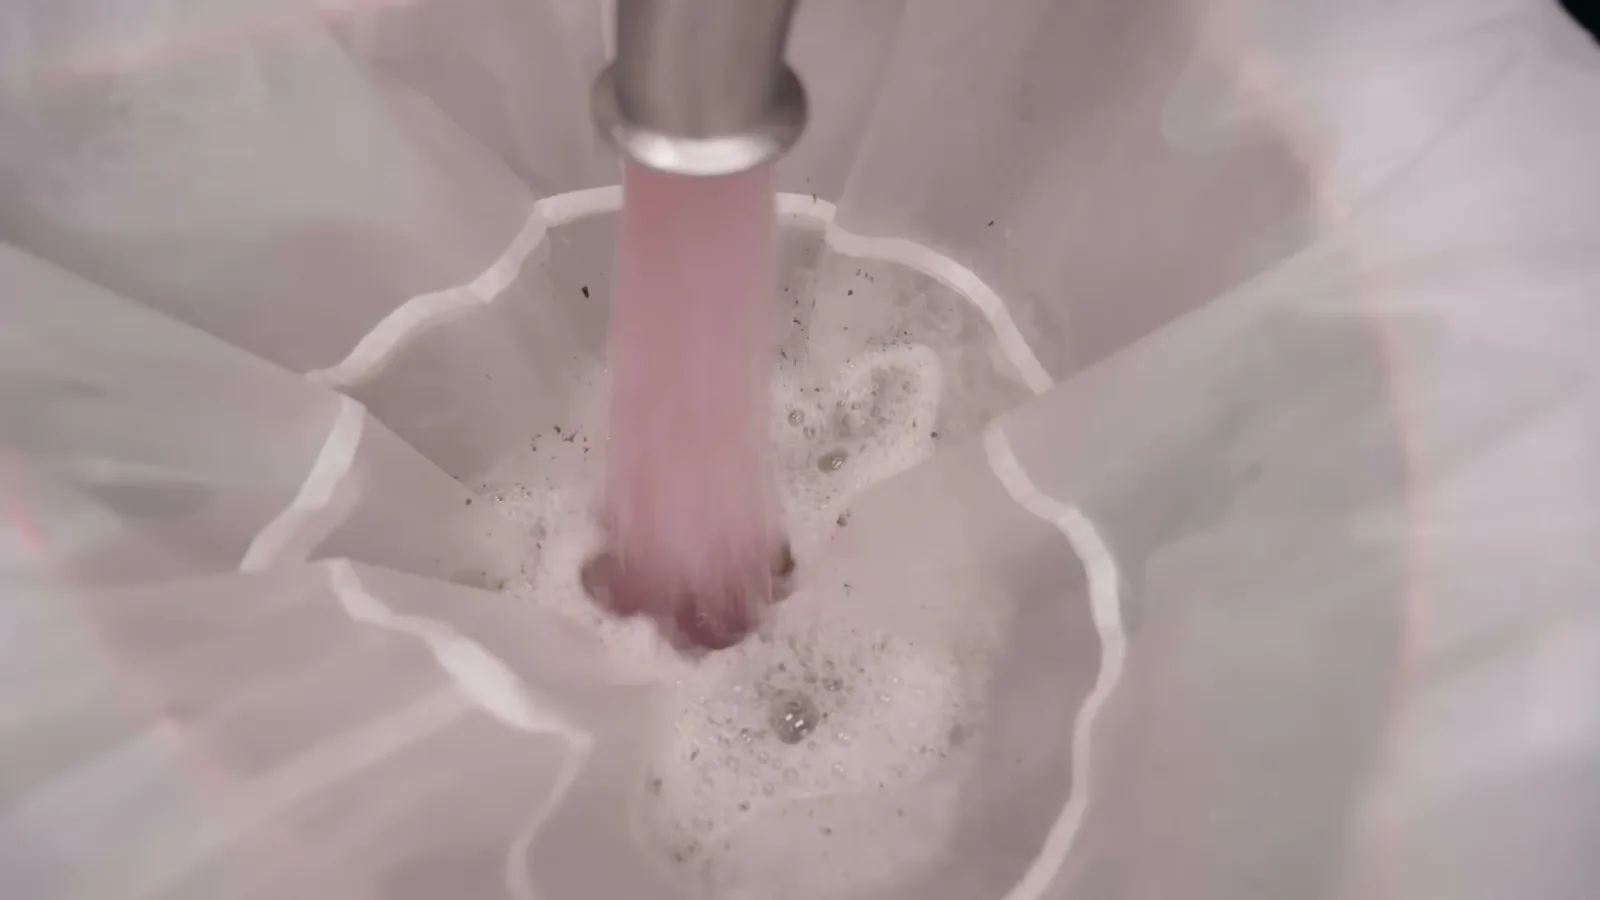
This is not three minutes of agitation followed by a recirculation step. Agitation and recirculation run together through both pulls.
While the paddle is decapitating ripe heads, the recirculating flow is continuously carrying them out of the biomass and into collection. Freed heads don't spend the rest of the cycle lodged in the flower or cycling back through the plant material — they're gone as soon as they're loose. That's what makes two three-minute pulls enough: the system is separating while it agitates, so LBR never has to extend a cycle just to recover heads that were already off the plant.
After the first pull is collected, he resets and runs the second one the same way. Everything after those six minutes gets washed for rosin, not blended back into the melt lot.
The melt window vs. the rosin curve
The two short pulls are the quality-first opening of the day, not the end of it. Once the melt window closes, later pulls deliberately trade purity for recovery and feed rosin SKUs instead.
In the Q&A, LBR described starting below the machine's Gentle reference, then stepping through Gentle, Medium and Hard as pulls move from melt and cold-cure grades toward cart and full-spec rosin. At the far end he'll sometimes run above Aggressive to pull 73u material that would otherwise go to compost, for a more affordable full-spectrum product.
Keep those strategies separate in your SOP. The melt pulls protect the first, cleanest heads. The rosin pulls spend more time and energy chasing a different grade for a different product.
Step 4: collect first, grade at a separate rinse station
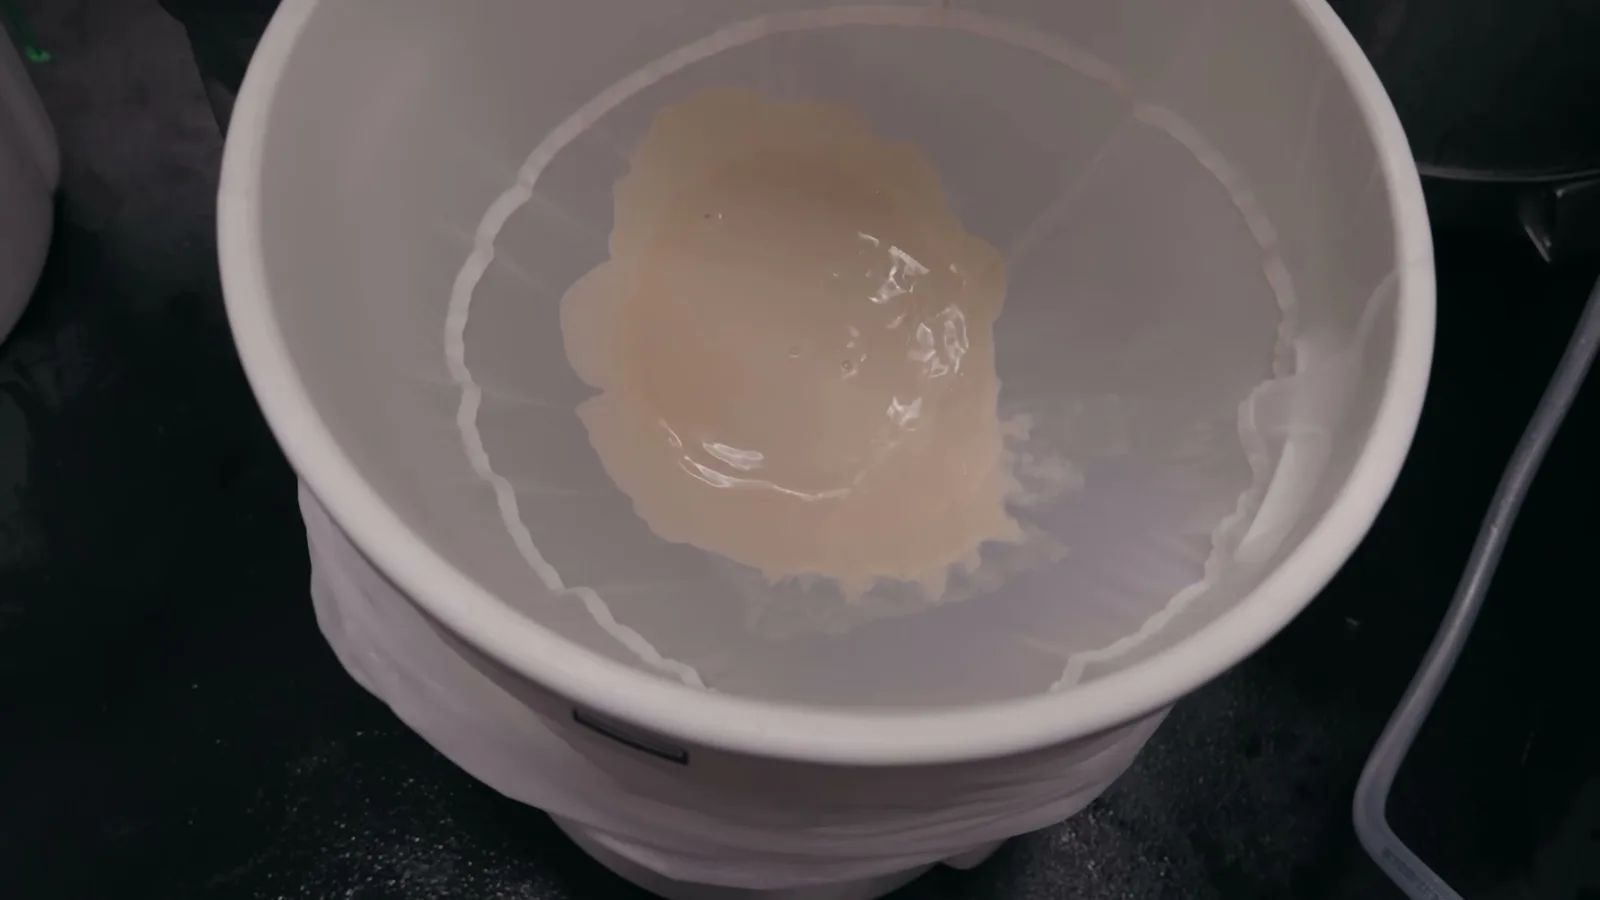
LBR treats collection and grading as two different jobs. His analogy: a winery gathers grapes in the field and grades them somewhere else.
He captures a broad 45–189u range in the collection vessel, then moves that catch to a dedicated rinse station and runs it through a 220 / 190 / 45 stack — the upper bags hold back visible green while the 45 catches everything that passes.
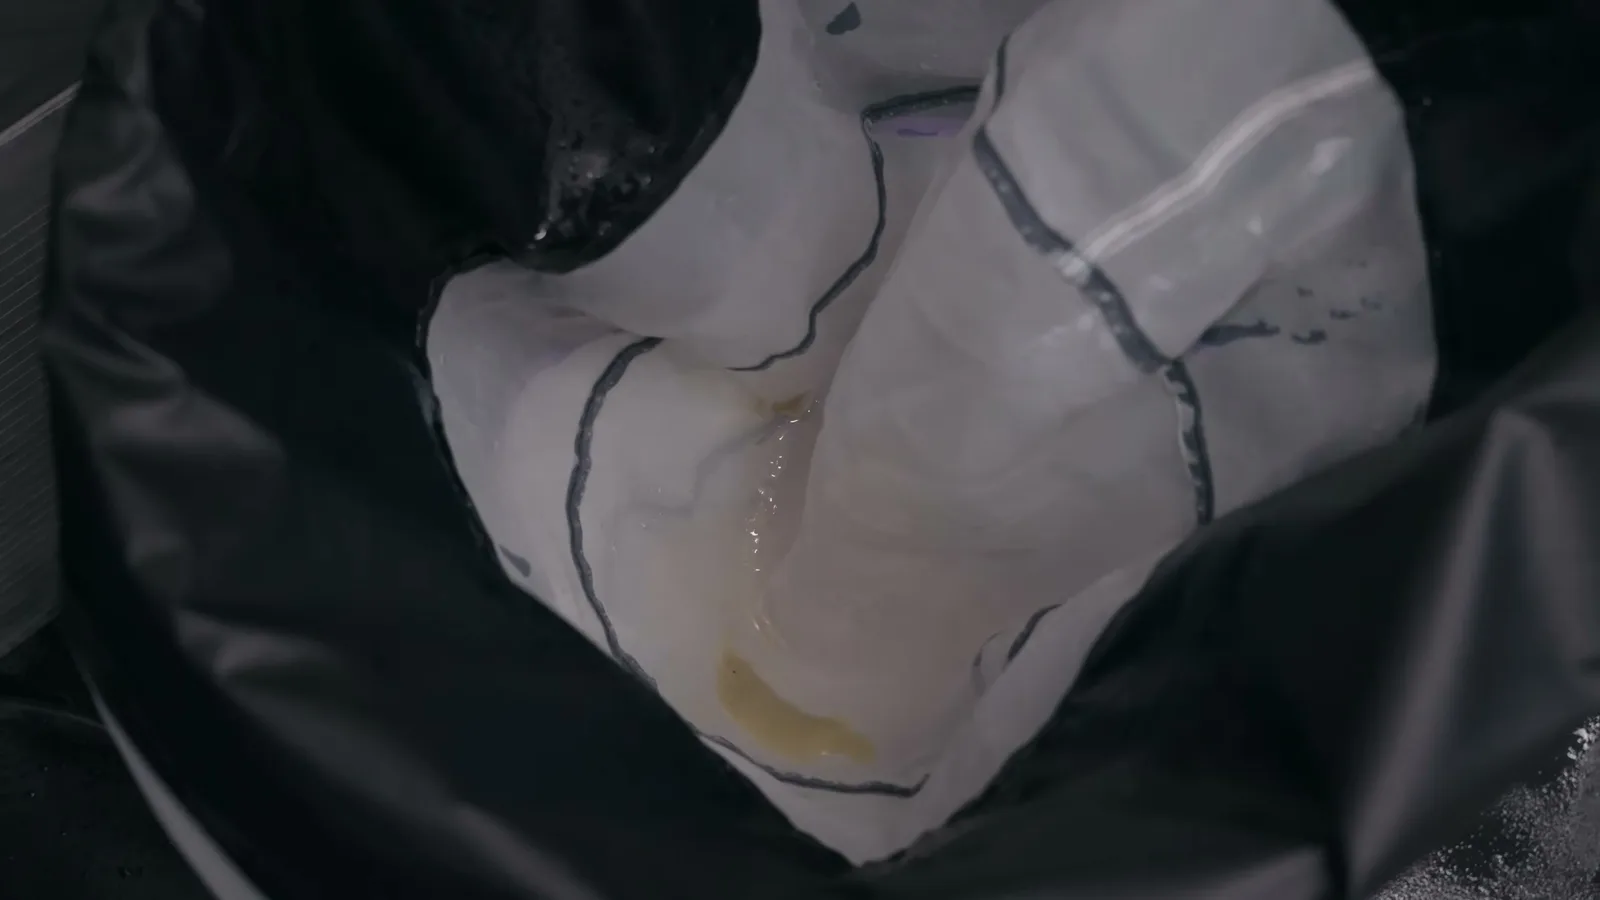
The finished melt gets kept in deliberate ranges:
- 120–149u
- 90–119u
- 70–89u
Each fraction has a destination before the next one gets touched. The separate station gives him room to rinse contamination out, look at the heads and decide what actually belongs in melt — instead of treating every useful micron as one undifferentiated full-spec batch.
Micron size is not a star rating
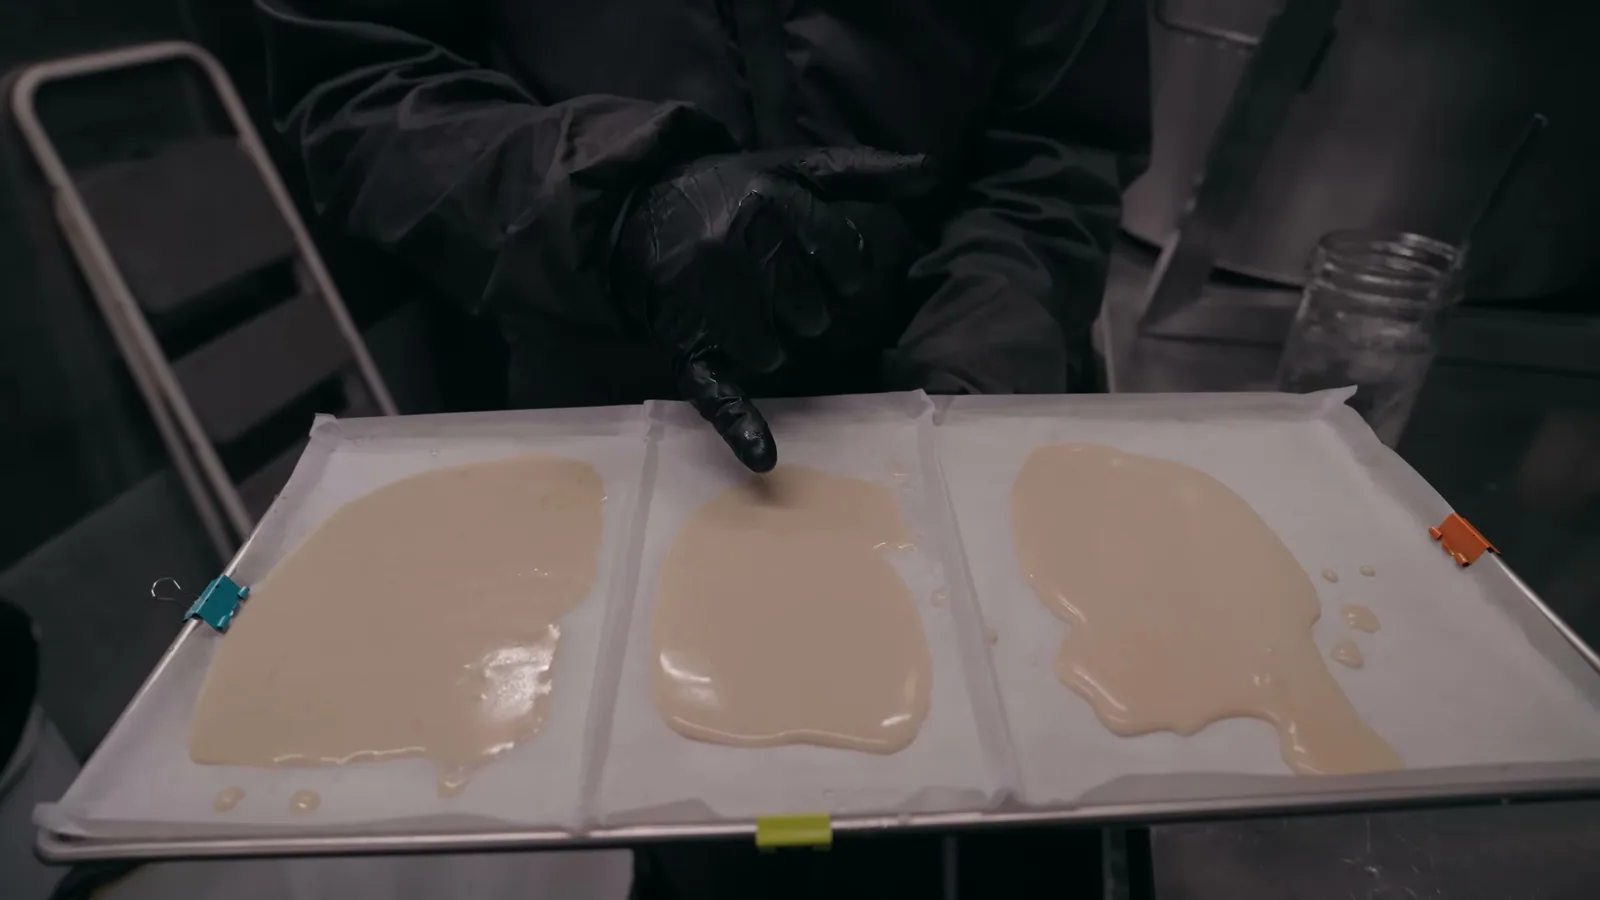
Side by side, the 120, 90 and 70 ranges looked close enough that an untrained eye wouldn't confidently split them. LBR could smell the difference — including that spicy note in the low range that the 90 didn't have.
Micron only tells you which hole the material fell through. Six-star describes how the hash behaves: clean, full melt, minimal residue — and that still has to be proven. In this batch, the scope showed hundreds of intact heads with only occasional contamination, the flag greased out on the banger, and the rig test backed it up.
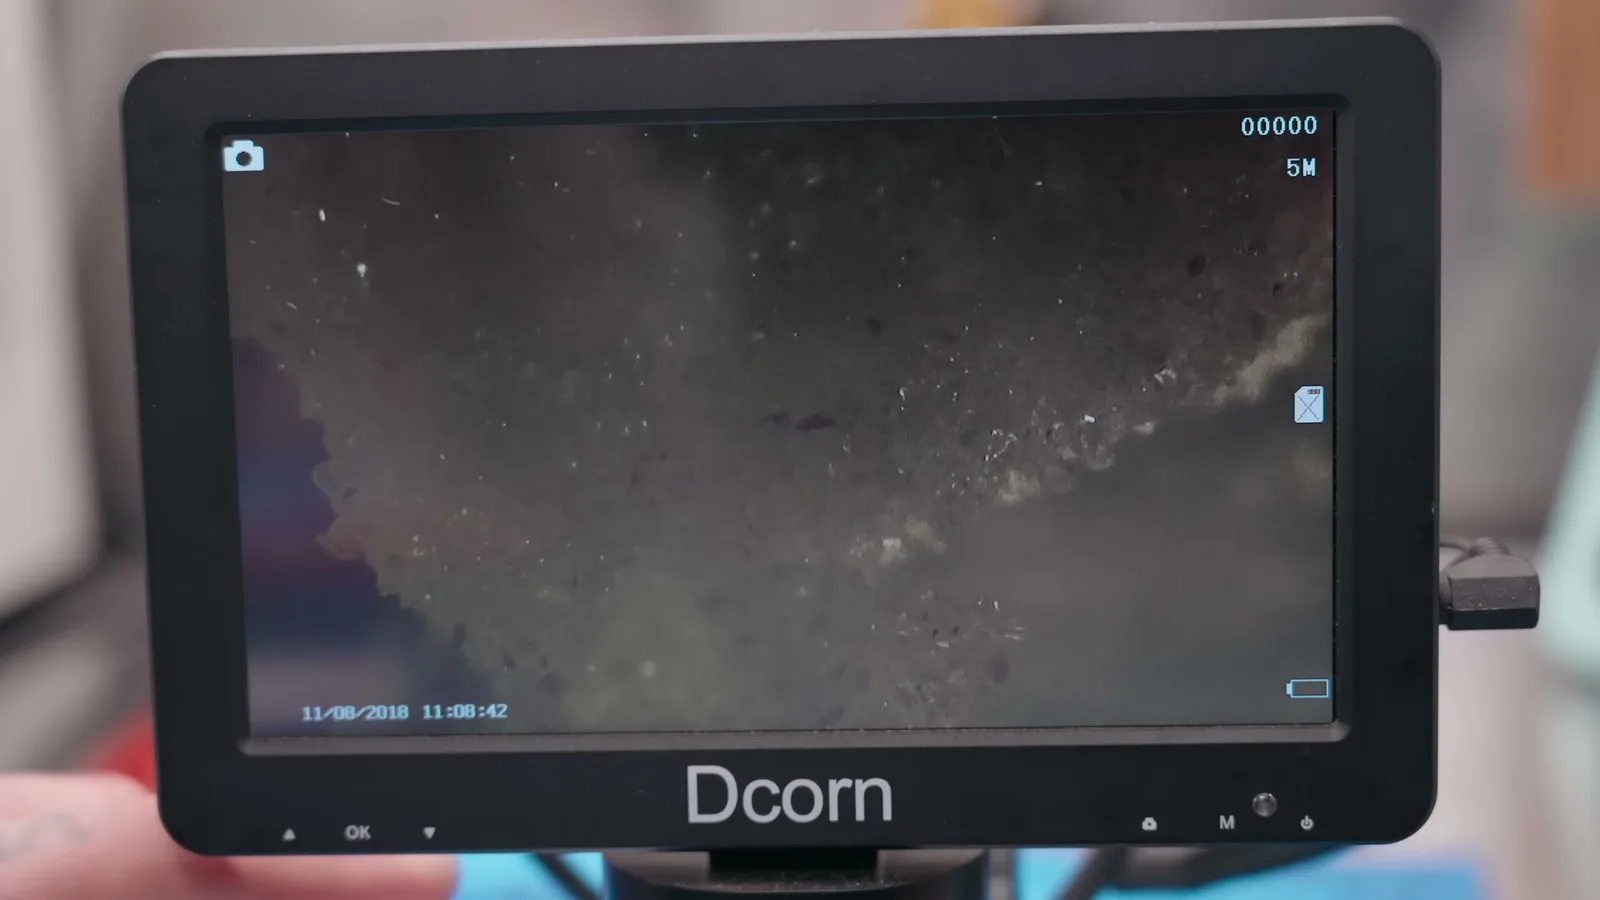
Step 5: three checks for dryness
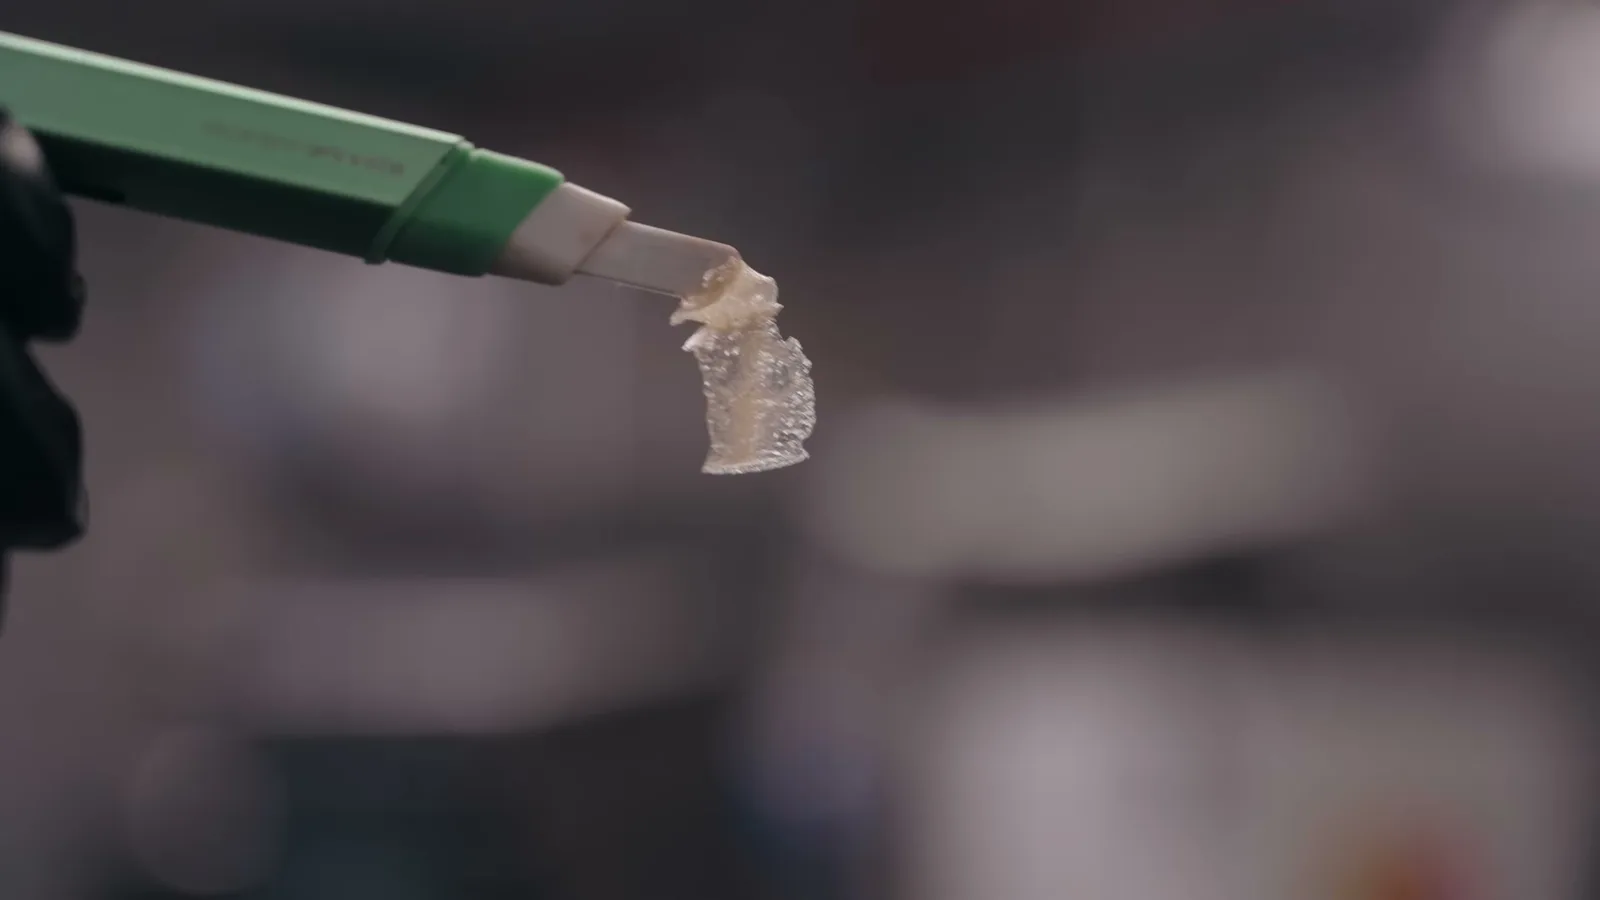
After drying, all three fractions were stable at room handling temperature — no sticking, no collapsing. LBR listens for a sandy texture first. Second check is the banger: if it sizzles, there's still moisture in it. The final melt test proves the cleanliness and residue that looks alone never will.
Use all three. "Looks dry" is not a release criterion for melt.
Step 6: when the hash starts melting, stop
While we were going through the fractions, the hash warmed up enough to start greasing before it even hit the sieve. LBR stopped, put it back in the freezer, and waited for colder working conditions. That's not the process failing — that's what you do when hash this good gets too warm to handle.
Prep your tools ahead of time, keep bench time short, work cold, return fractions to the freezer between steps, and treat stickiness as a stop signal, not a reason to rush.
What to log when adapting LBR's SOP
- Cultivar, source, harvest conditions and material density
- Pre-soak duration and the hydration check that ended it
- Water and room temp at each pull
- Agitation speed, duration and direction changes
- Recirculation flow and collection performance
- Time from end of pull to final collection
- Micron ranges kept for melt, rosin or compost
- Drying endpoint: sandy texture, banger sizzle, melt residue
- Yield by pull and by fraction — not just total yield
LBR's result came from three years of work on one cut, not from 15 RPM and three minutes being magic numbers. The garden, the hydration, the motion, the recirculation, the grading and the cold chain all serve the same goal: free mature heads gently and get them out of the biomass as fast as possible.
Explore the Hashtek A-Series 65A used in the wash, or read the earlier Hash Maker Q&A with LBR.
Happy Hash Making!
Aleks — Hashtek Founder
Watch LBR's complete 6-star melt wash
See the garden, the pre-soak, both melt pulls, collection, rinse-station grading, dry-hash inspection and the melt test in the full episode below — also on YouTube.
Hashtek Dispatch
Want release and restock alerts for equipment like this?
Join the Hashtek Dispatch for early product drops, restocks, and practical tek — plus a one-time 5% welcome code for your first order.