Adding a chiller to your hash lab means having a tank of ice cold water ready for filling your wash tanks and rinsing, instead of constantly hauling bags of ice.
The basic setup is a loop: water leaves the storage tank, passes through the chiller, and returns to the same tank. A dedicated pump keeps that loop moving, while a separate pump fills your wash tanks without interrupting the cooling.
This guide walks through sizing the chiller, setting up both pumps, connecting the plumbing and insulating the cold lines, using our 160 gallon setup as an example.
Get the kit or build your own
You can get the Craft Chill Kit with the chiller, pumps, stand, hoses and fittings already matched up. There are four options:
- 160 gallon tank + 0.5 HP chiller, 110 V
- 300 gallon tank + 1.5 HP chiller, 220 V
- No tank + 0.5 HP chiller and parts, 110 V
- No tank + 1.5 HP chiller and parts, 220 V
Already have a tank? The no-tank bundles let you keep using it. If you've already got some of the other components too, you can buy the pieces you need below.
Parts for your own setup
Already have some of the gear, or want to piece together your own kit? Here's the parts list. Pick up what you're missing and size the connections for your setup.
- Water chiller: choose the size and voltage for your setup.
- Vortex MAX for the chiller loop and Vortex for tank filling.
- Dual pump stand with rubber feet and eight mounting bolt sets.
- Optional Hashtek Rinse Pump Kit with the TC Tee Kit feed option for a separate rinse pump and spray head.
- 160 or 300 gallon water tank.
- 1 inch ID bulk silicone recirculation hose: two 25 foot runs. The kit also uses sanitary fill hoses in 1 inch and 1½ inch ID, matched to the connections.
- Stainless worm-gear hose clamps for the barbed hose connections.
- Tri-clamp elbows, tee, butterfly valves and clamps with gaskets.
- Tri-Clamp-to-hose-barb adapters sized to the hose ID.
- 1½ inch Tri-Clamp to 1 inch or 1½ inch NPT adapters, with the NPT size matched to the tank port or threaded connection.
- Schedule 40 PVC pipe and fittings, plus PVC primer and cement, if you're hard plumbing.
- Multi-Glass pipe insulation and contact cement for the cold lines.
- Printed pipe holders and STL files to support the runs.
- A float valve / automatic refill kit if you want the cold water tank to top itself up.
Start with the connections on your tank, pumps and chiller, then work out the fittings from there. The fitting sizes and quantities will depend on your layout and what you already have.
Plumbing the chiller and fill pumps
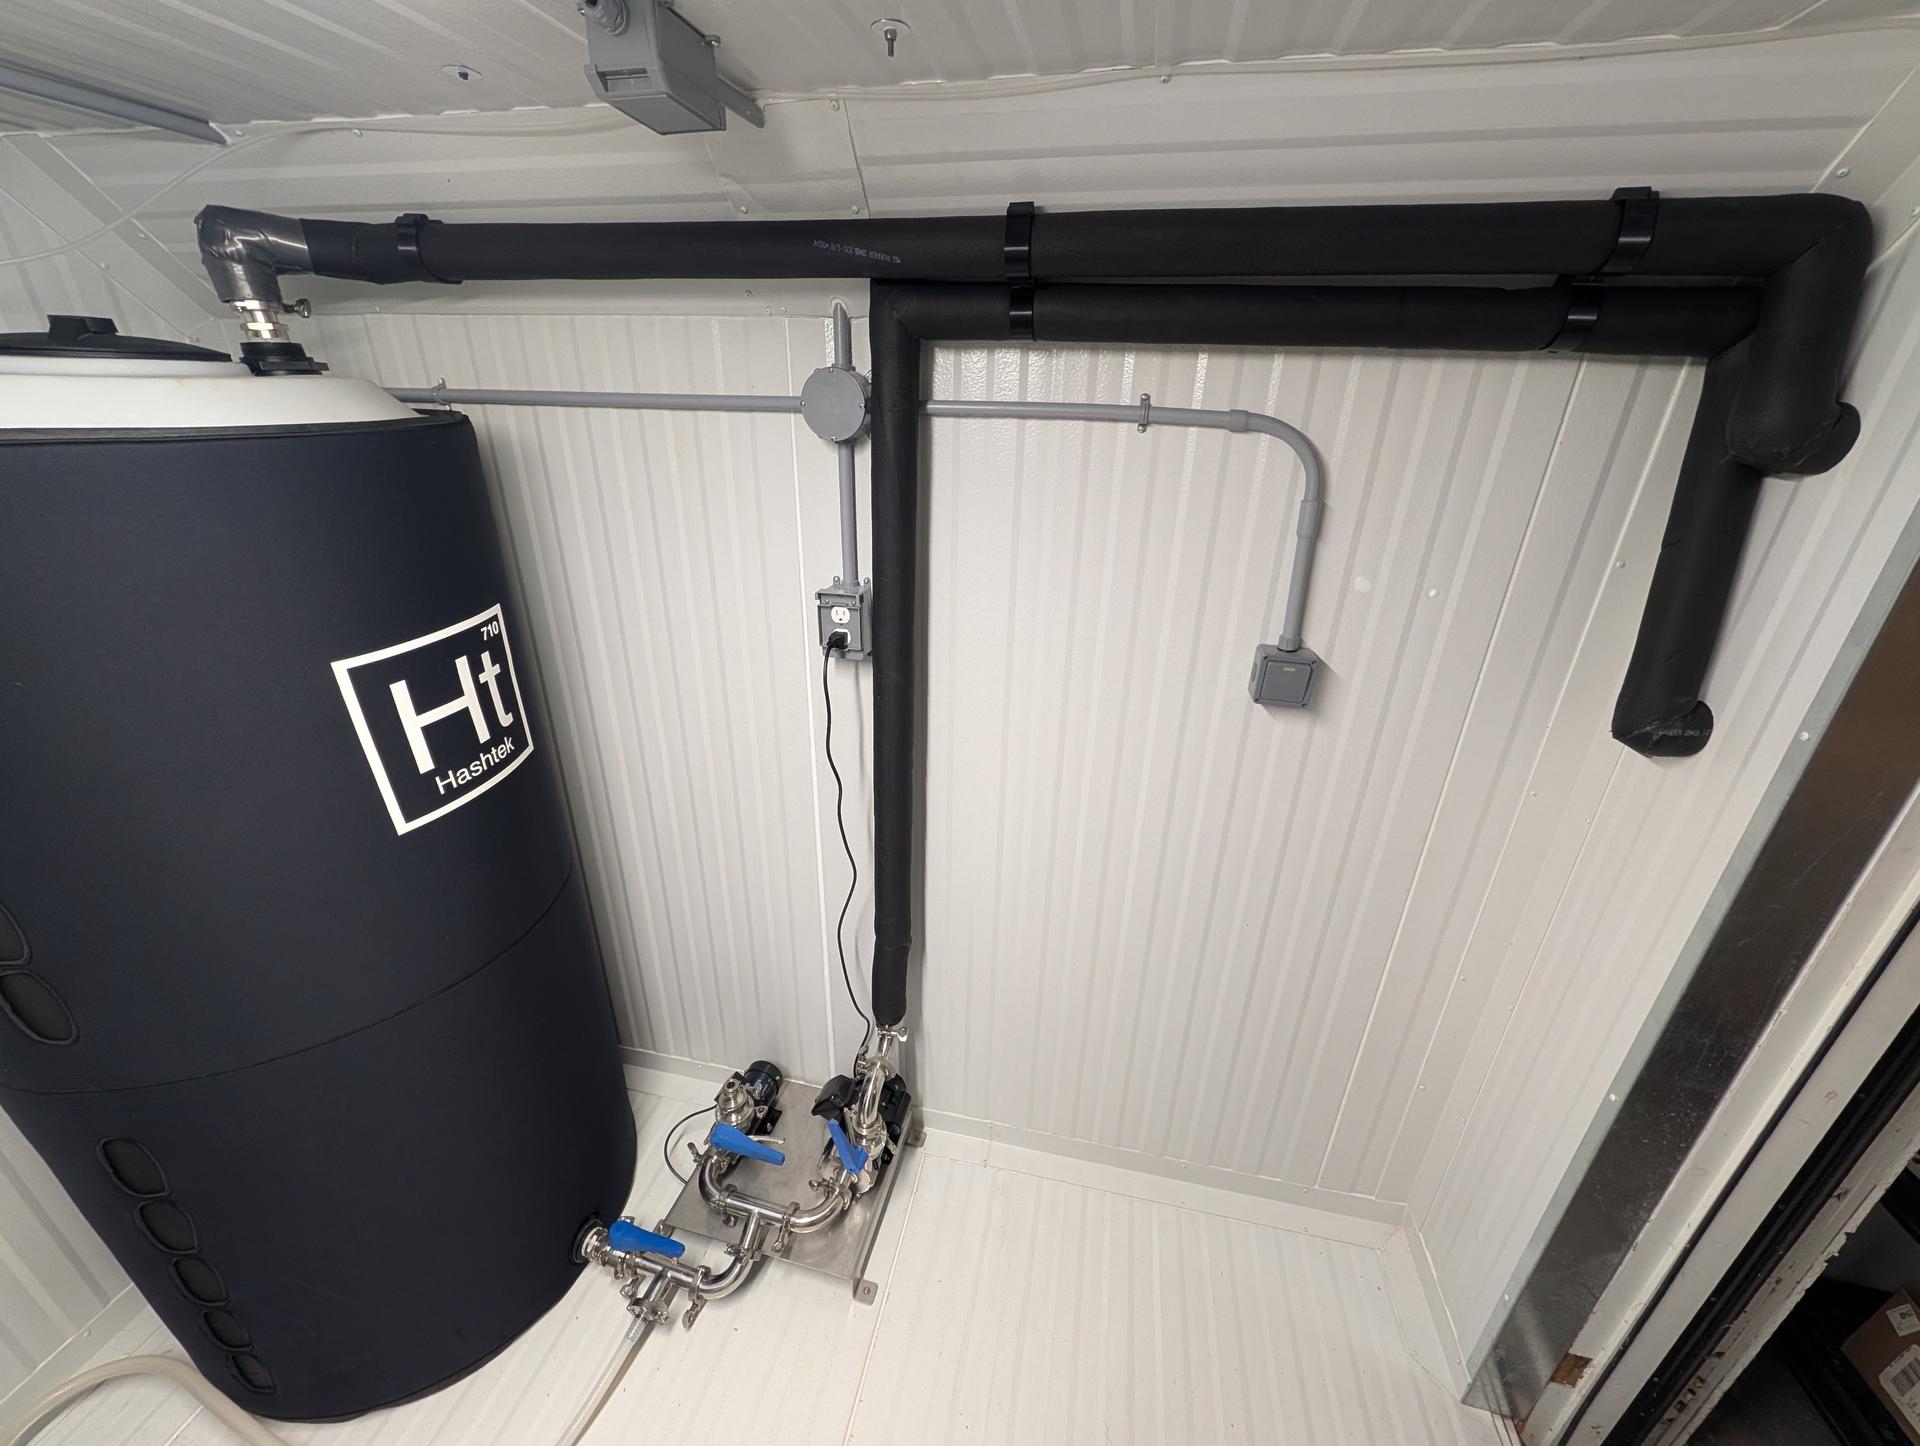
The bigger Vortex MAX keeps water moving from the storage tank, through the chiller, and back into the tank. This is the dedicated cooling loop.
The regular Vortex fills the agitation tanks when we need water. Running that job on its own pump means filling a tank doesn't interrupt circulation through the chiller.
That constant flow matters. We're running very cold water, and slow or interrupted flow through the heat exchanger can allow ice to build up inside it. The MAX needs to stay running whenever the chiller is cooling. Start circulation and check the return flow before turning on cooling.
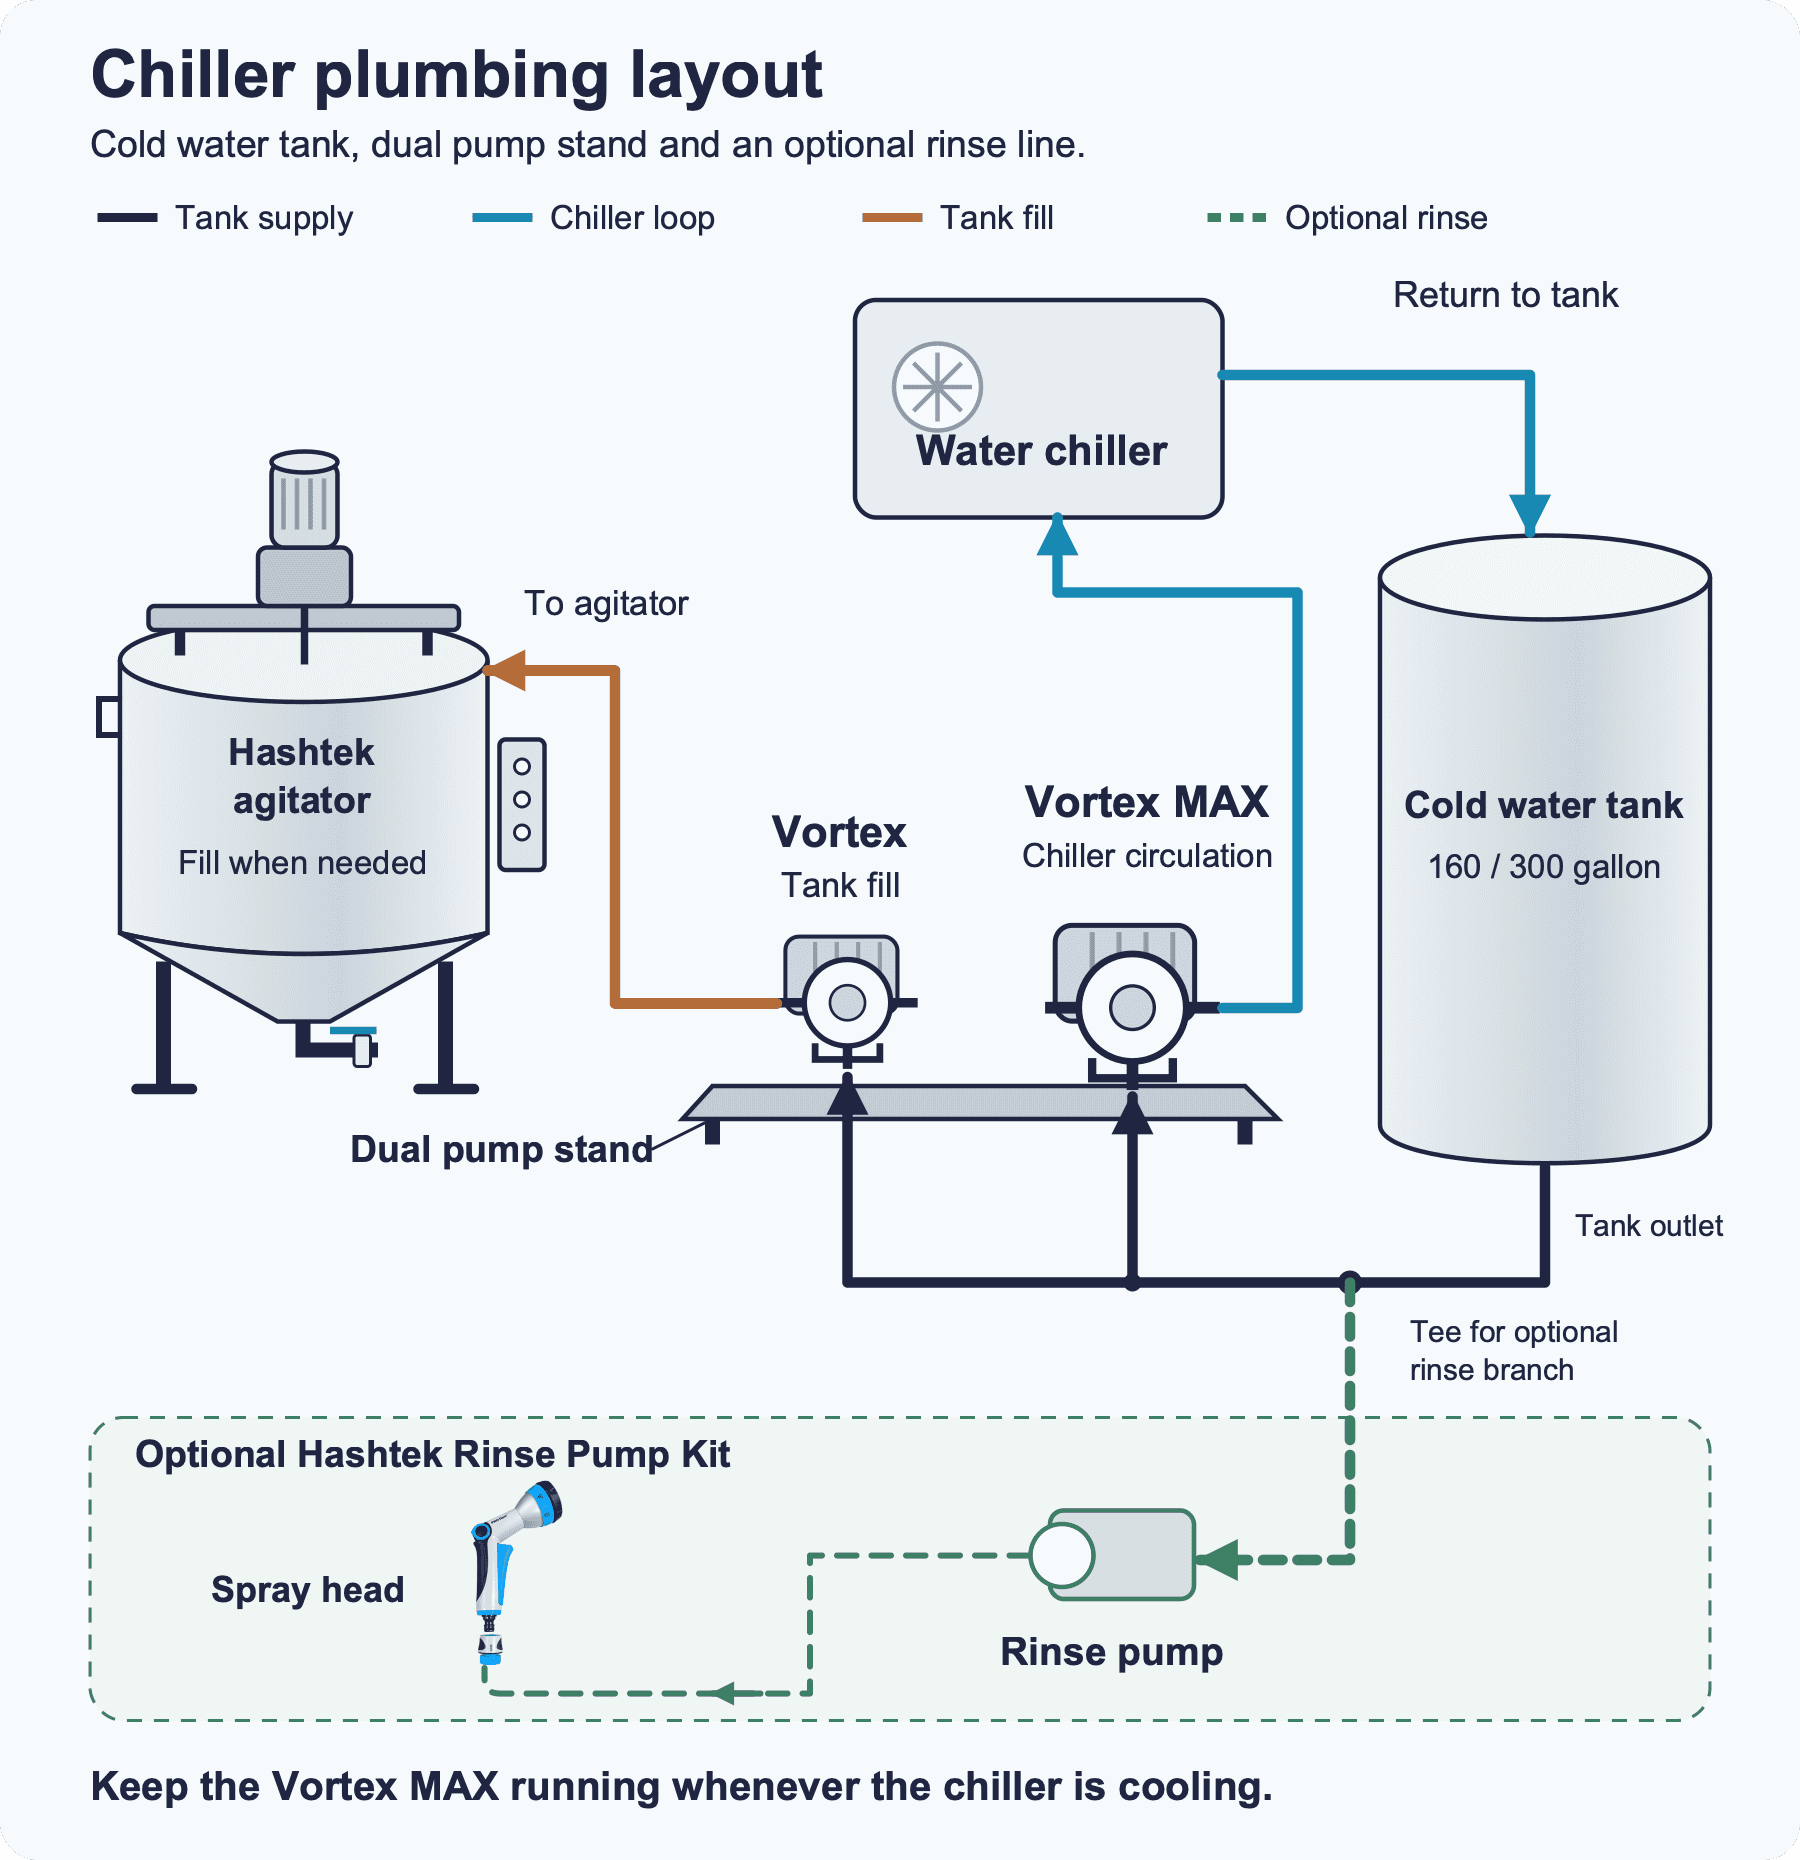
An optional tee at the cold water tank outlet can feed our Hashtek Rinse Pump Kit. Pick the TC Tee Kit option for this setup. It gives you a separate rinse pump and spray head, while the MAX keeps water moving through the chiller.
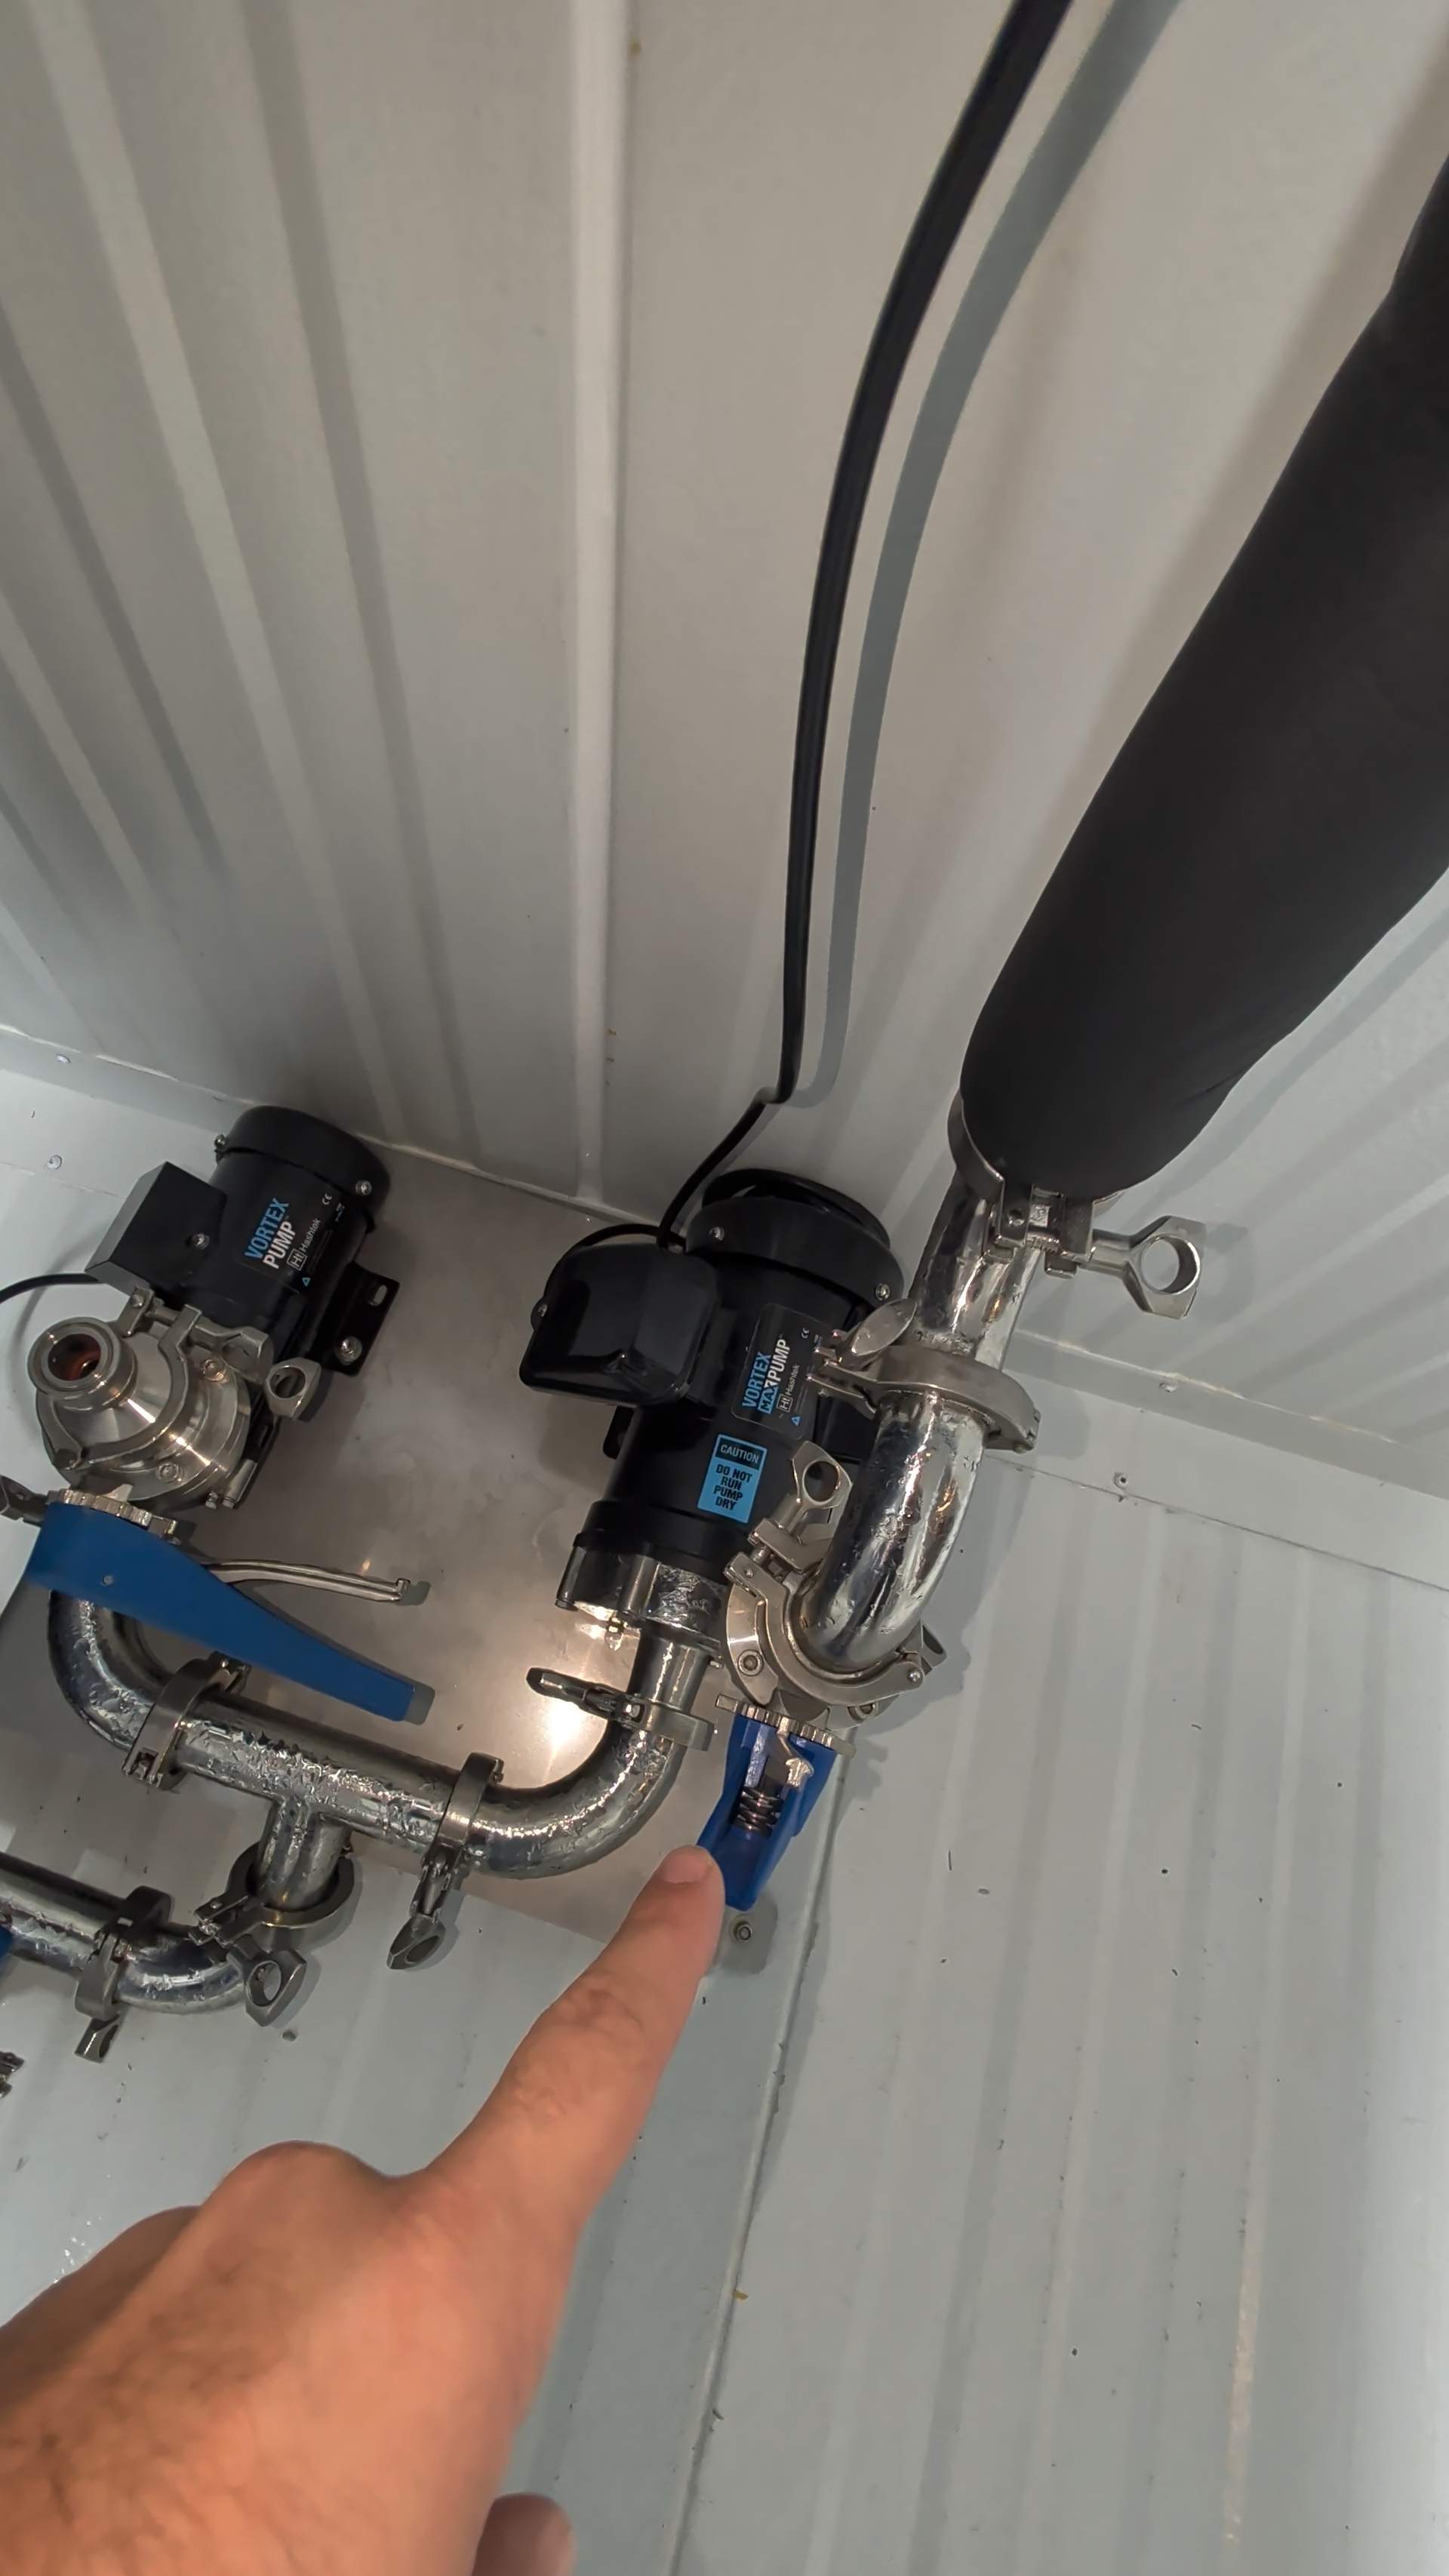
Both pumps sit on our dual pump stand, the same one in the Craft Chill Kit. It has rubber feet and a different mounting pattern for each pump. The Vortex and MAX can't swap sides. It comes with eight sets of mounting bolts, nuts and washers, but the pumps and plumbing are separate.
Picking the chiller
I used a 1.5 HP, 220 V chiller for this install. It's oversized for the 160 gallon tank. We normally pair that tank with the 0.5 HP, 110 V model, and the 1.5 HP with our 300 gallon bundles.
We sell both sizes. In our Craft Chill Kit tests, the 0.5 HP took 12–18 hours to cool 160 gallons from 70°F to 35°F. The 1.5 HP took 8–10 hours to cool 300 gallons over the same temperature drop. That's the knockdown time to plan around when you're starting with a full tank of warm water.
Flex hose or hard plumbing?
Our chiller bundles, including the Craft Chill Kit, come with flexible silicone hose. The recirculation hose is 1 inch inside diameter (ID), supplied as two 25 foot runs. It makes the initial hookup straightforward and lets you move things around.
Match the hose-barb size to the hose ID, and secure barbed connections with hose clamps. These are the stainless worm-gear hose clamps we use. The sanitary fill hoses use pre-crimped Tri-Clamp ends, which connect with Tri-Clamps and gaskets.
Plan the pipe route
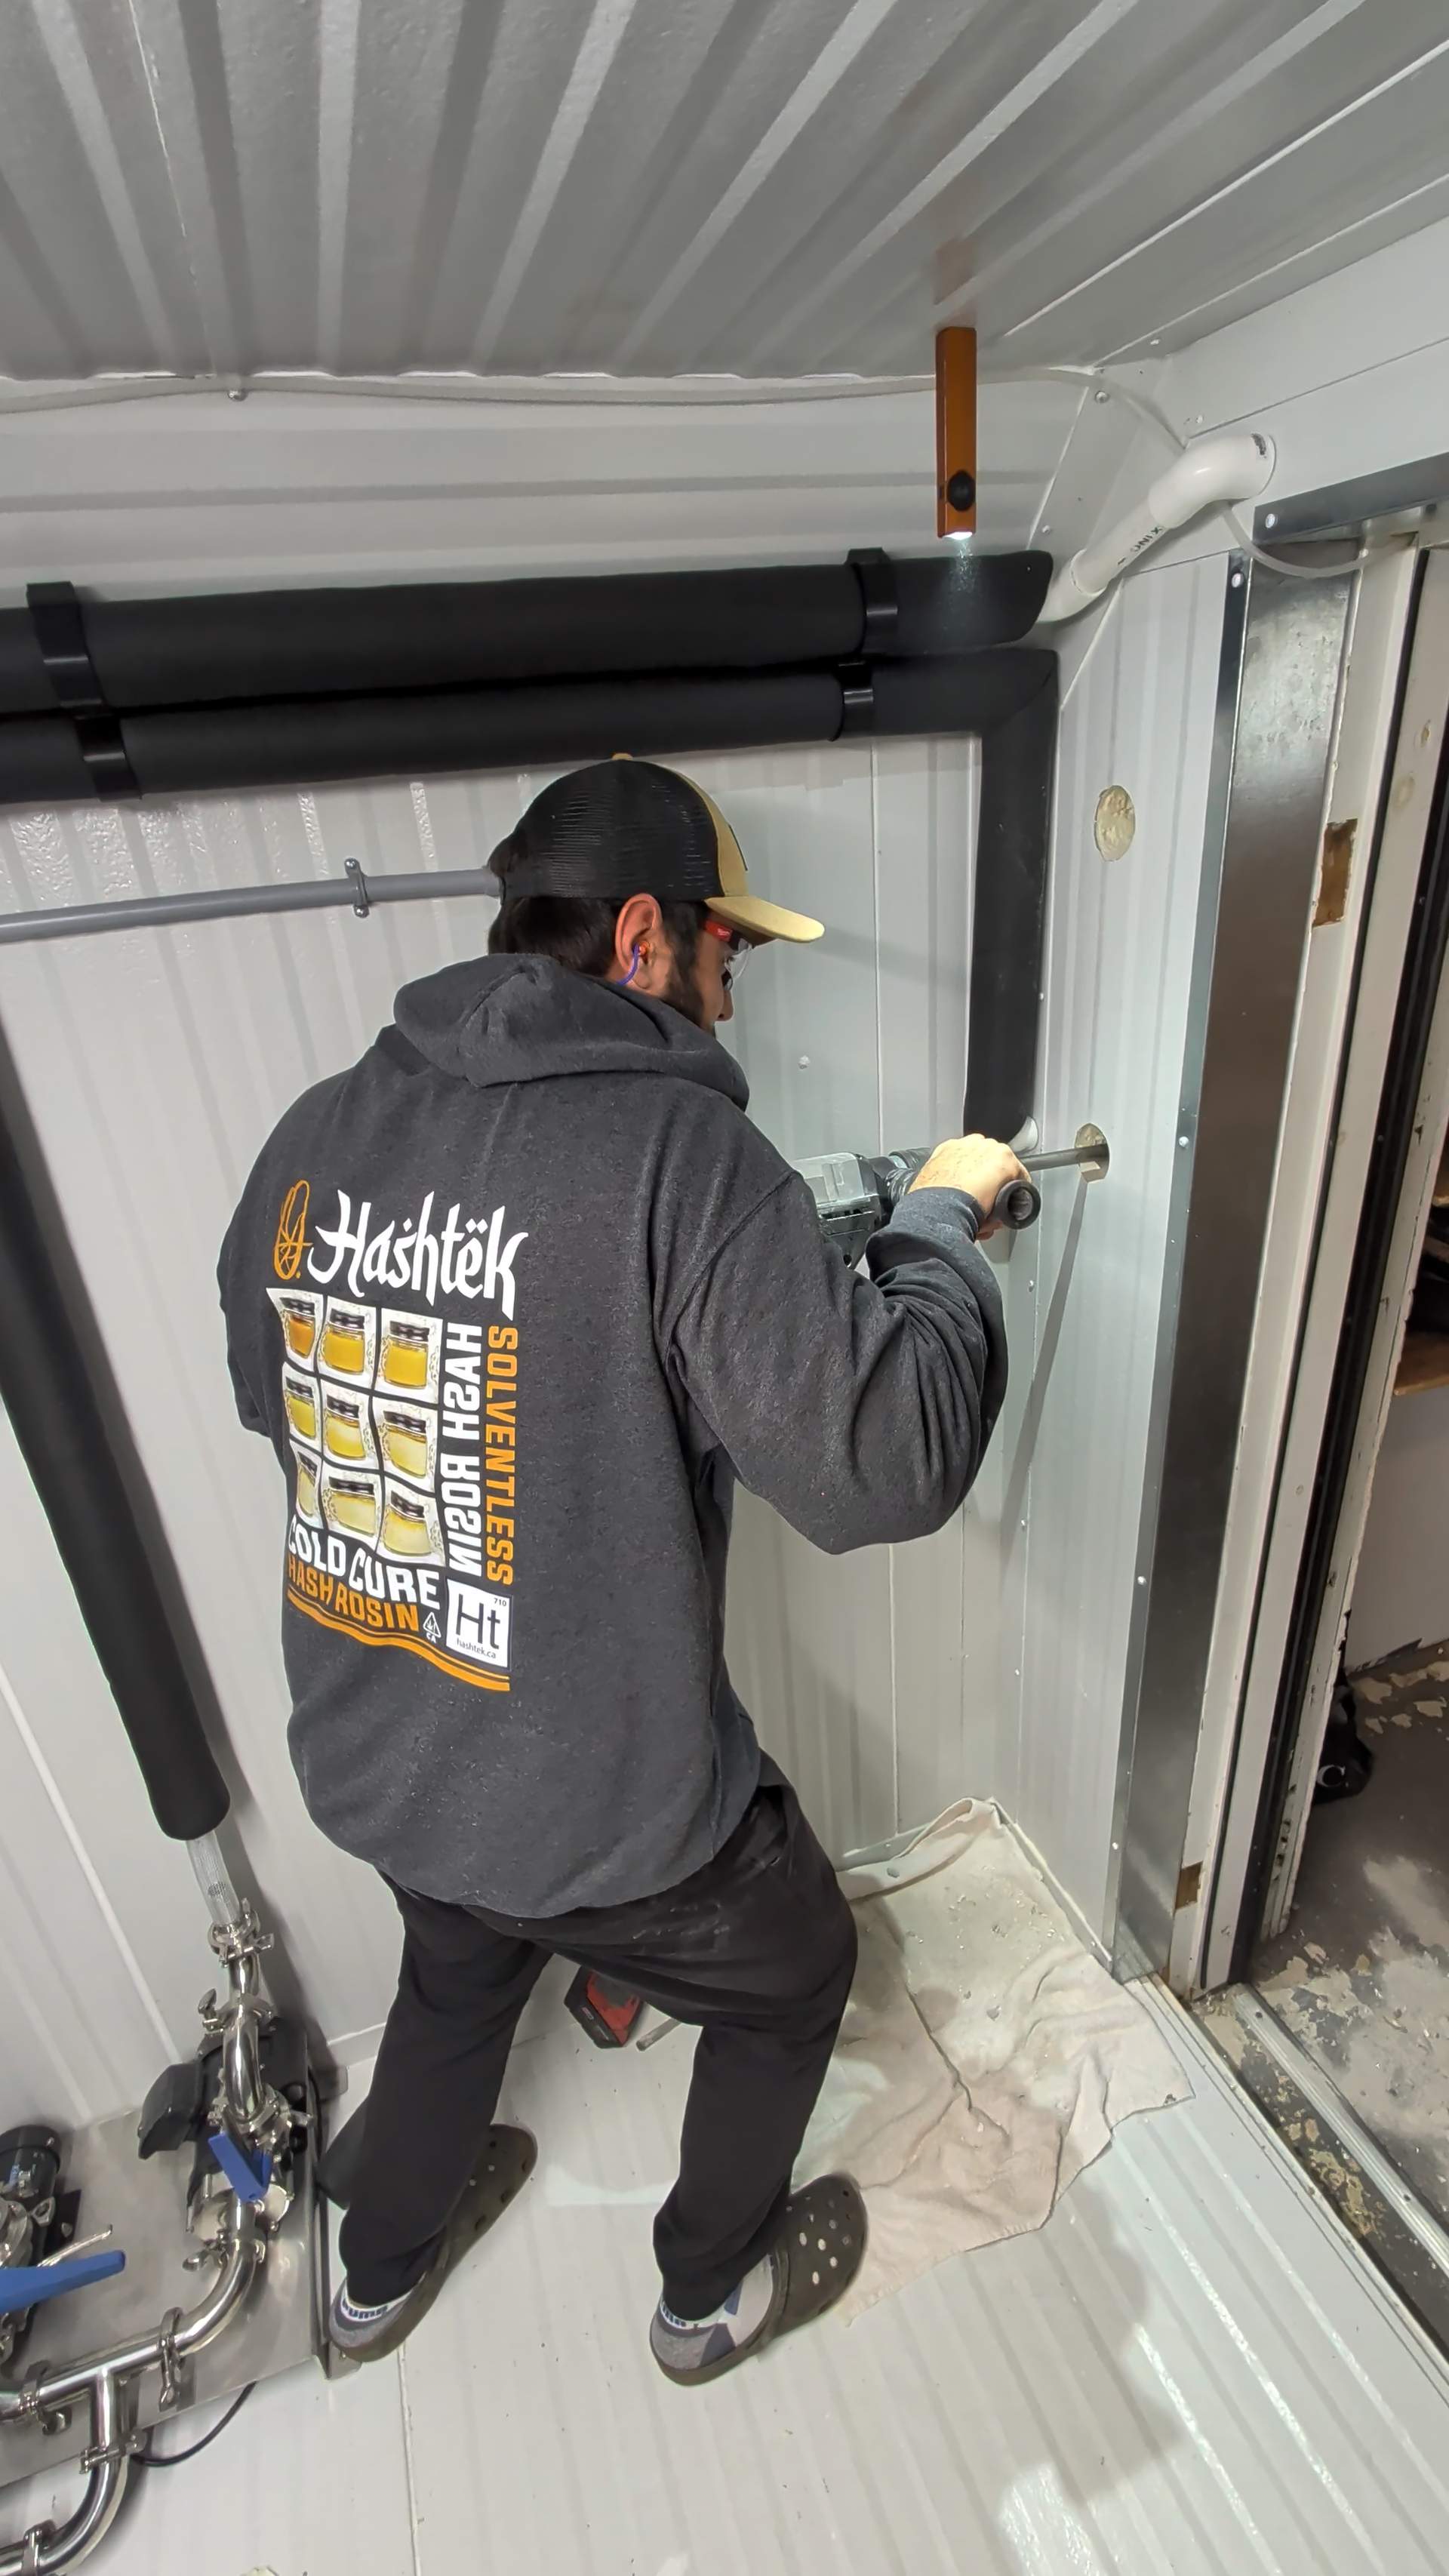
We planned the wall pass-through and checked both sides before drilling. Abid brought the Milwaukee diamond core bit, and I got to run it this time.
Jordan helped with the dry fit so we could check the route, supports and alignment before gluing anything.
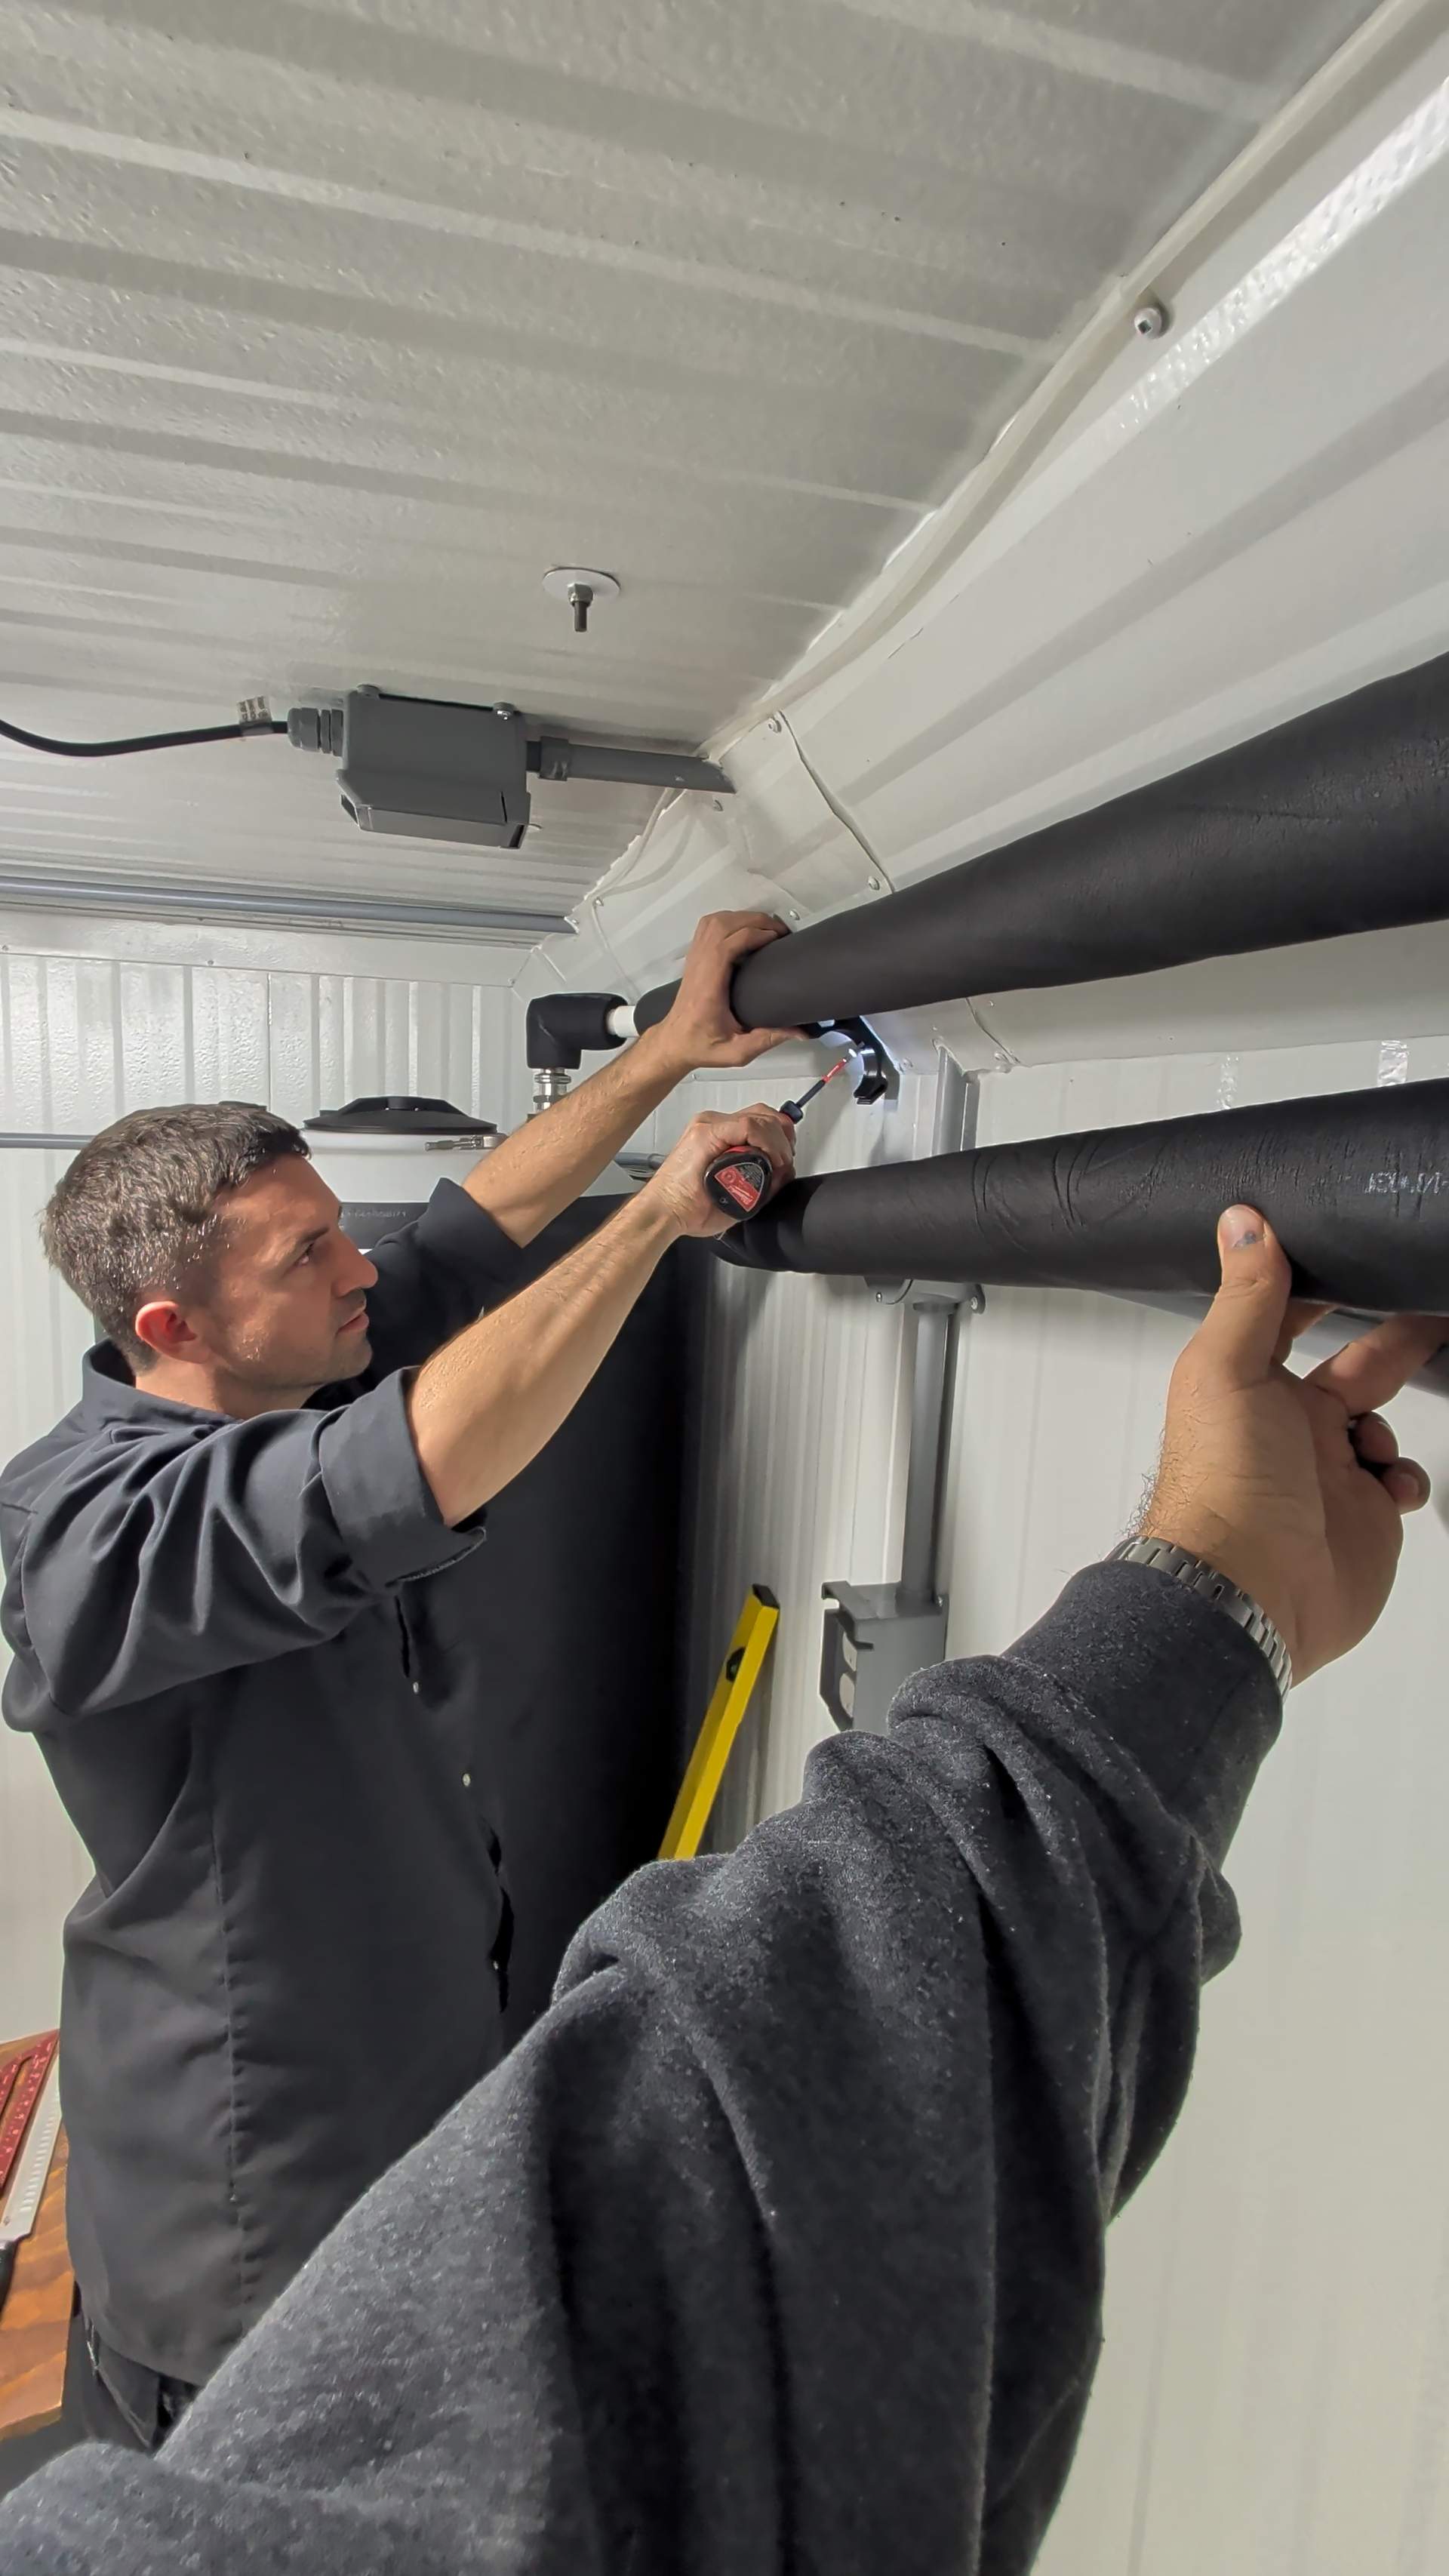
For this permanent setup, we used Schedule 40 PVC. It keeps the runs tidy and lets us put everything exactly where we want it.
I used the Milwaukee M12 PVC shear for the cuts. Probably overkill for a few pieces of pipe, but damn is this a fun tool.
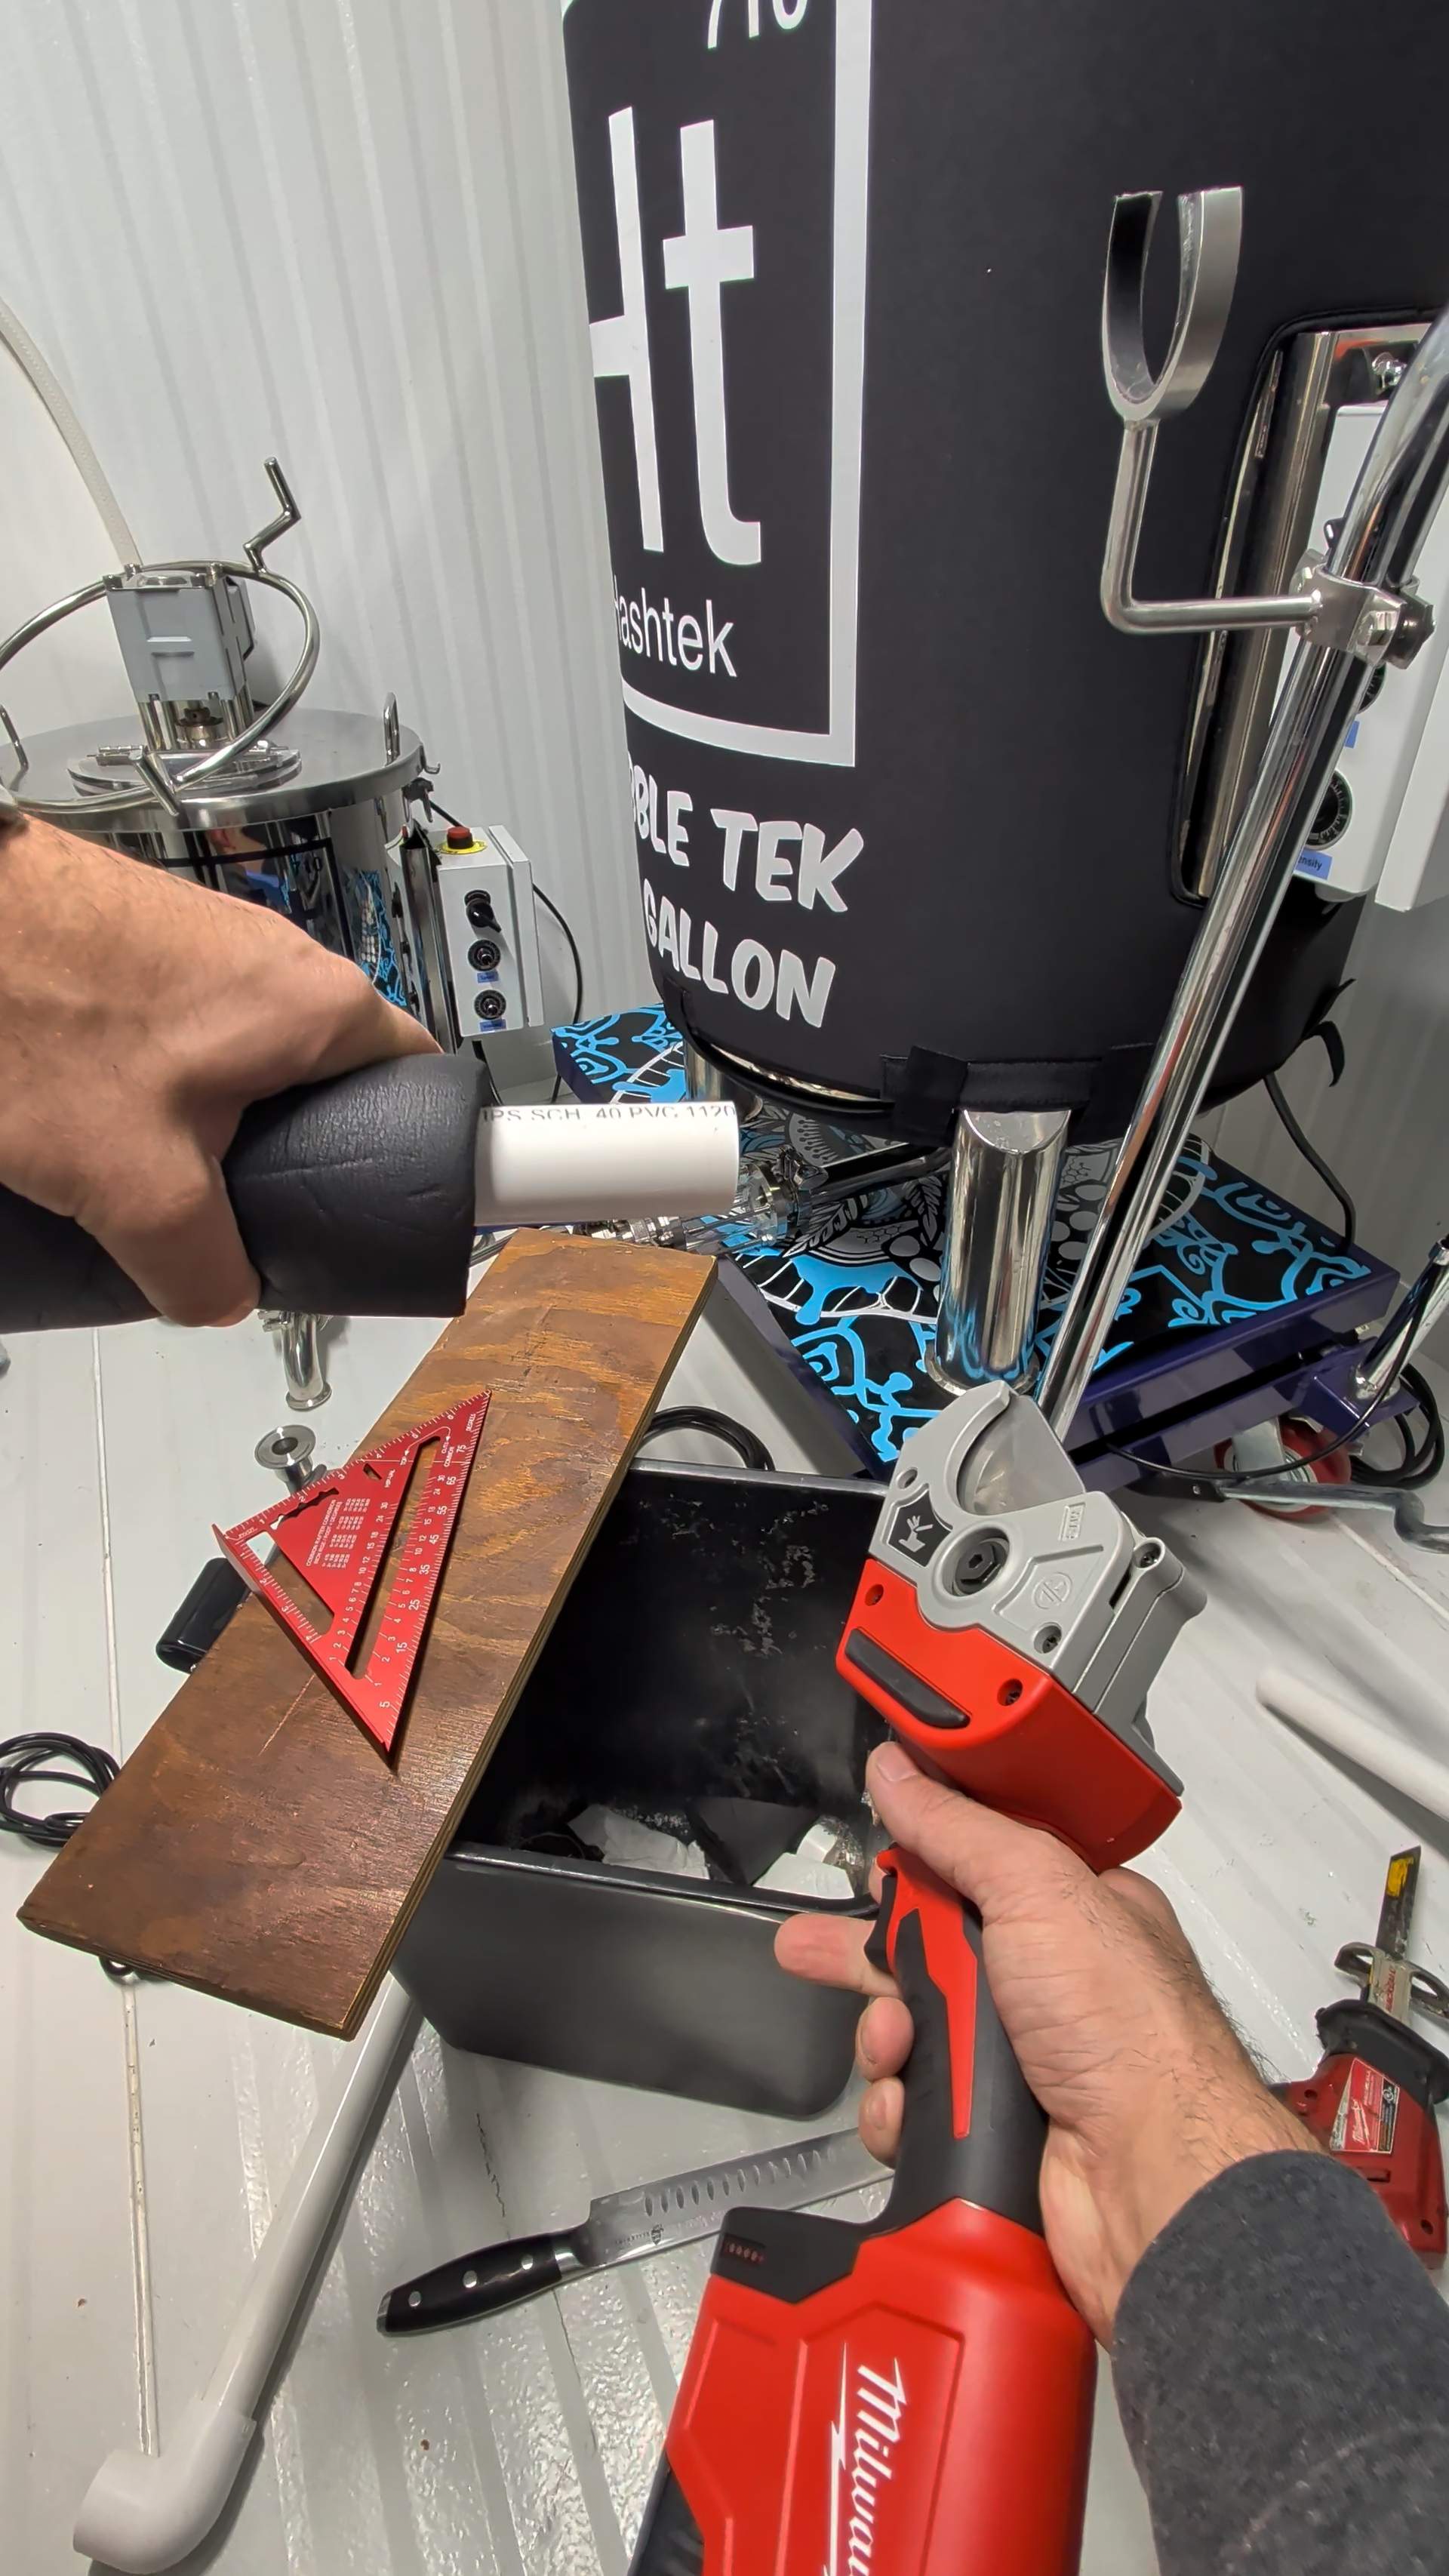
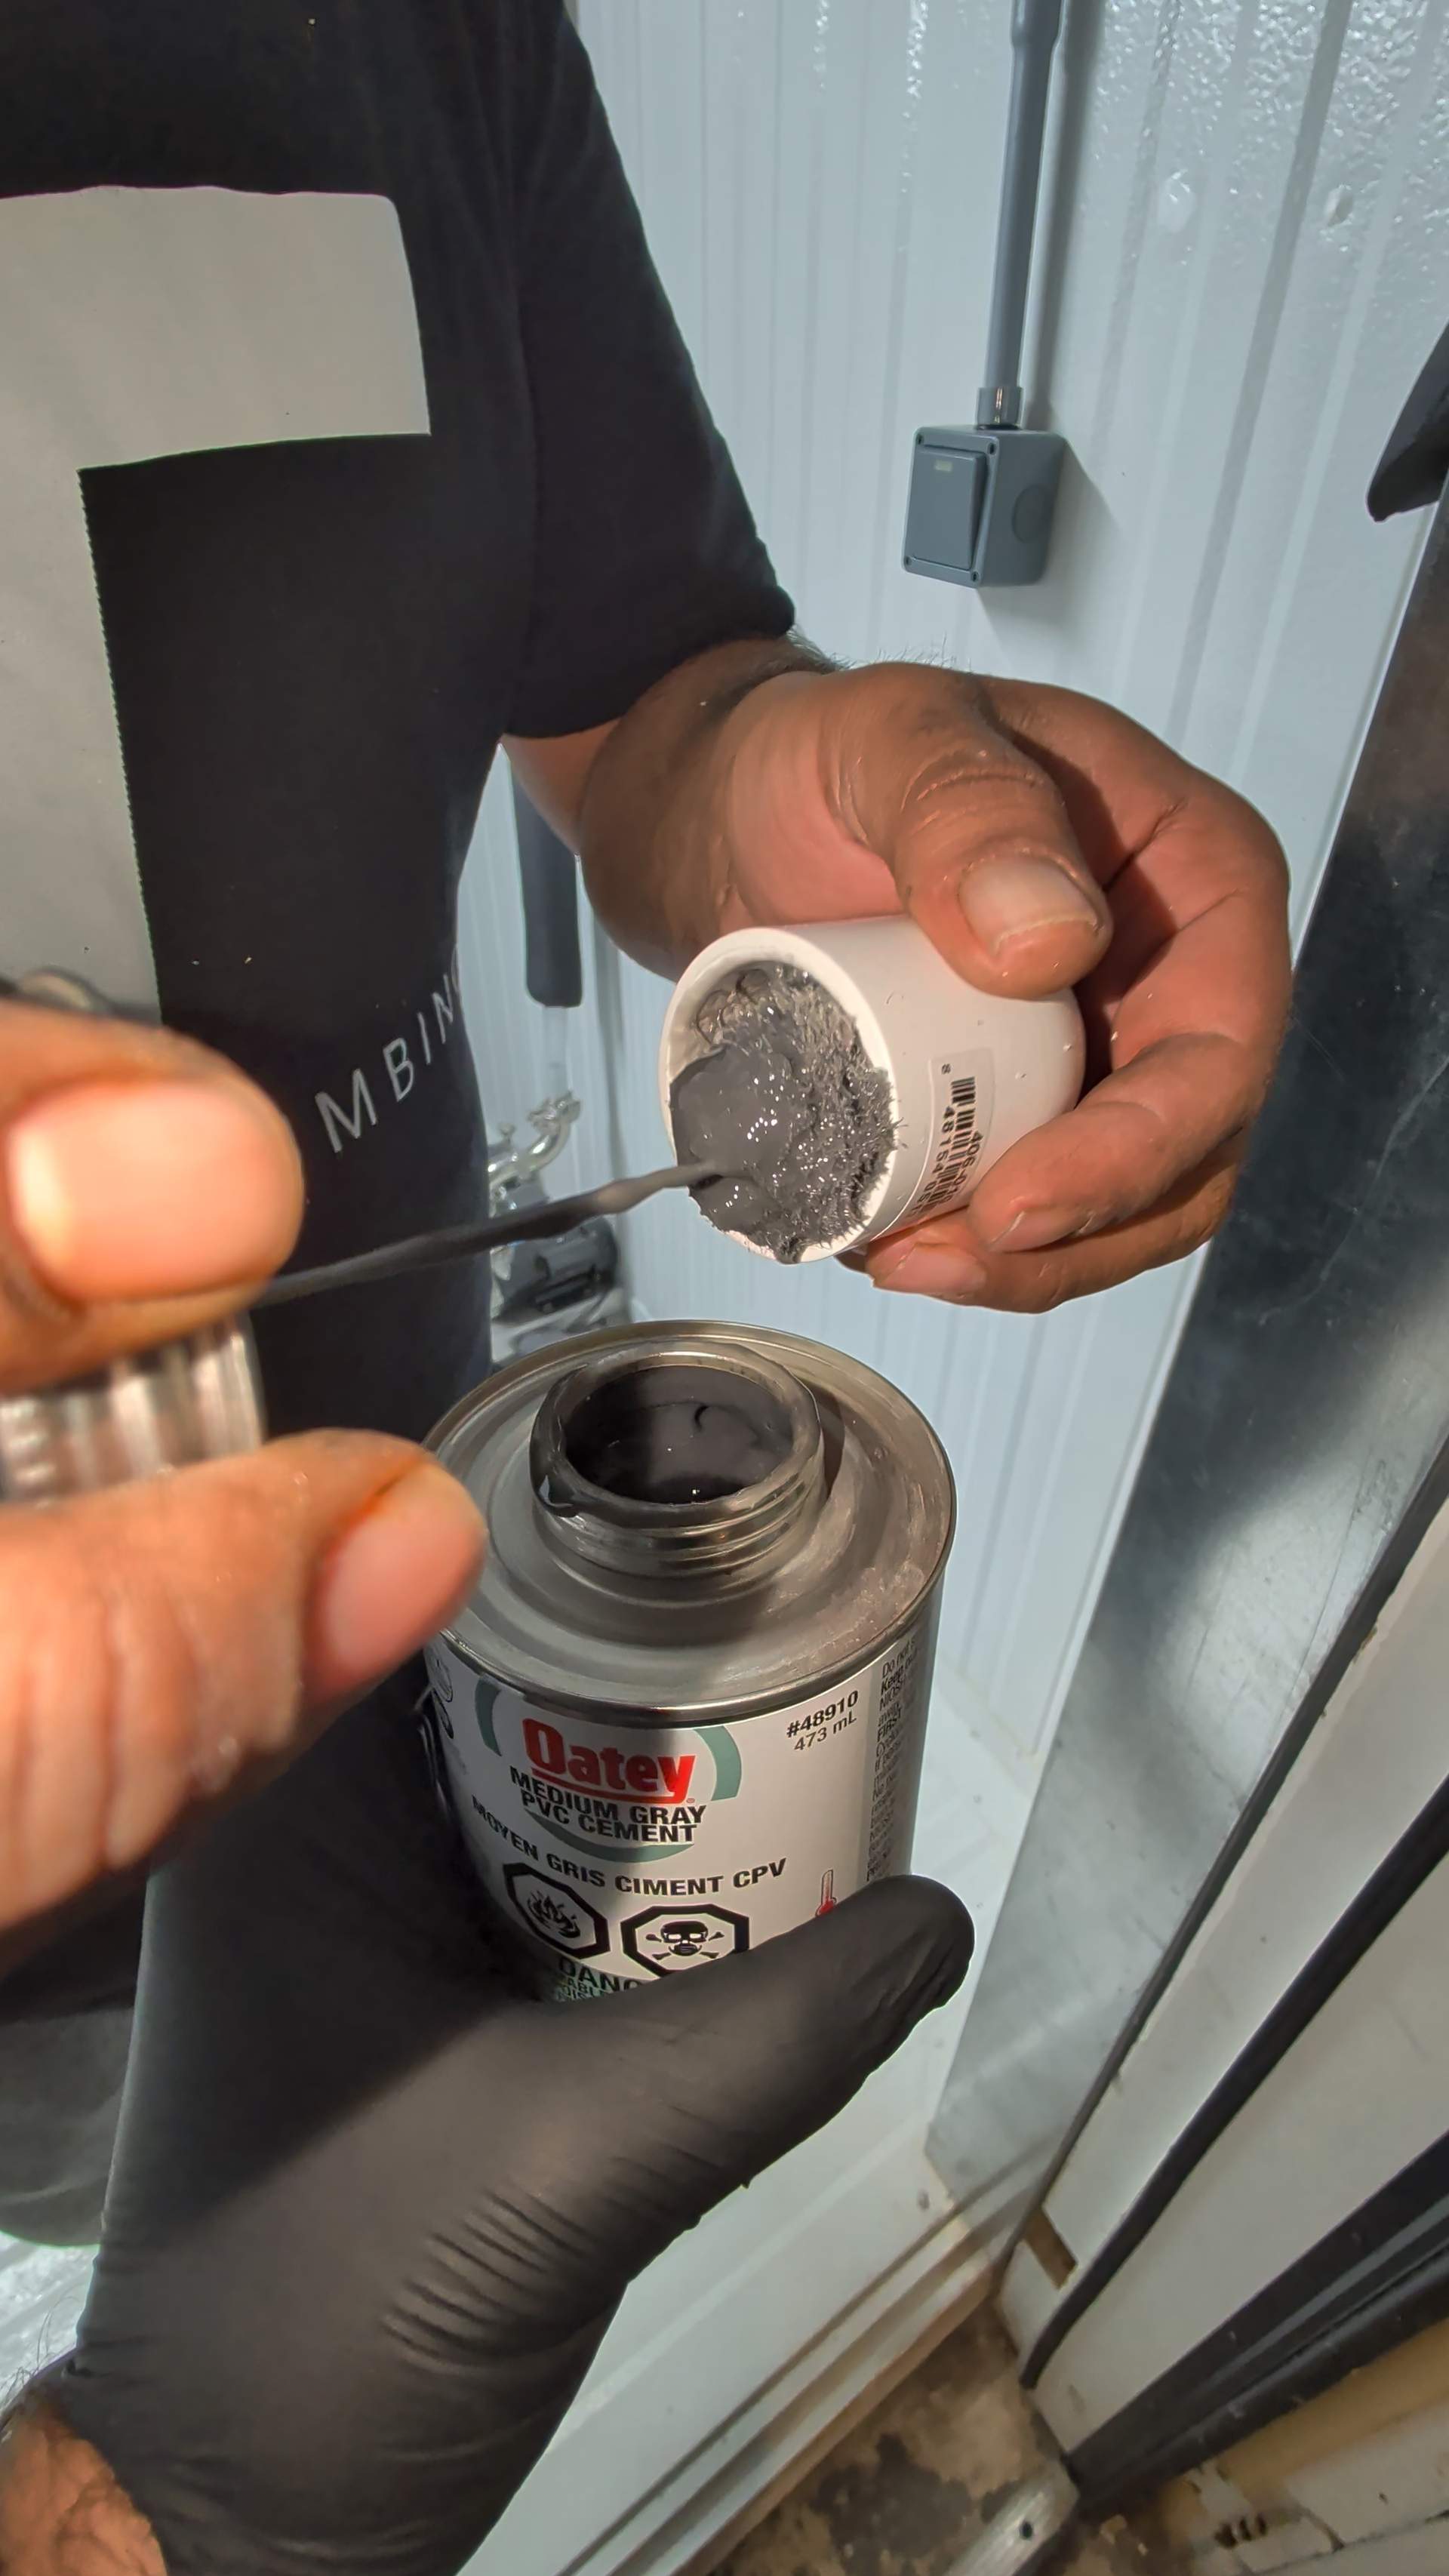
We dry fitted the whole run first, checked alignment, and marked the fittings before gluing. Then it was PVC primer followed by PVC cement on each joint.
Leave yourself room to get at the chiller later. Support the pipe and give yourself a way to disconnect it. Otherwise, a simple service job turns into cutting your plumbing apart.
Insulate the cold pipes
Once the plumbing was tested, we insulated it to stop the cold pipes sweating all over the room. We bought 1⅛ inch nominal closed-cell rubber pipe insulation with a ¾ inch wall, in 6 foot lengths, from Multi-Glass. At the time, we paid $1.27 CAD per foot, or $7.62 per 6 foot length, before tax. We also bought contact cement, which was $122.93 CAD for a gallon, before tax.
Match the insulation to the pipe you actually ran, then measure the finished diameter before printing holders.
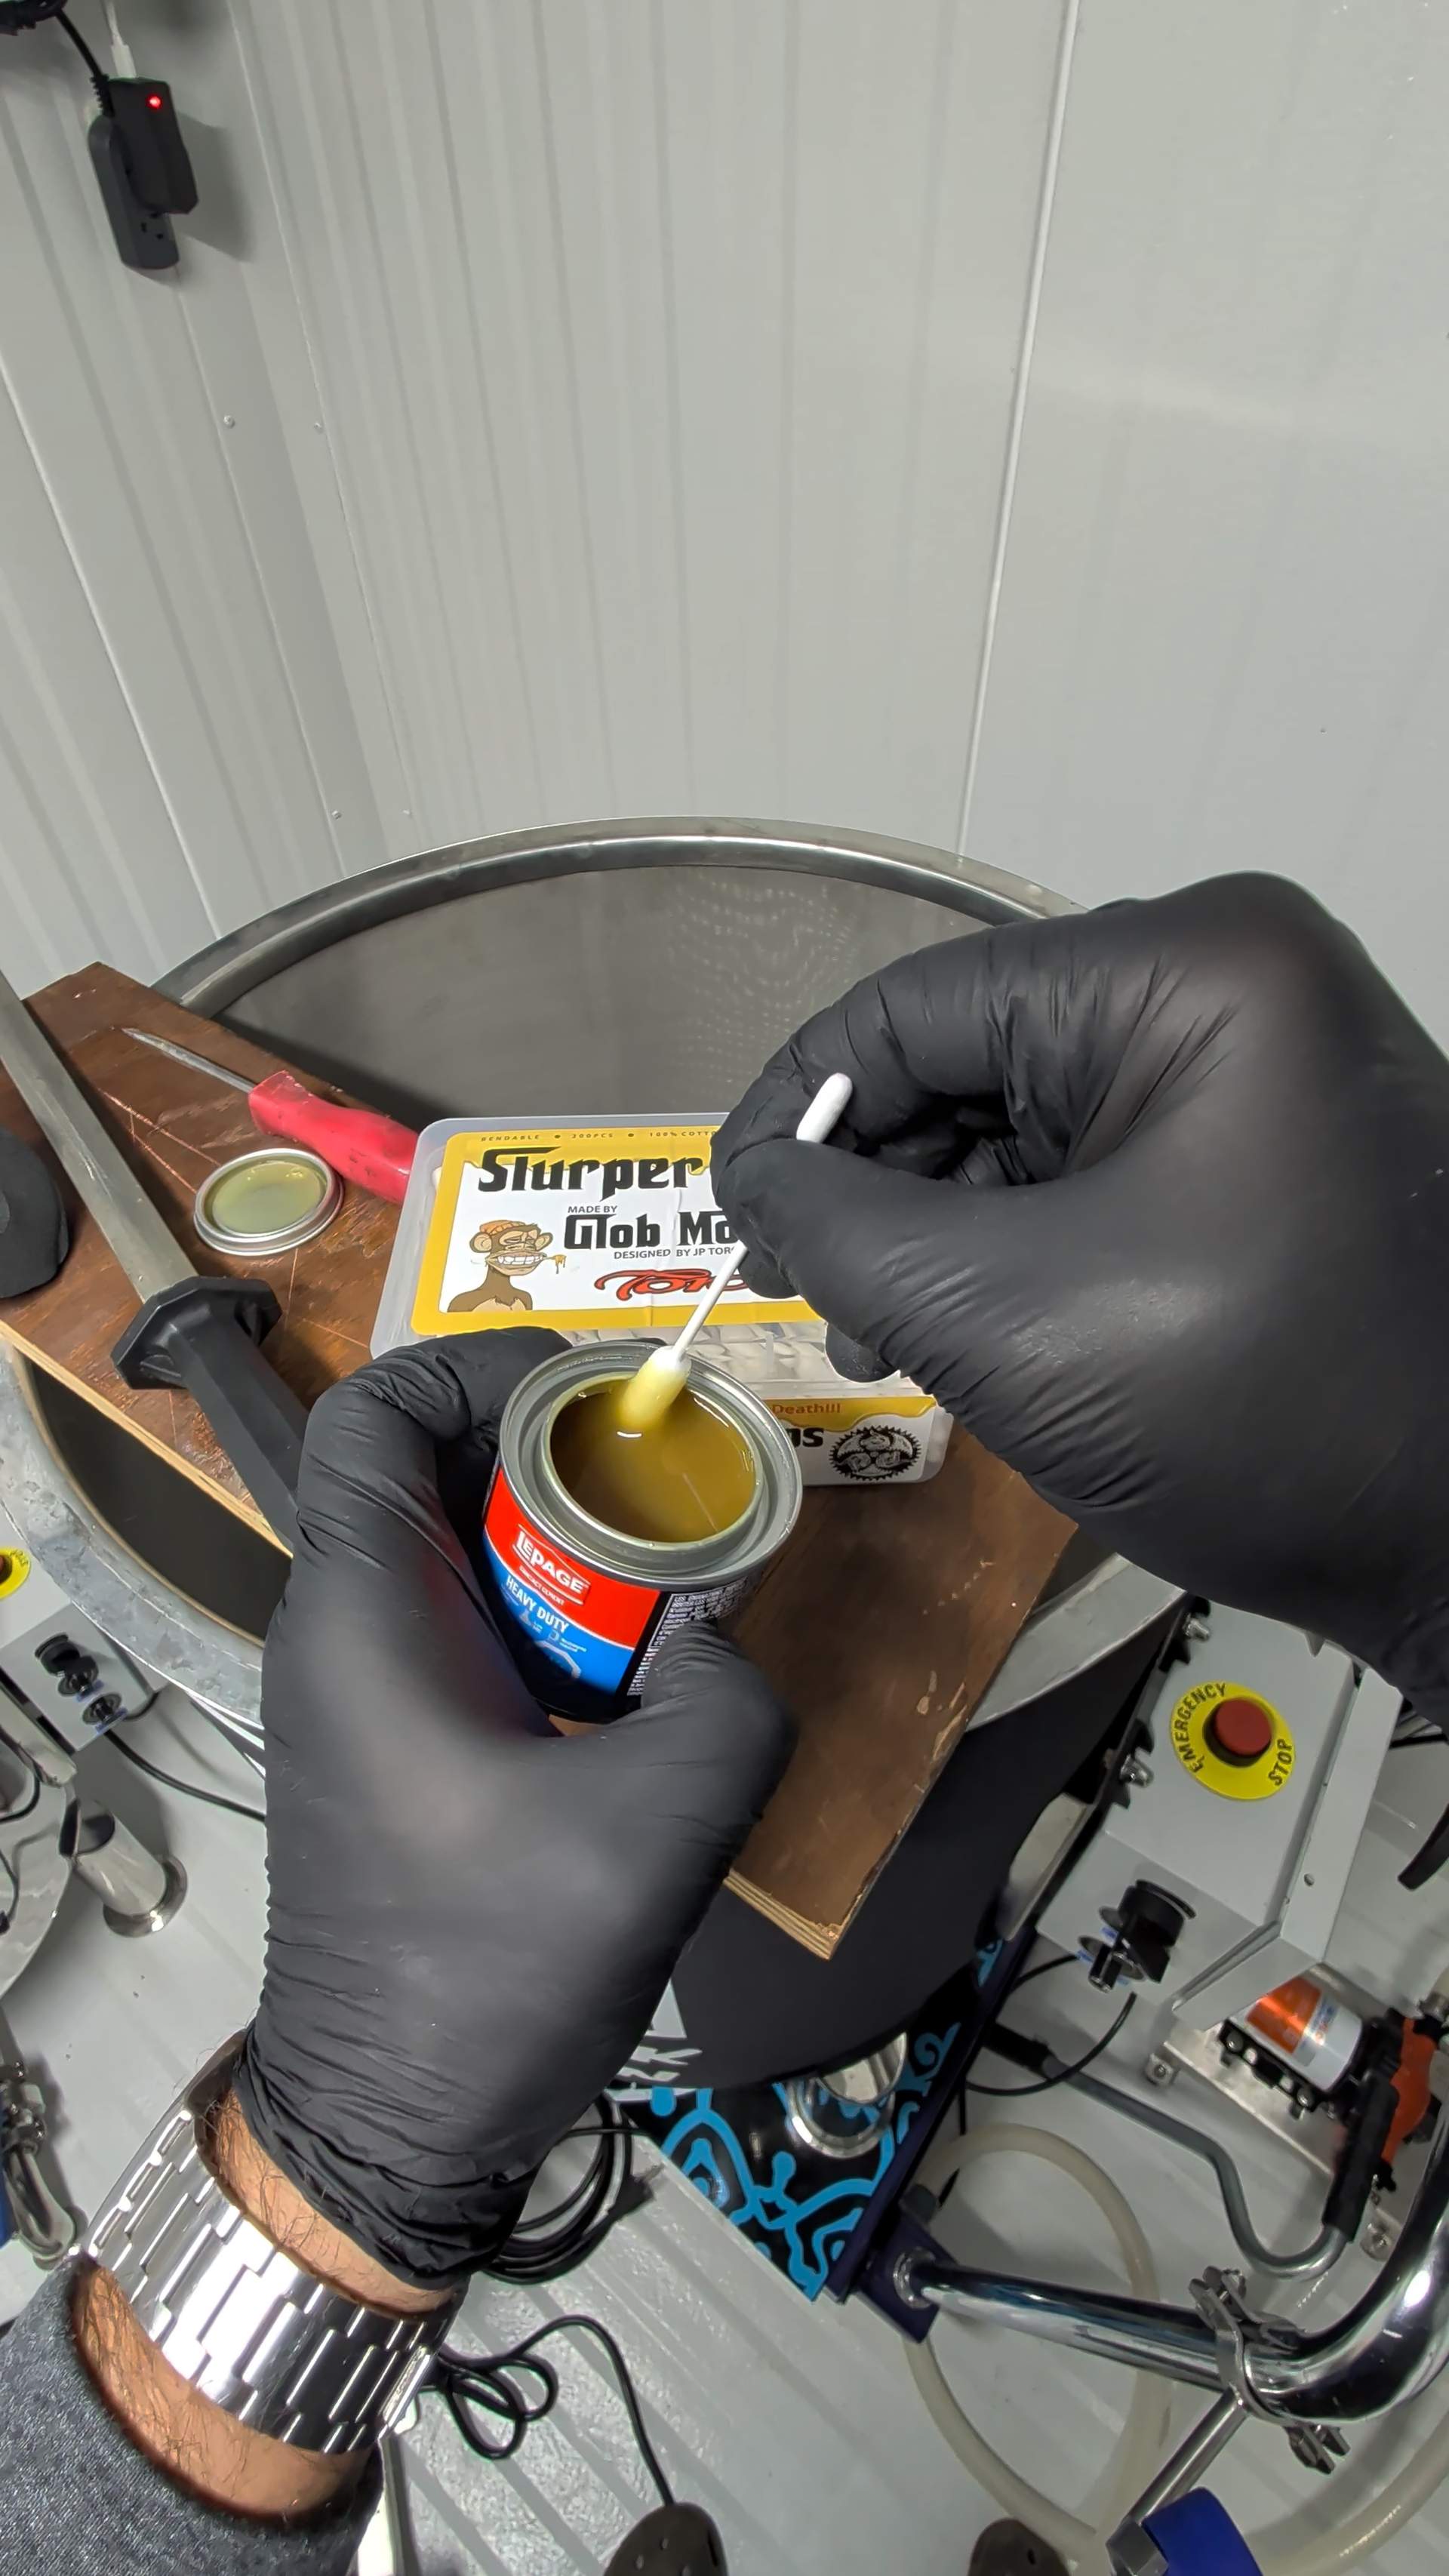
We cut the insulation to fit, then used the contact cement to glue the seams and elbow pieces together. Get those pieces to meet cleanly. You don't want gaps leaving cold pipe exposed.
Shoutout to my buddy Matt, aka Bubsy. He insulates piping for a living at Bruce Nuclear Generating Station, on the eastern shore of Lake Huron here in Ontario. I'm just trying to stop my hash lab pipes from sweating.
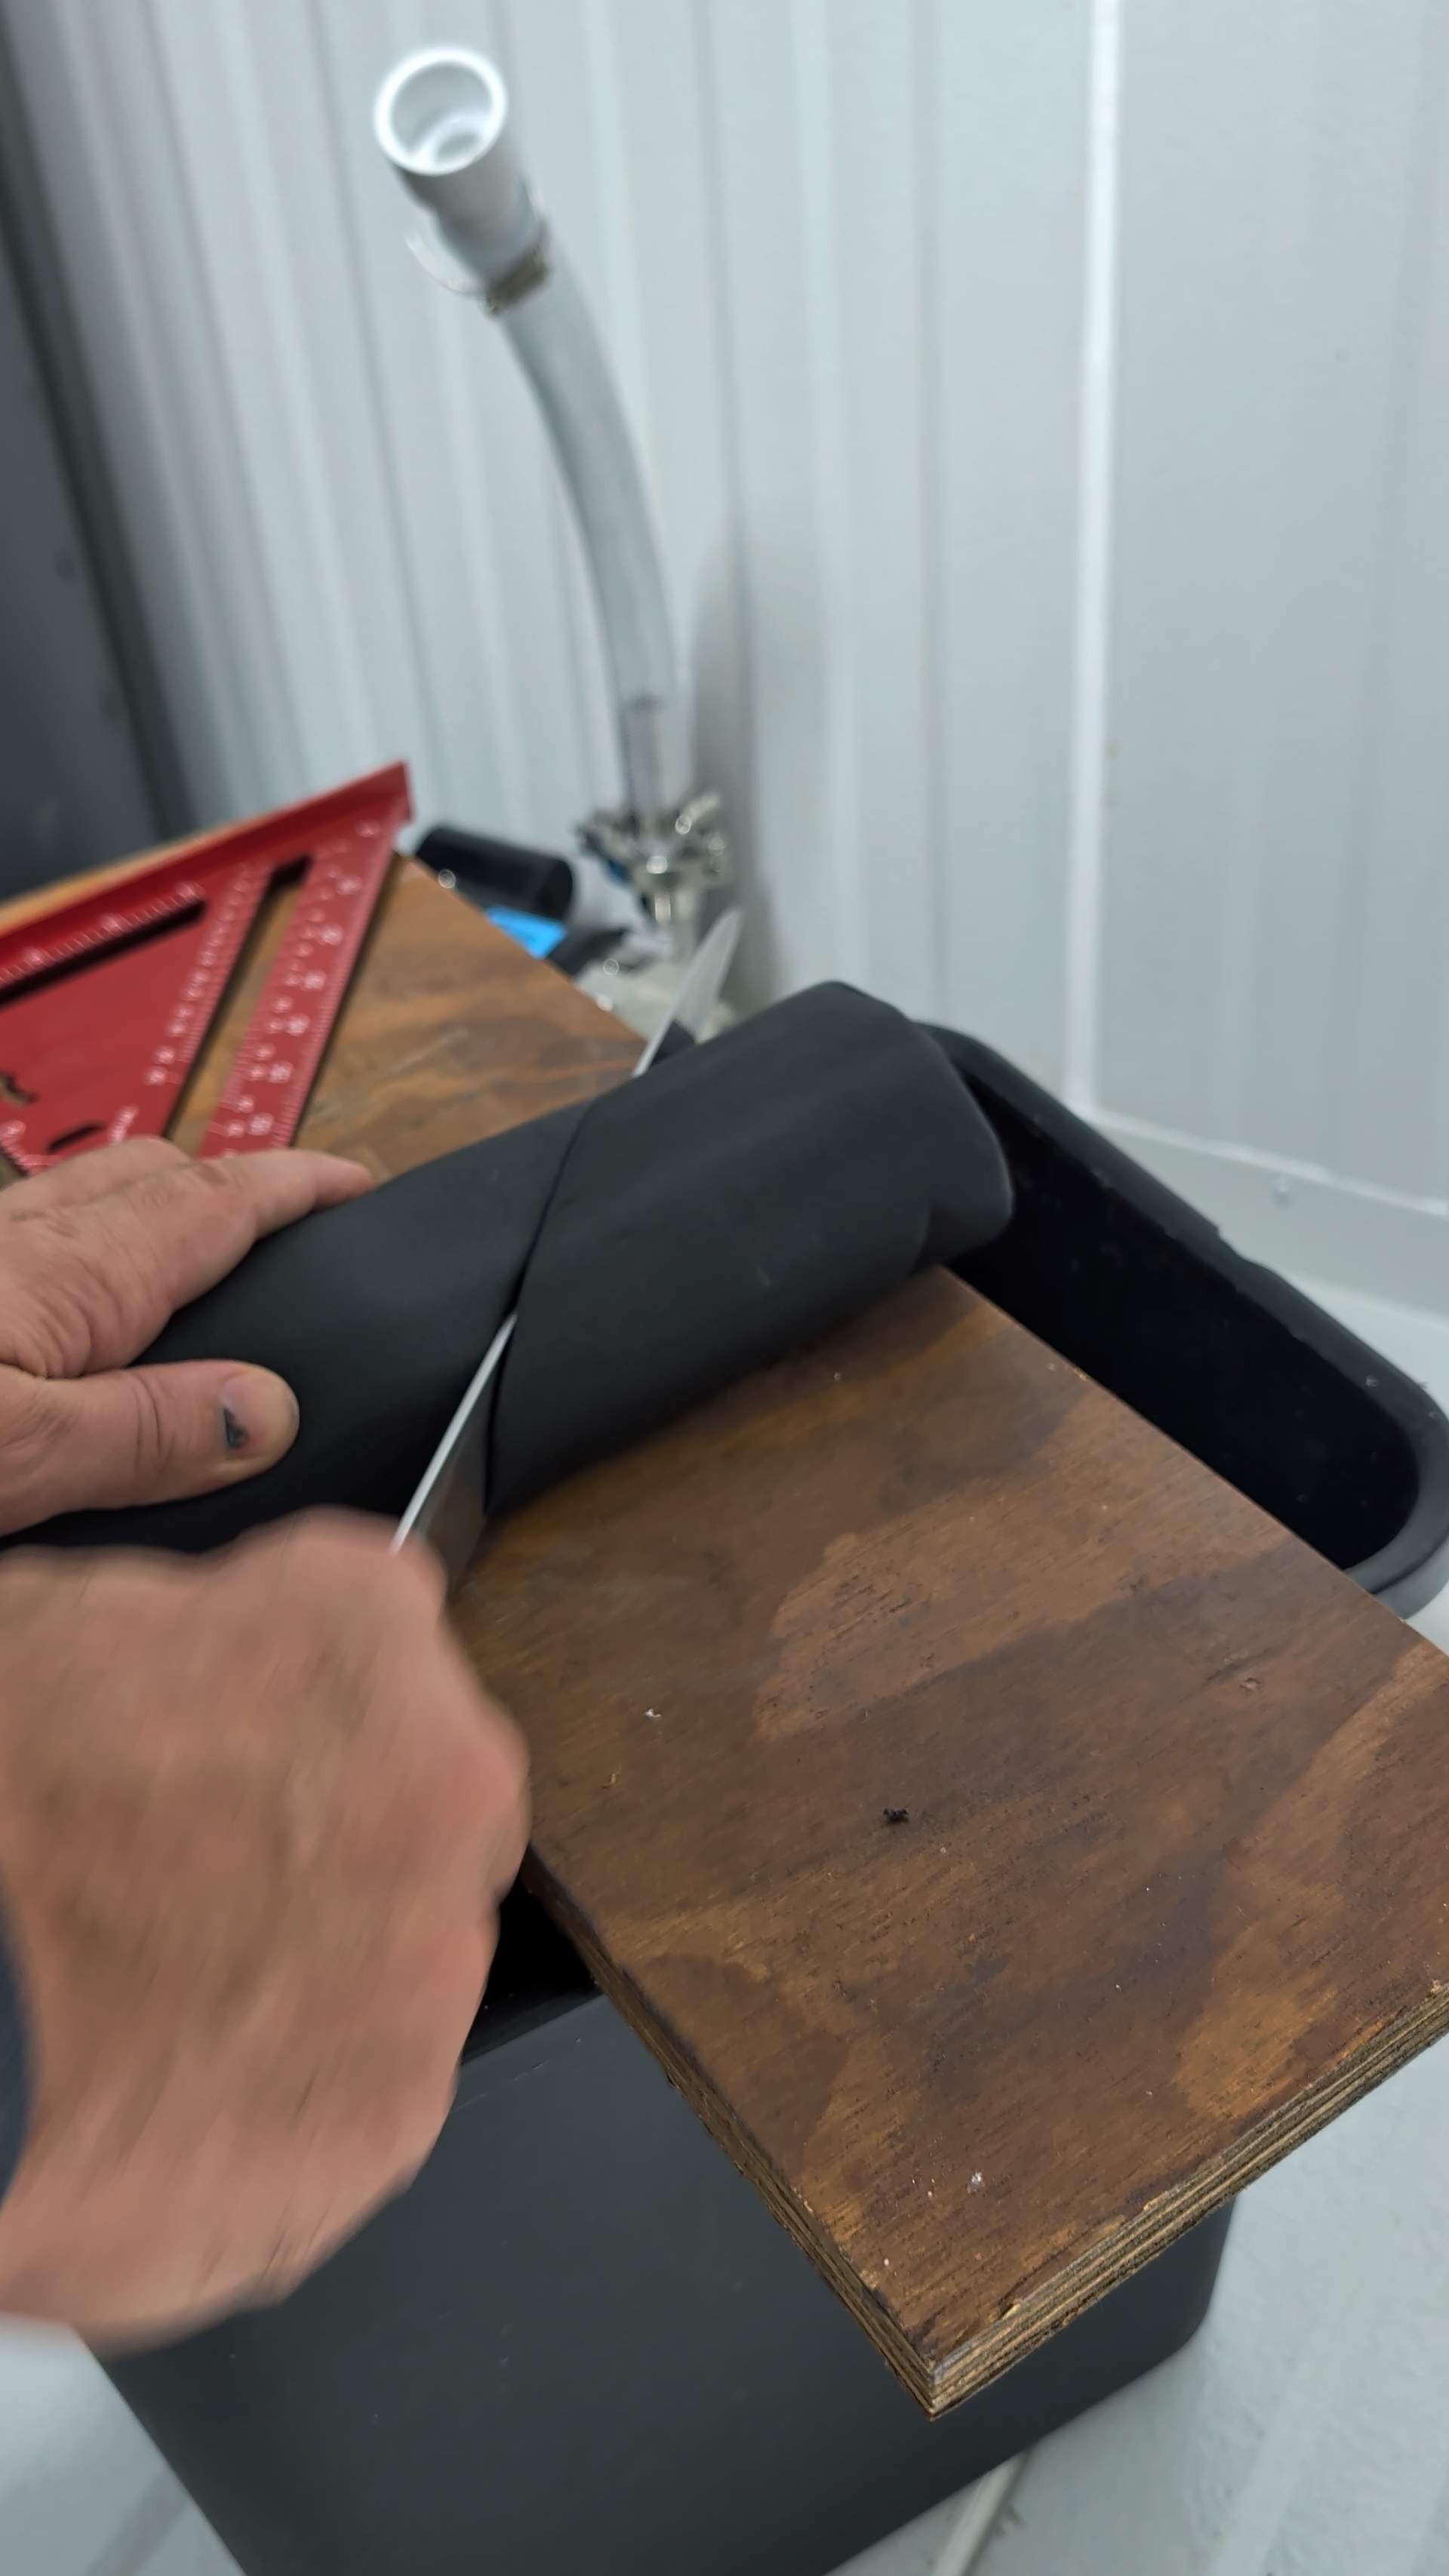
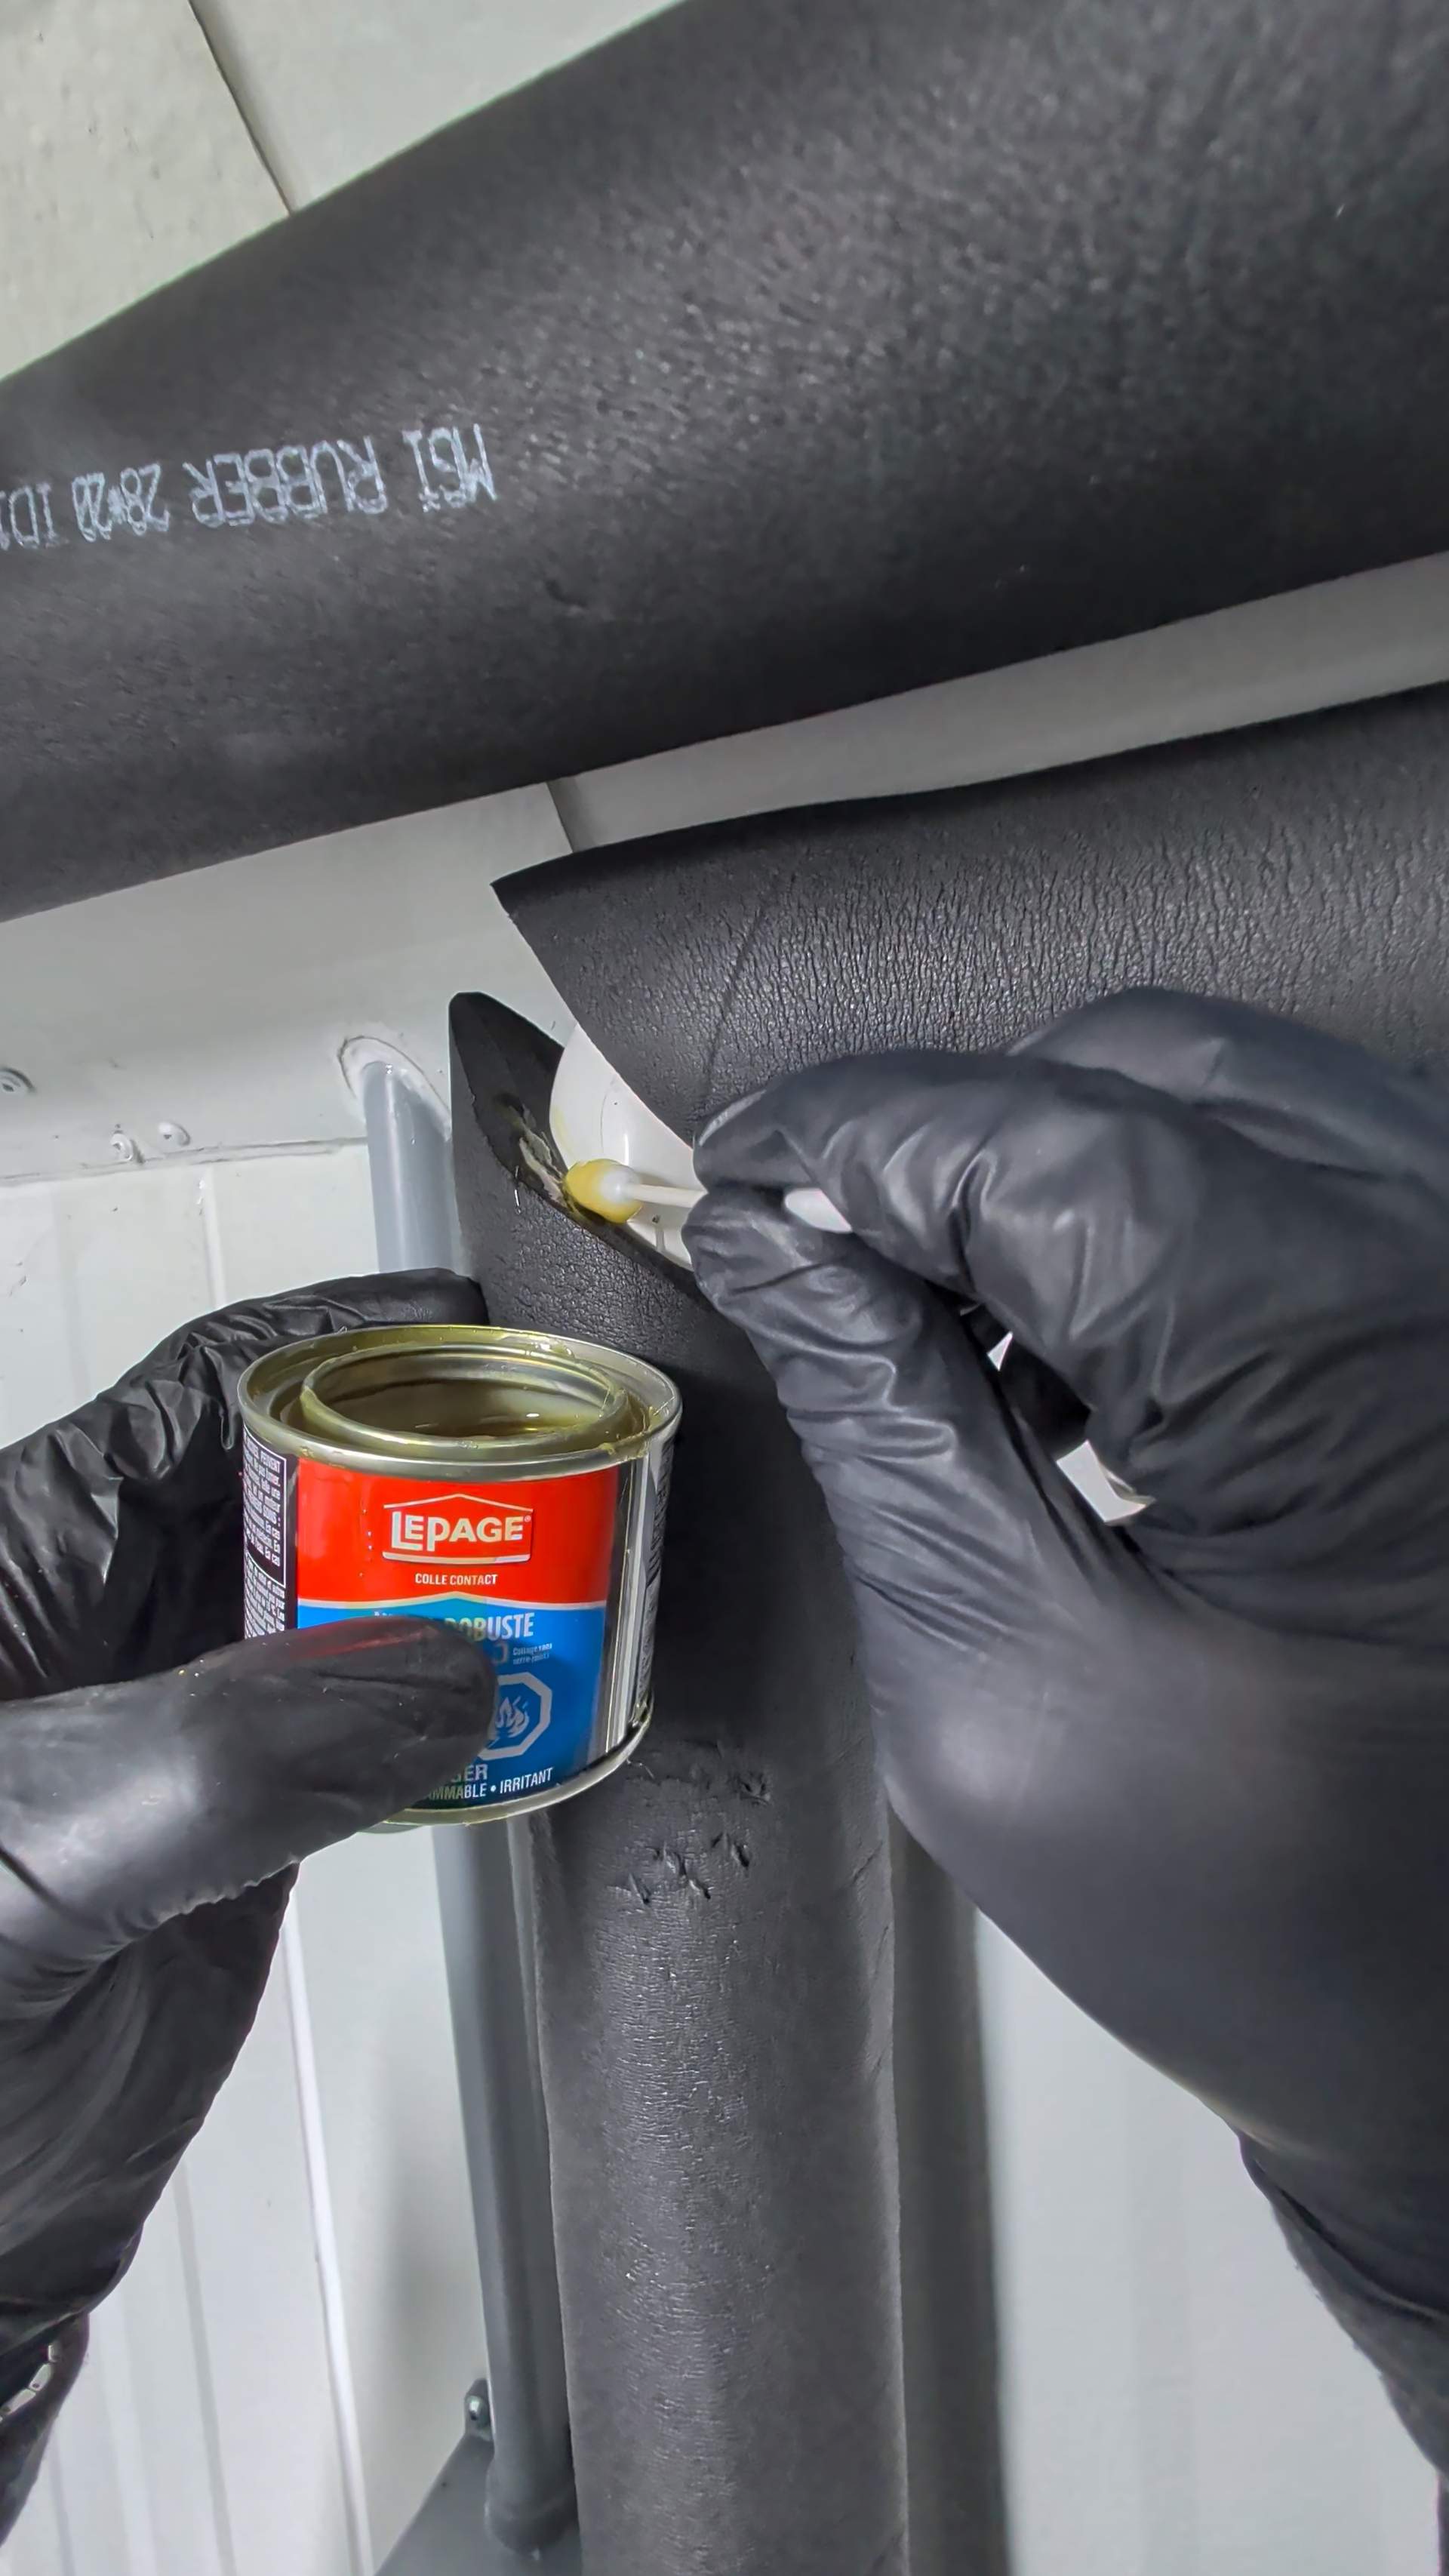
And yes, those are Slurper Mops / Glob Mops applying the contact cement. Finally found another use for them in the lab.
The pipe holders are 3D printed. They keep the runs supported and make the finished install look clean.
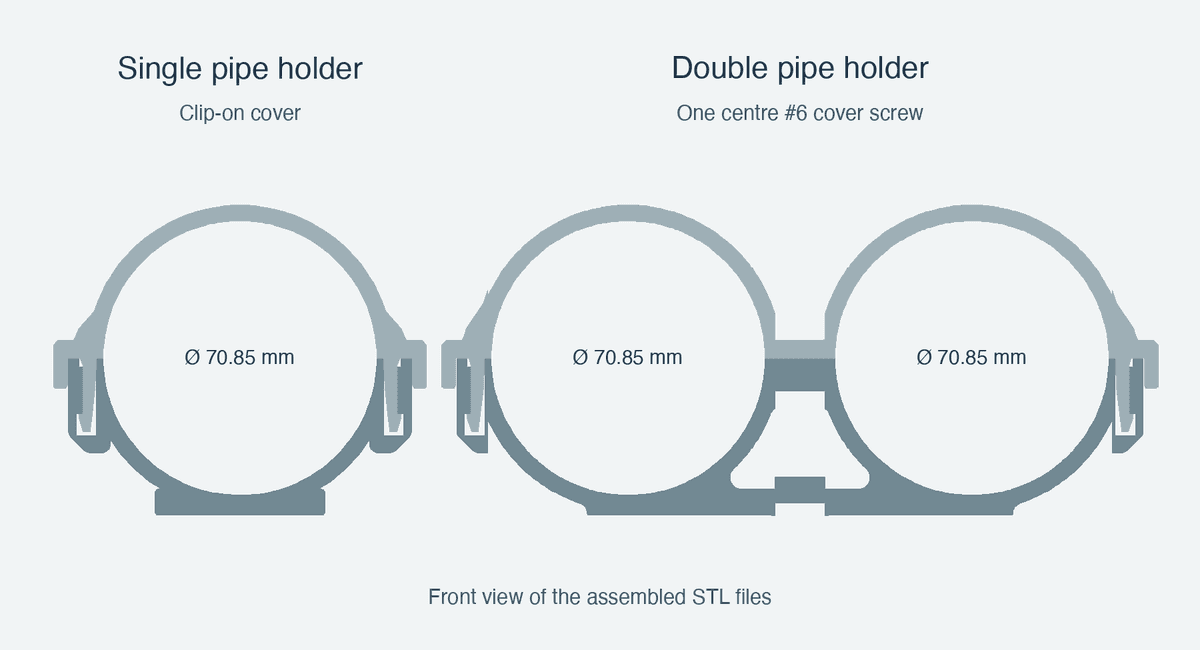
Want to print your own? Get the pipe-holder STL files. The download includes the latest single and double clasp holders and print notes. The single cover clips on without a retaining screw. The double uses clasps plus one centre screw. Print one and check the fit on your insulation before you run a batch.
Why bother?
The big win is having a tank of cold water waiting for you. Less time managing ice, less interruption between fills, and a setup that makes wash day feel a whole lot more dialled in.
You can build your own loop, buy a standalone water chiller within Canada, or get the pumps, tank and chiller together in a Craft Chill Kit.
Watch part 13 to see the install come together, and check out the other home hash lab episodes for the rest of the build.
Happy washing.
Hashtek Dispatch
Want release and restock alerts for equipment like this?
Join the Hashtek Dispatch for early product drops, restocks, and practical tek — plus a one-time 5% welcome code for your first order. Maximum savings CAD $100 (or currency equivalent). One use per customer, valid for 30 days. Excludes sale items. Cannot be combined with other coupons.