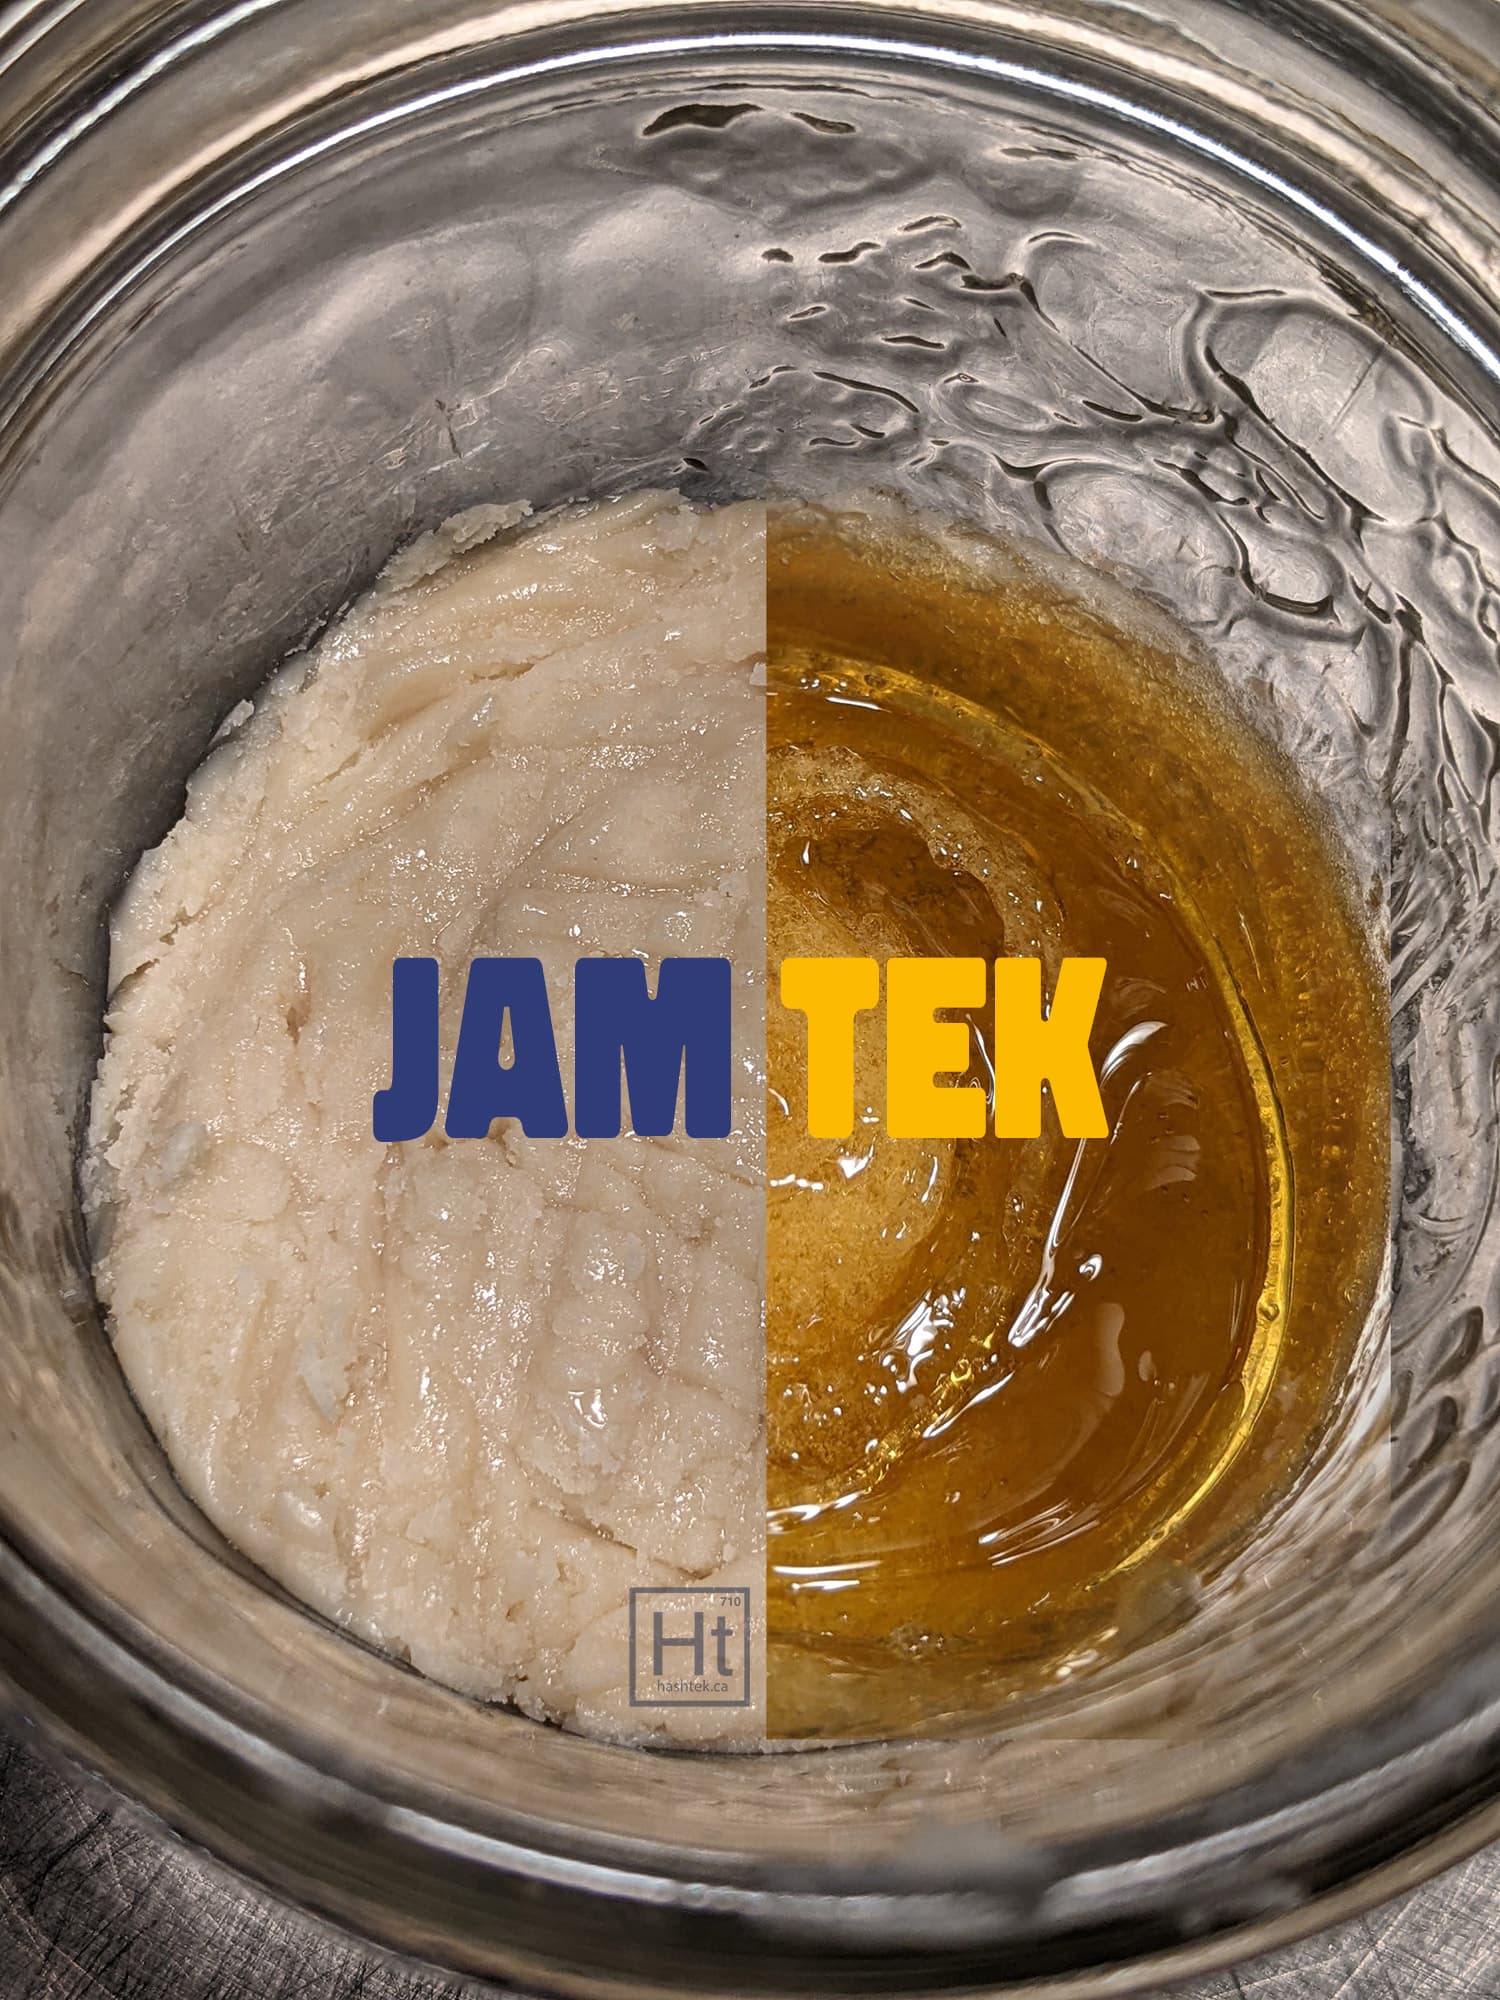
Rosin jam is a beautiful expression of hash rosin. Through an extended high pressure and increased temperature cure a novel form is achieved. Jam rosin not only looks beautiful, I have found it can have better room temp shelf stability.
An interesting side note with Jam is that it can mellow out volatile monoterpenes that may otherwise cause lung irritation for daily dabbers. My friend Sean (@losgardens) has told me the rosin jam I made with his cot cake cultivar is a more suitable daily driver when compared to the cold cured version of the same hash.
The jam-tek process can also be used to add a wet consistency to your otherwise dry or chalky rosin. You can jam up a portion of the rosin and then mix back into the cold cure. For example by going 70% rosin to 30% jam and homogenizing back together. This topic is highly controversial on the meta platform instagram so tread lightly if posting about it there.
Tools Needed:
Step 1: Put the Hash Rosin in a Pressure Vessel
Start by taking your hash rosin and putting it into a pressure vessel, most commonly a wide mouth mason jar. Mason jars are designed for canning so the lid and gasket can withstand the pressure required for this tek without breaking the seal. They do not have a robust enough lid and gasket to withstand high internal pressure.
** Jar explosions are always possible when pressurizing a closed vessel. Always wear PPE and take necessary precautions. We have never had a jar explode but it can happen **
Step 2: Decarboxylate the Hash Rosin
This step is very similar to the decarb tek article where you decarb rosin for putting in carts or edibles, except you typically only need a partial decarb for jam. Although I have tested this and fully decarboxylated rosin will still work for making jam. Put in the oven at 200F for 1-2 hours, until the rosin becomes clear. If the rosin is still cloudy after 2 hours it may need more time or a slightly higher temperature (220F). DO NOT OPEN THE JAR AT ANY POINT - it is very important that the pressure in the jar be maintained.
We have been told by Corey Crosser from Rosin Reactor that they tested mason jars and the max PSI they can hold is 5 psi before they start to leak at the gasket. We feel that having the lid on for this process helps preserve VOCs.
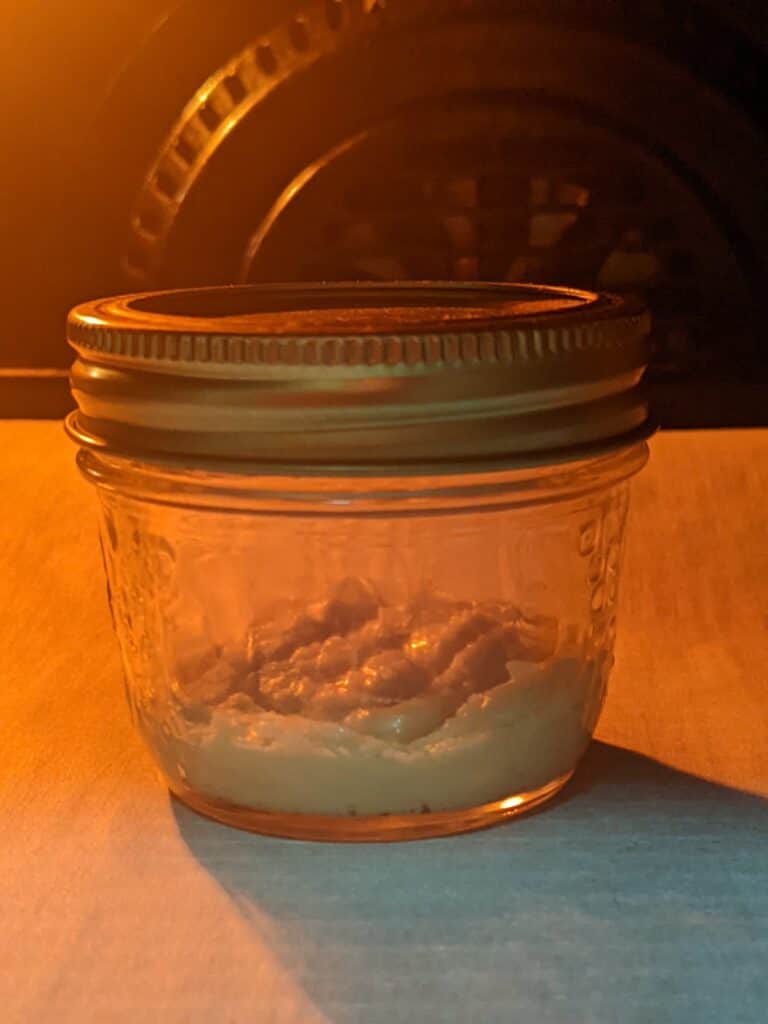
The rosin will fist start to melt into a thick white solid substance.
It will then start to bubble as CO2 is released during the decarboxylation process.

When the rosin clears up and bubbling slows down/stops entirely it is ready for the next and final step in the rosin jam process.
Step 3: Rosin Jam - Pressurized Heat Cure
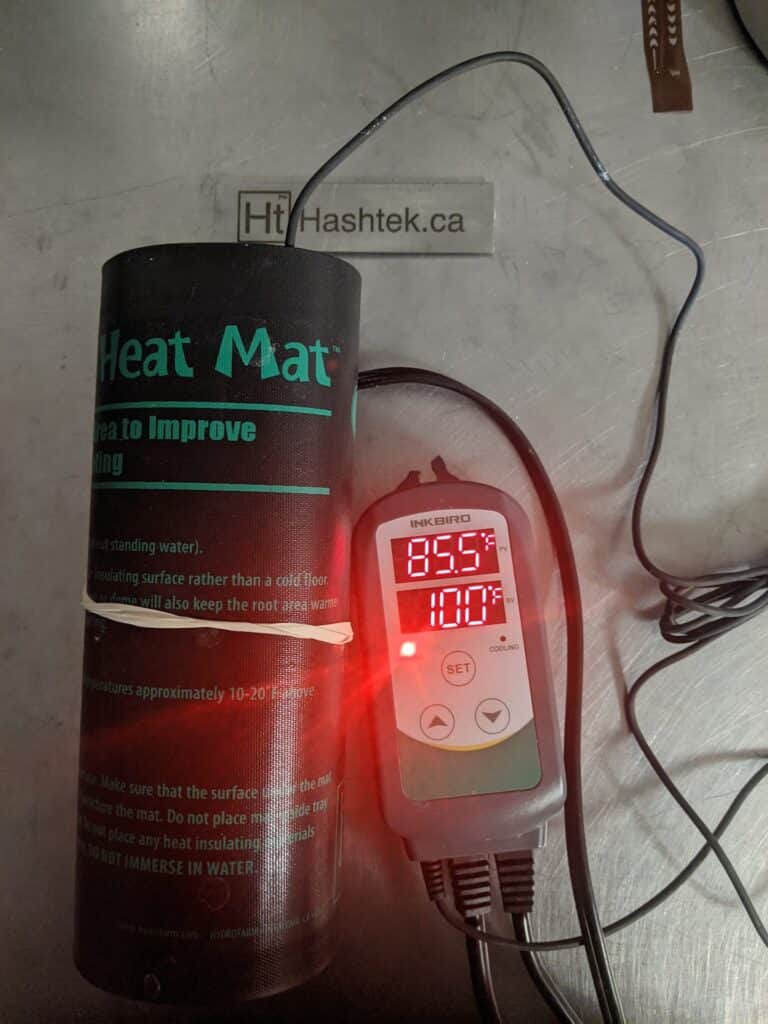
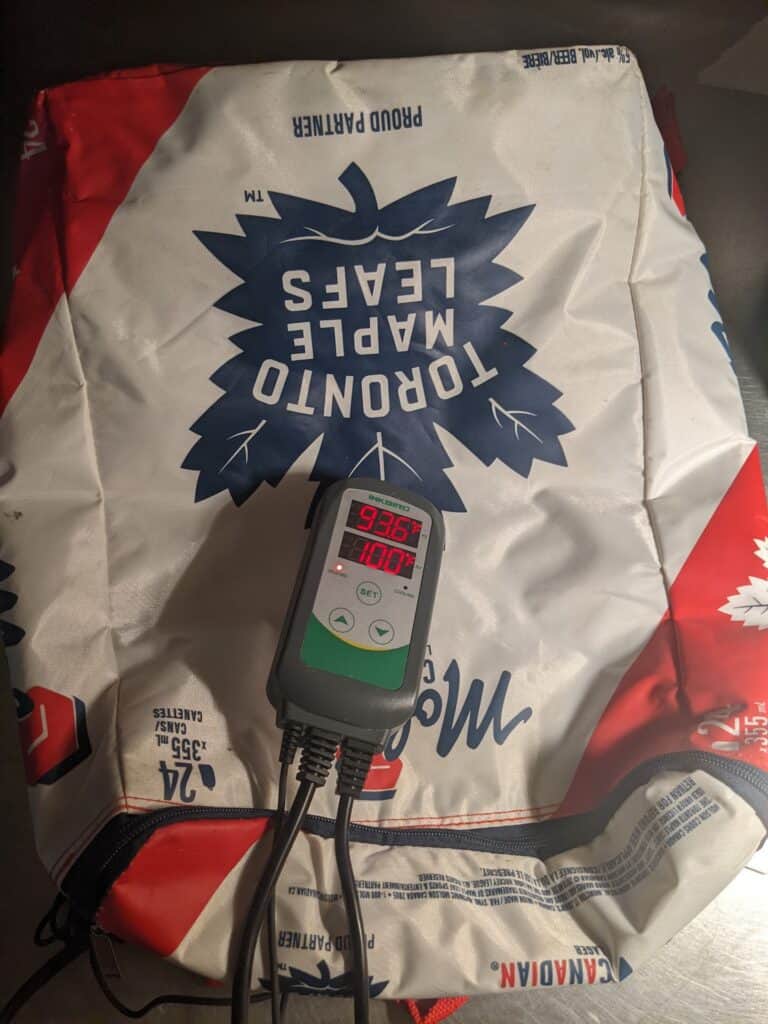
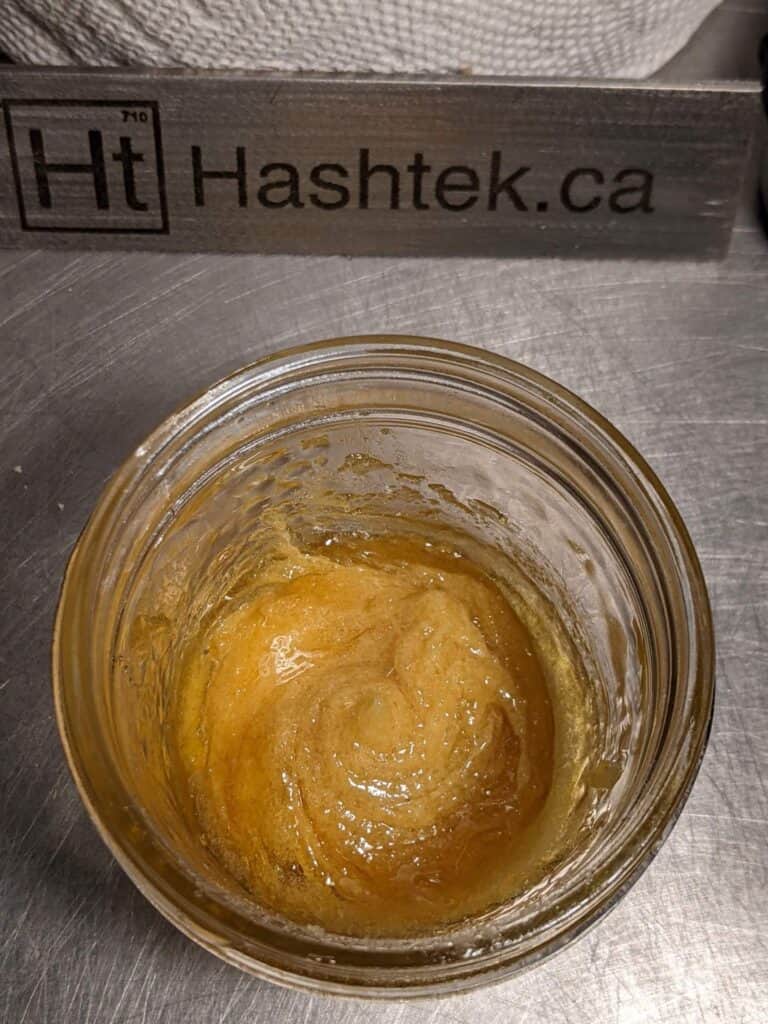
During this final step the decarb'd rosin is kept at a warm temperature (100F) for 1-2 weeks under high pressure, allowing the THC to crystallize and form a rosin jam. In a production environment we do this in scientific ovens that are able to reliably hold low temperatures for an extended period. At home I did this with a seedling warming mat and temperature controller + cooler for under $100. Excuse the Toronto Maple Leafs logo, I got it for free in a case of beer.
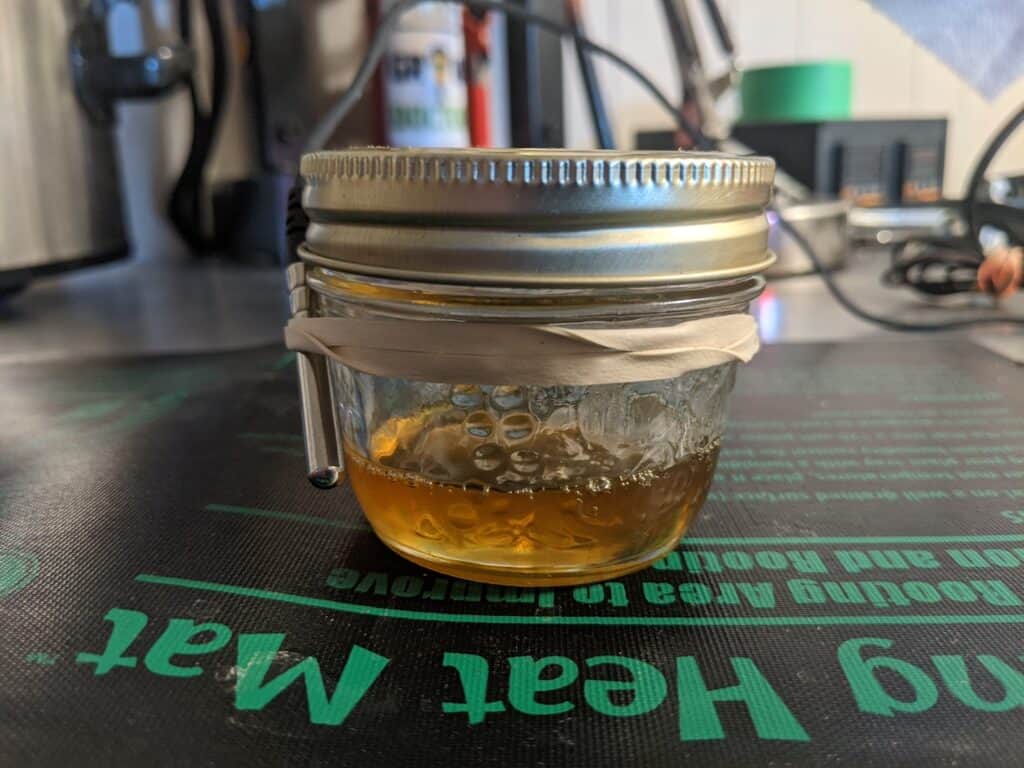
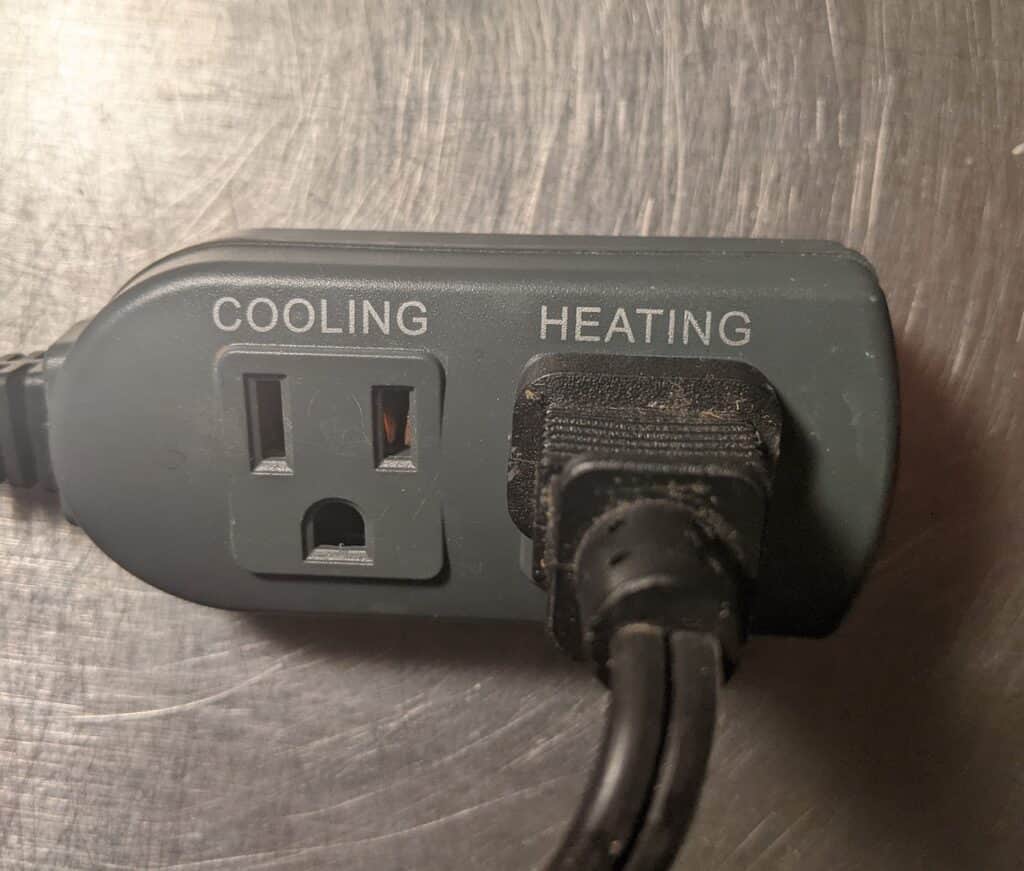
Secure the temperature probe to the jar using an elastic band and plug the seedling warming mat into the 'heating' outlet on the temperature controller.
Set the target temperature to 100F (38C) and wrap the jar with the seedling mat. Be careful not the allow the jar to tip on it's side as the rosin will be very runny at these temperatures.
Insert the jar into a cooler to improve efficiency and help the warming mat maintain a constant temperature. Over the next 1-2 weeks the clear rosin will crystallize into a beautiful has rosin jam.
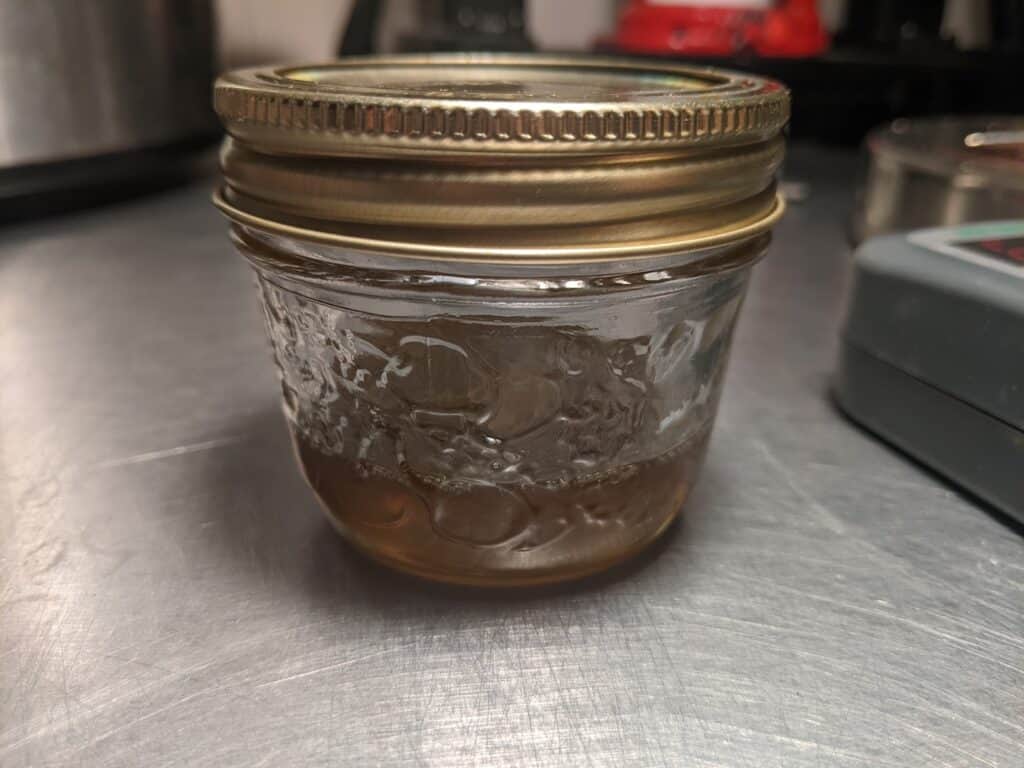
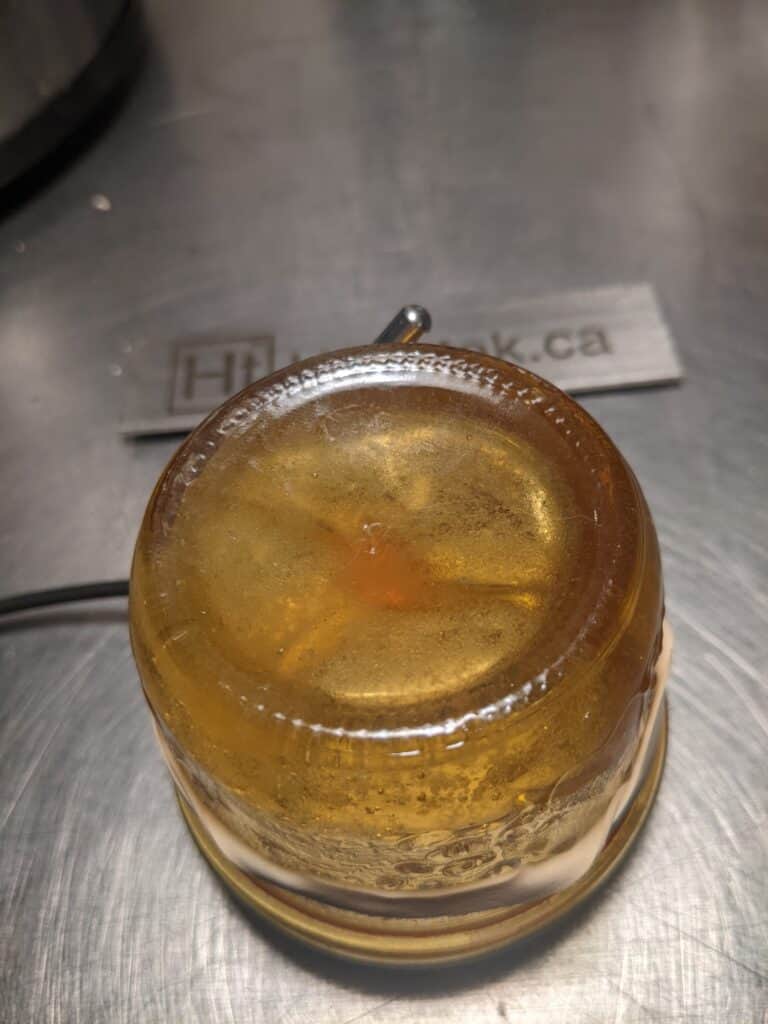
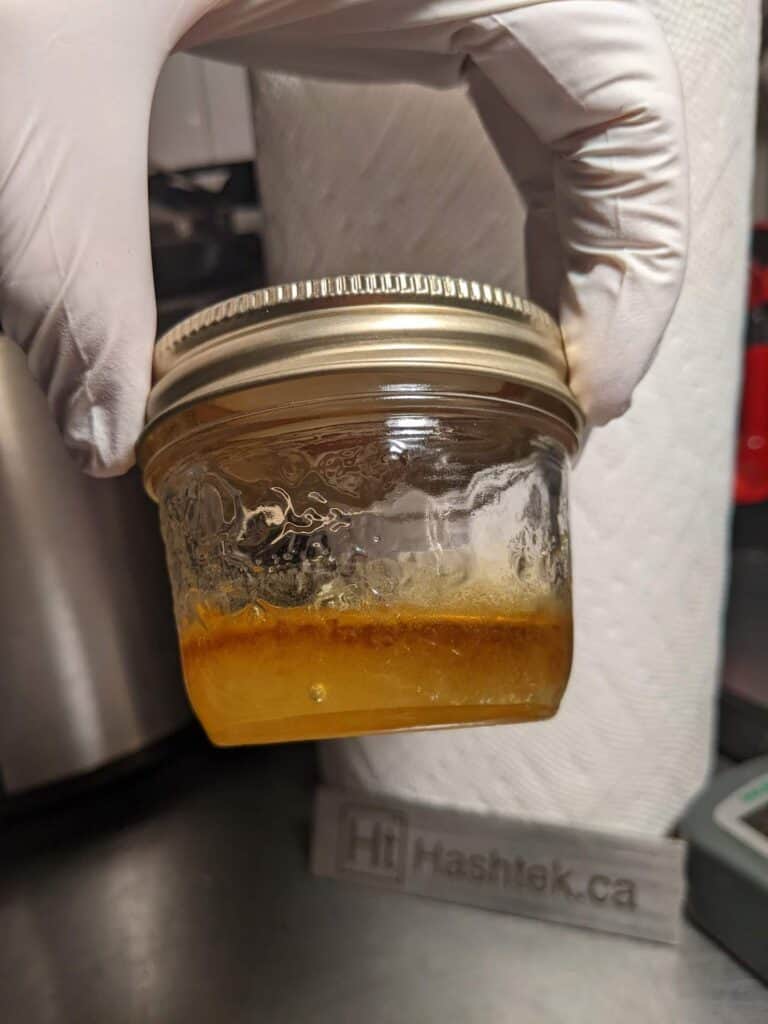
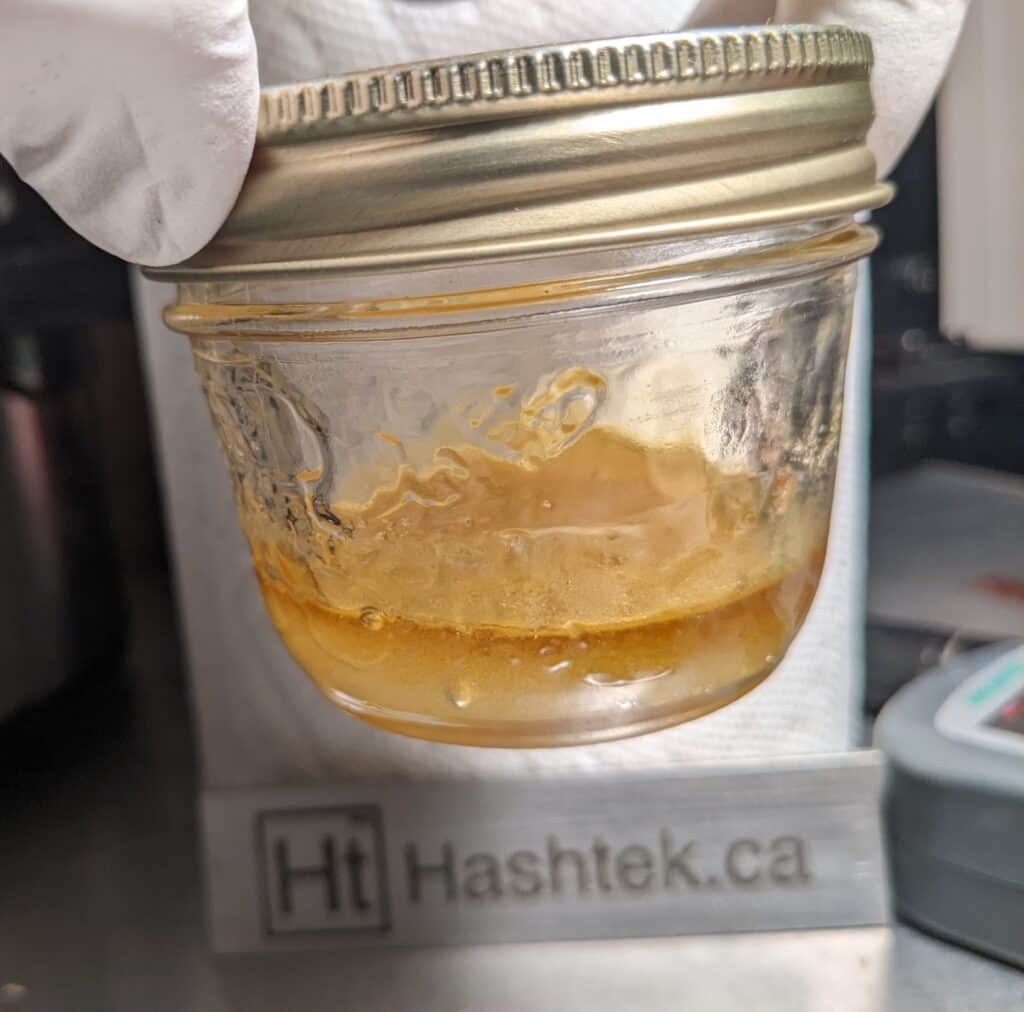
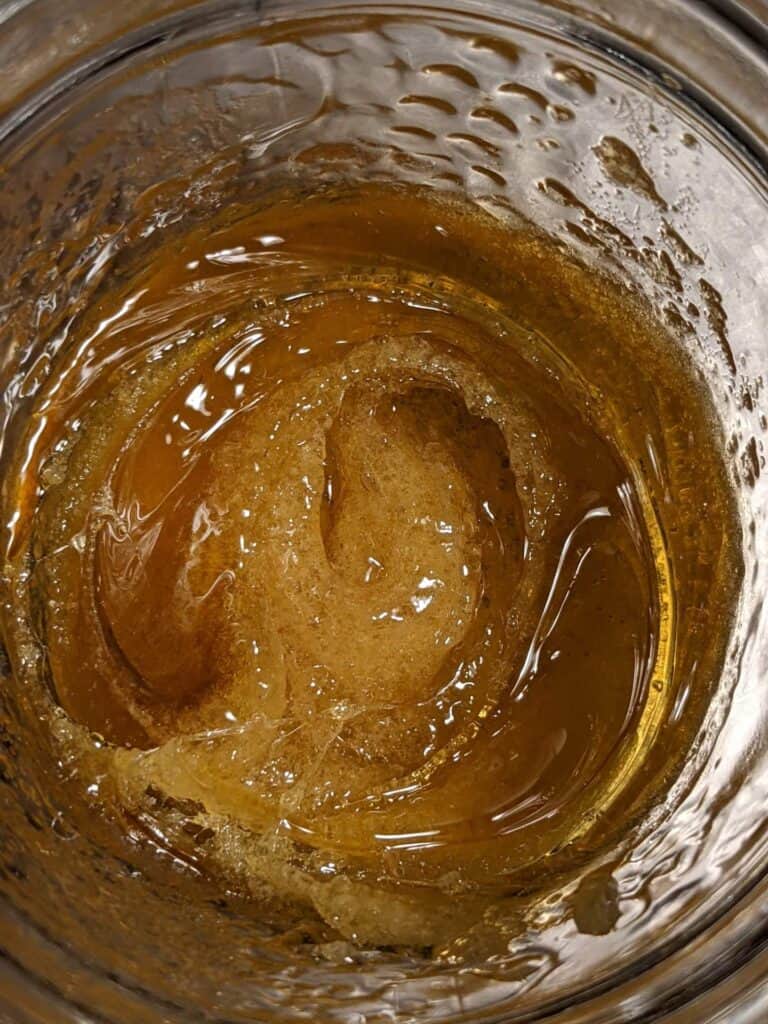
After 1 week the rosin jam is still very clear and needs more time in the warm environment.
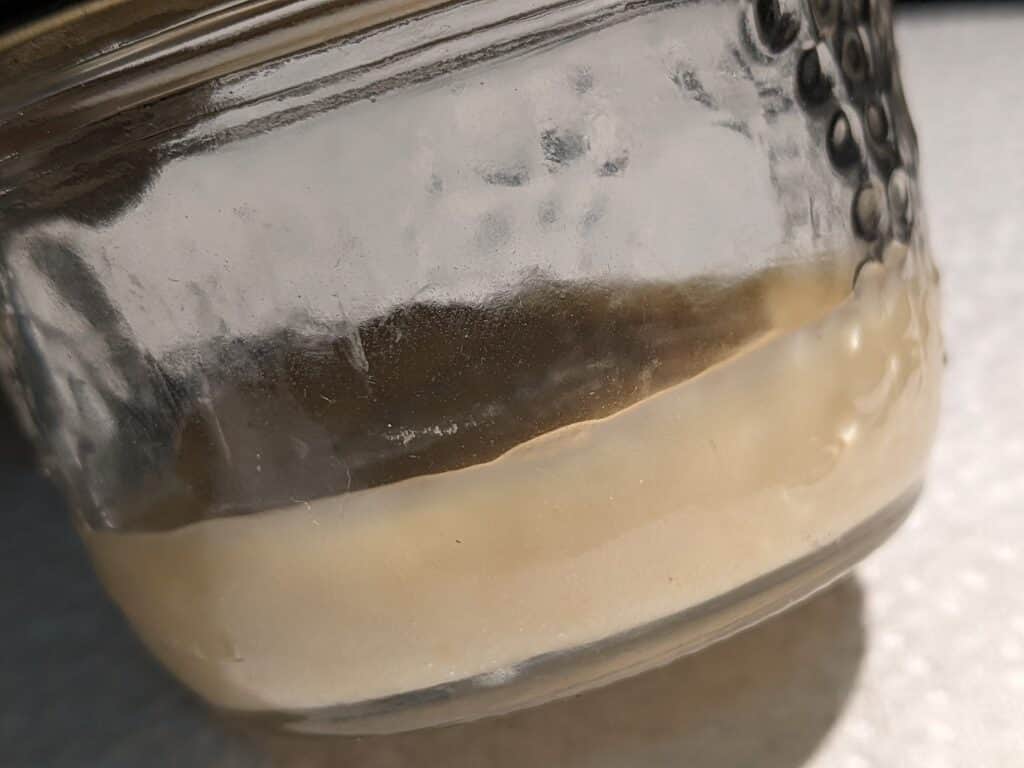
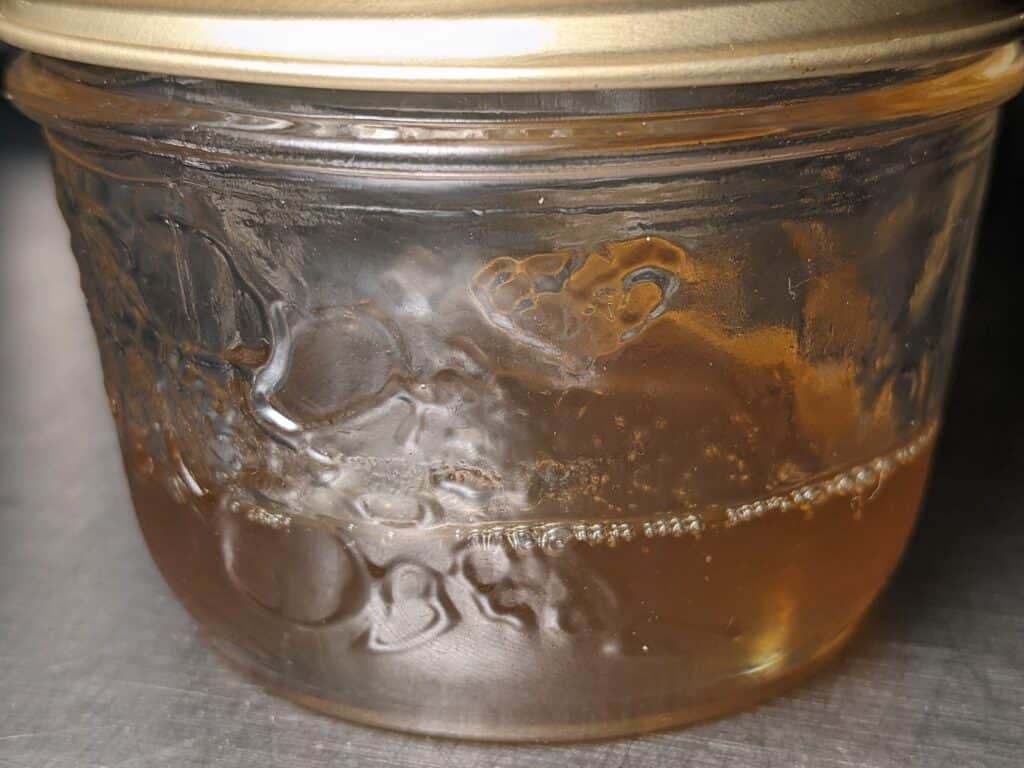
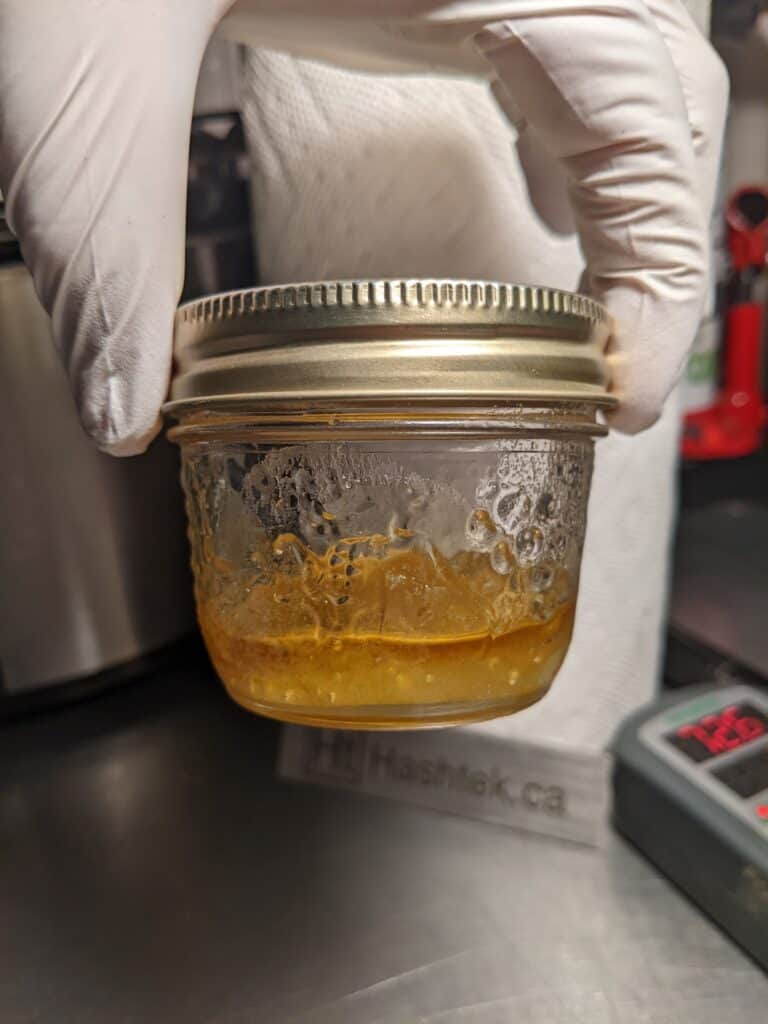
After 2 weeks there is a more defined separation with a darker layer on top. This is an indication that the rosin jam is ready to be whipped.
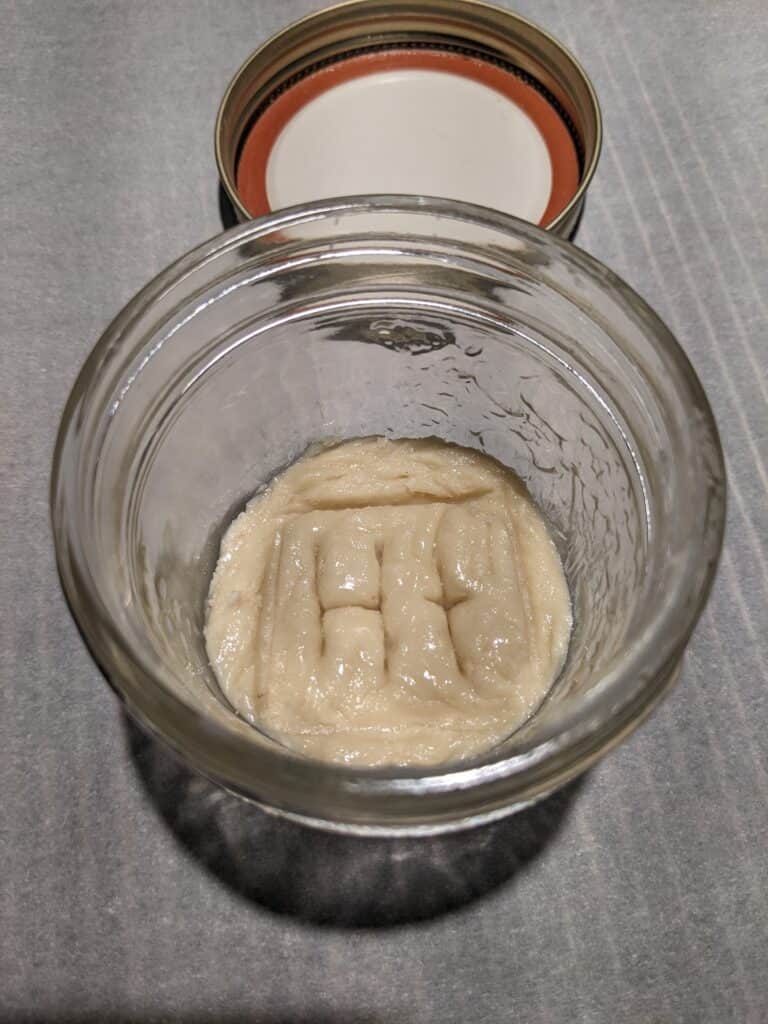
Allow the jam to come down to room temperature before opening the lid. This should be the first time you have opened the lid since the rosin went into the oven 2 weeks ago.
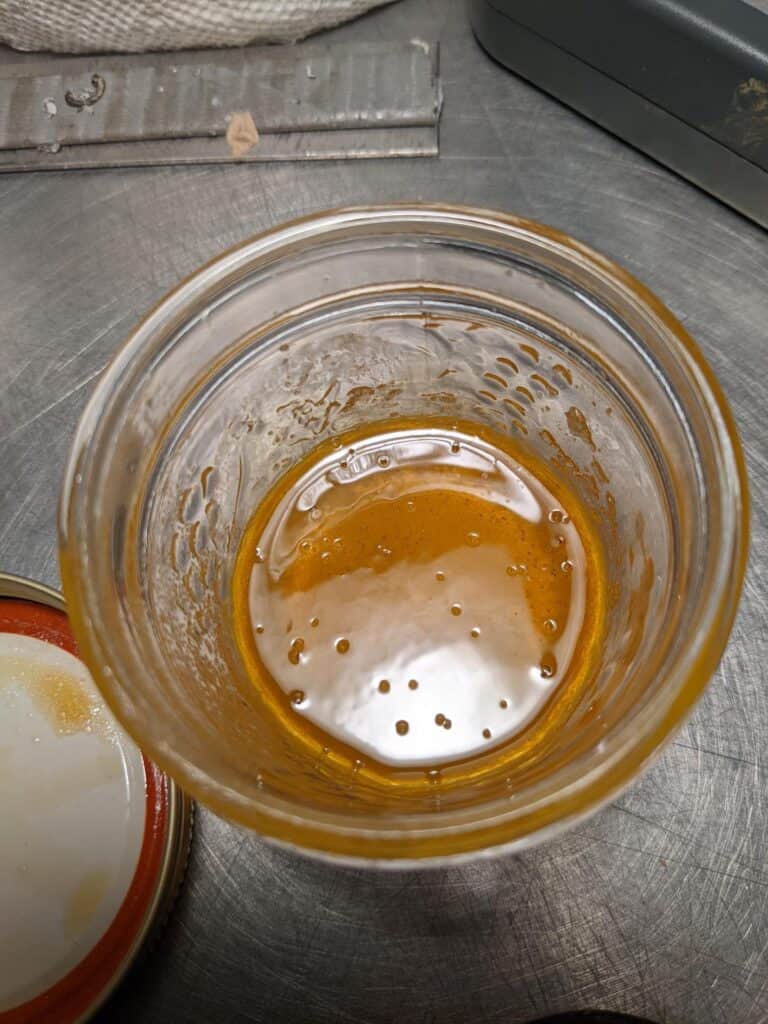
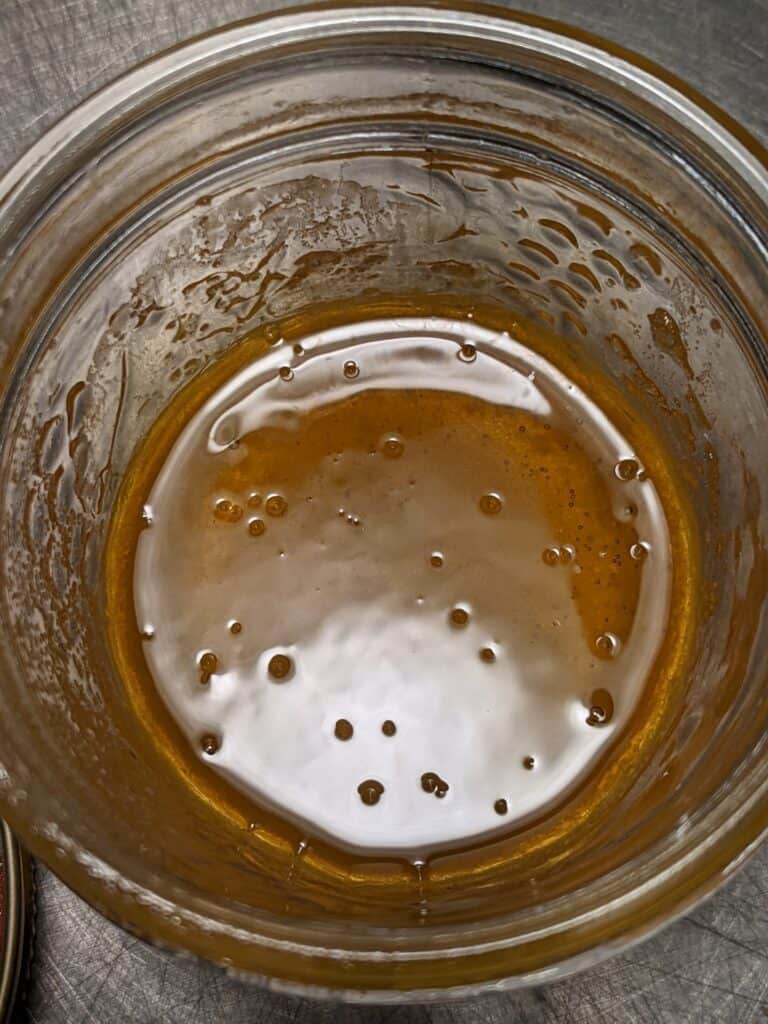
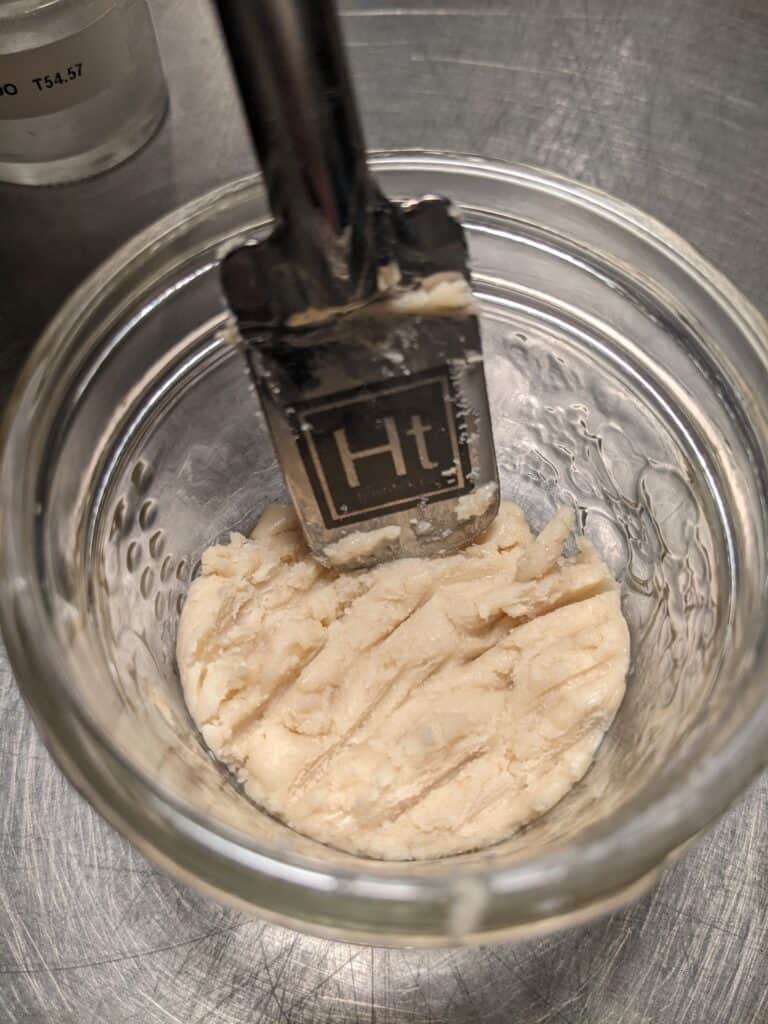
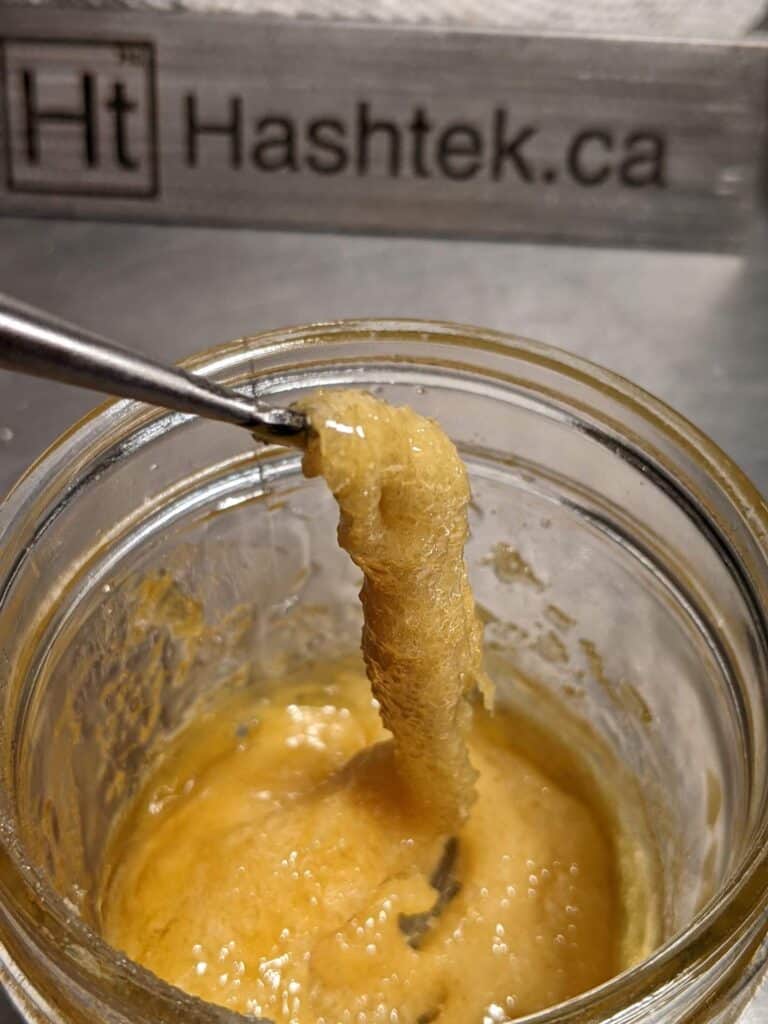
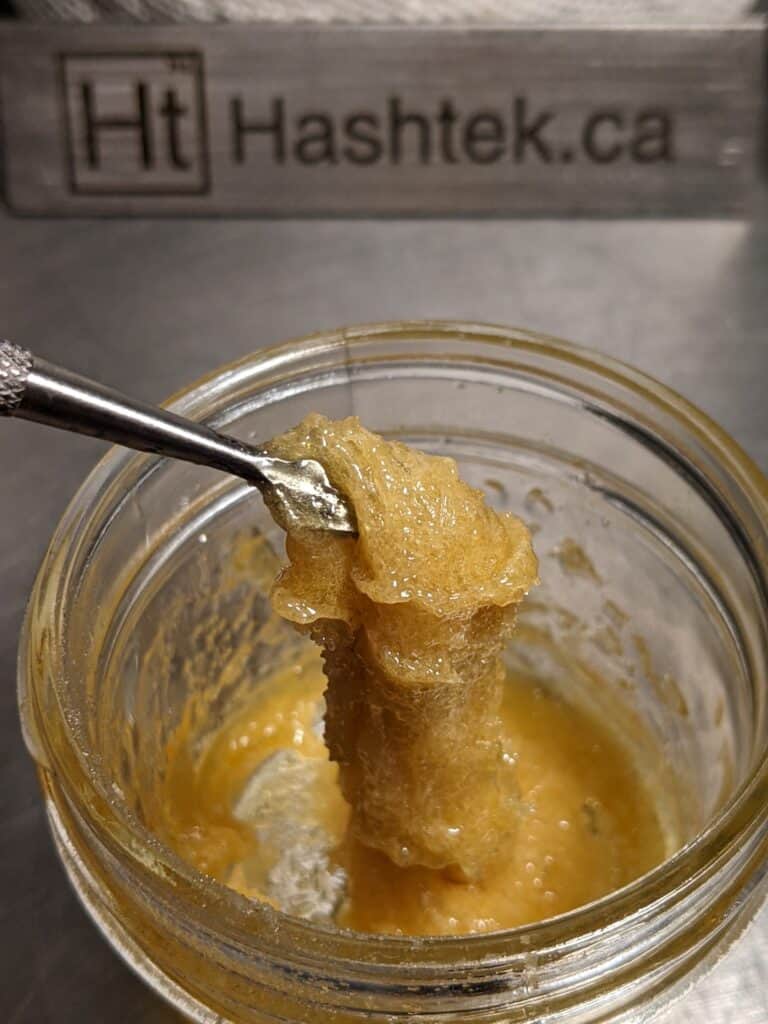
The rosin jam will have a clean glaze to it prior to being whipped. I have found that the terpene profile will sometimes have subtle changes as well.
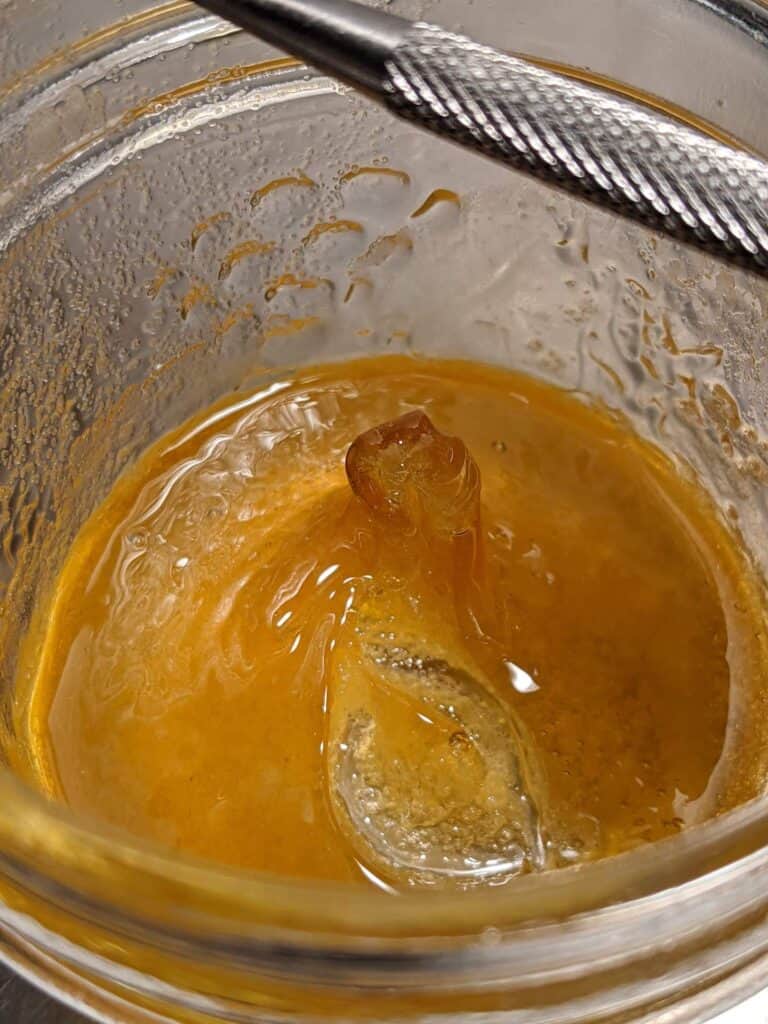
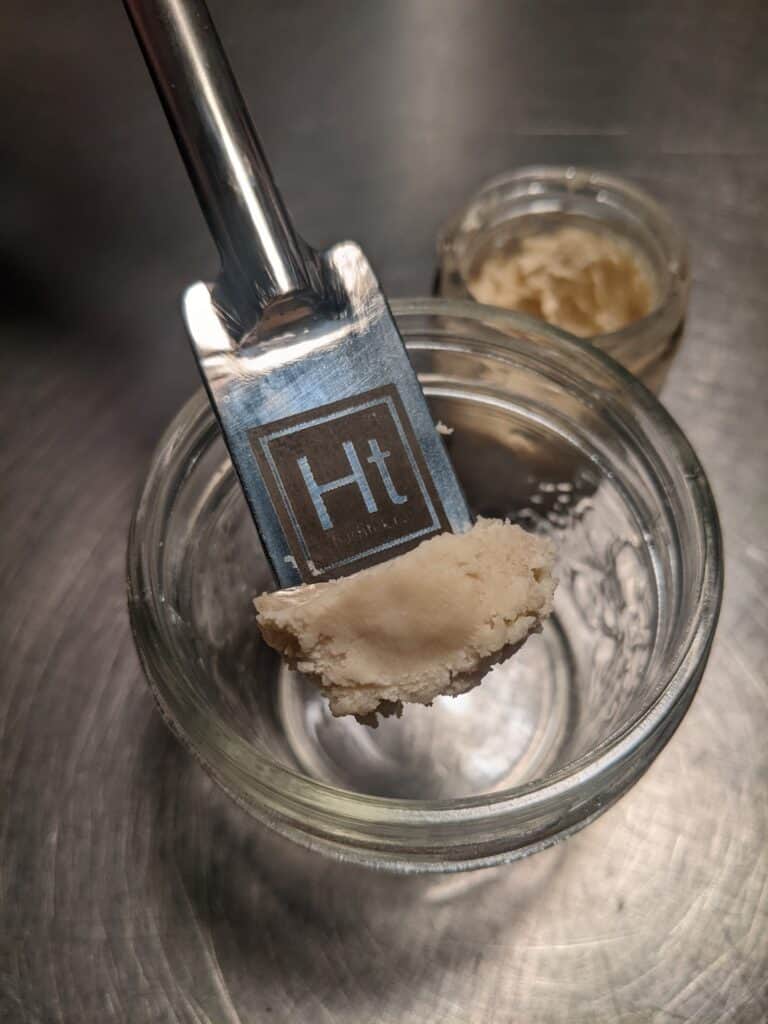
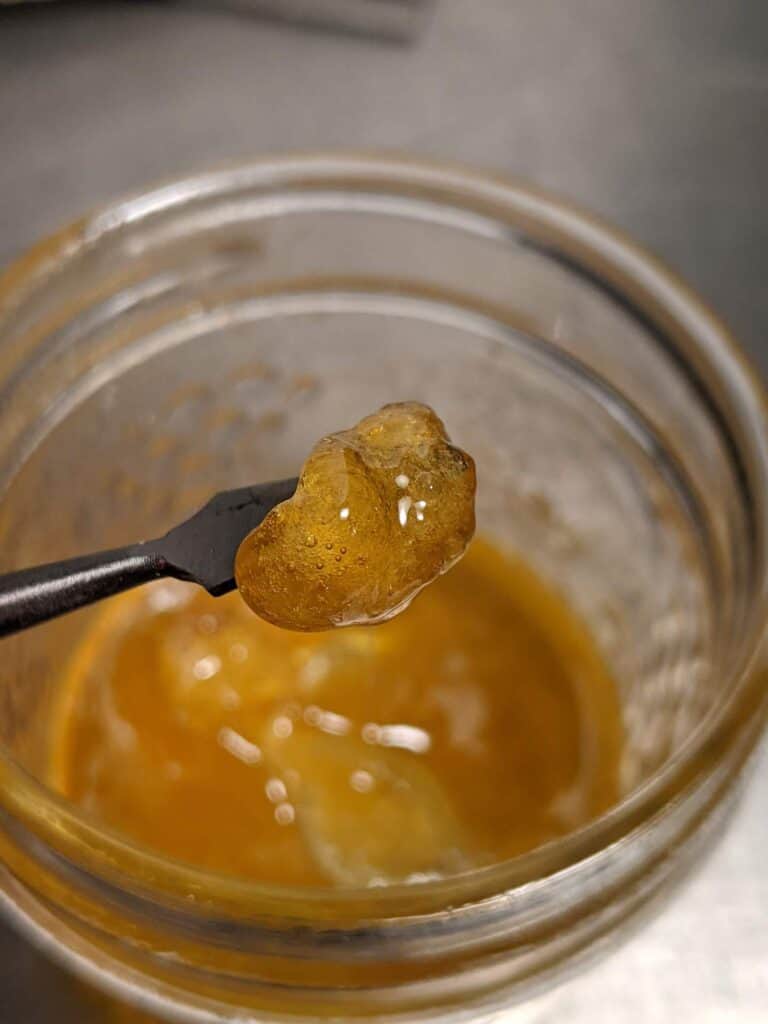
When you go whip the material you will begin to notice the crystals that look like small balls within the rosin jam.

That is all there is to it. Rosin Jam should still be stored in the refrigerator but I find it has much better shelf stability at room temperature when compared with cold cured hash rosin.